
It’s raining at medium wiper speed, the shoulder has gone black, and your low beams quit a car length sooner than they did last winter. In daylight, from ten feet away, the lamps still pass. On wet asphalt at dusk they don’t.
Match the Haze Before You Buy Wipes
Say you’re on a two-lane at dusk with the wipers on and the fog line dissolving under spray. You flick to high beam and the road brightens maybe three metres further out. The bulbs are fine. The lens is the problem, and it has been for two winters.
Almost every modern headlight lens is polycarbonate, and that plastic fails along two routes: prolonged ultraviolet exposure and abrasion from road grit. AAA’s headlamp lens deterioration research puts the first visible yellowing or clouding at around five years of age, give or take about two years depending on how the car is used and where it parks. Sun-belt cars get there early. Garaged cars stretch it.
The optical loss outruns the cosmetic loss by a wide margin. In AAA’s laboratory evaluation of headlights from two popular sedans roughly 11 years old, deteriorated low-beam lamps produced only 22% of the light output of new original-equipment assemblies, so those lenses passed about 78% less light than the reference units. That single figure explains why a restoration product is worth buying at all, and it also caps what it can promise.
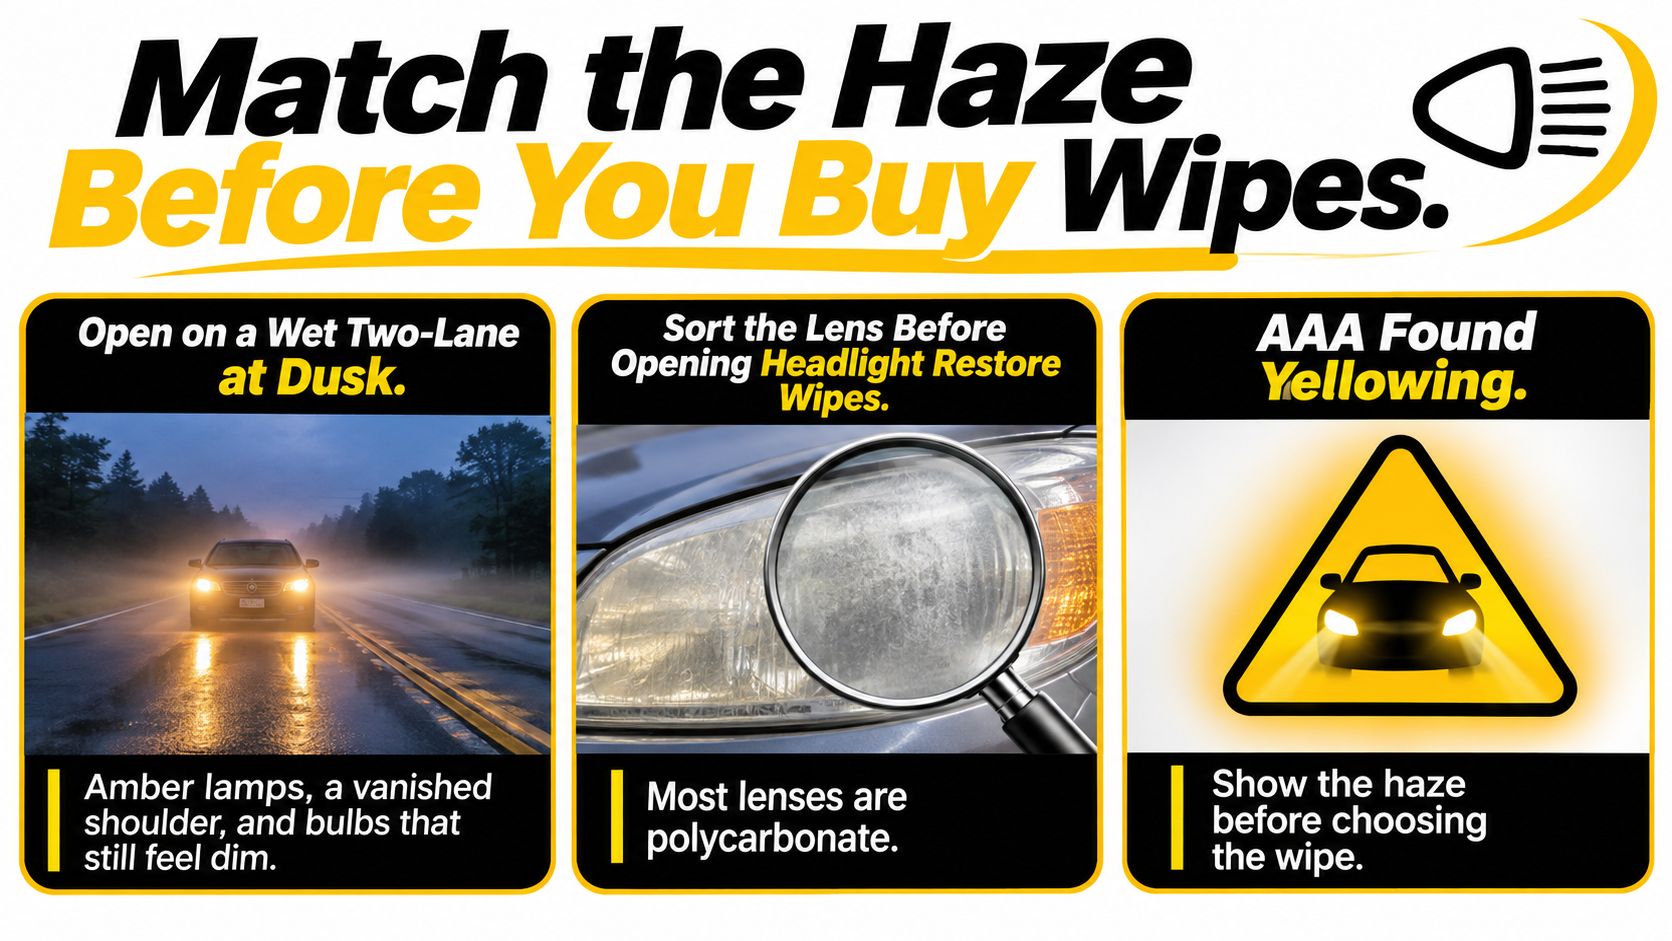
The same lab work sets the ceiling. Professional and do-it-yourself restoration returned average performance to approximately 70% of new-headlight output, while new OEM replacements restored output to 100%. You are buying a measured optical recovery, not a new lamp. Keep that in your head before you spend anything, because it changes which product you should pick and what you’re allowed to call success afterwards.
Sort the lens before you open the packet
Which headlight fix matches the damage
| What you see | Best method | Expected result |
|---|---|---|
| Light surface haze, yellow film wipes away | Two-stage restore wipe, then UV sealant | Clearer lens for a touch-up, not a new lamp |
| Cloudy but still a surface film, often near 5 years plus or minus 2 | Wipe only if oxidation lifts, otherwise wet-sand first | Partial clarity if the plastic underneath is sound |
| Heavy age haze, about 11-year lab lamps at 22% of new light | Remove failed UV coat, refine, then protect | About 70% of new output, not 100% |
| Cracks, deep scratches, internal yellow, moisture, or distortion | Replace the assembly | Wipes and polish won’t fix the optic |
| Glass lens, not polycarbonate | Don’t use this wipe method | Needs a glass-safe approach or replacement |
Read that table as a filter, not a menu. Headlight restore wipes fit the top two rows: a yellow skin that lifts and leaves clear plastic behind. A two-stage format does the work in two moves, one pass to loosen the oxidized layer and one to leave a protective film, which suits light haze and a quick touch-up.
A wipe is a maintenance tool for a thin, failing film. It is not a lens rebuild, and it never will be.
Haze that stays rough, milky, or visibly crazed after the oxidation pass is not a wipe job yet. Neither is internal yellowing, which sits behind the plastic rather than on it. Neither is a beam that still scatters after cleaning. Photograph both lamps under low-angle light, match one row, and only then decide between pads and sandpaper.
When the lens is good polycarbonate with sound plastic under the haze, the protective film you finish with is what decides how long the result survives. UV protection for polycarbonate headlight lenses is worth understanding before you buy, because the sealant stage is the one most owners rush.
Apply the Wipe and Seal the Lens
Say a driver reaches a wet road at dusk and the headlights still throw a weak, scattered beam after cleaning. A restore wipe can help when the haze is a failed surface layer: remove that layer evenly, then leave the clear plastic with a protective film. Judge the job by recovered light and a sound film, not by driveway gloss.
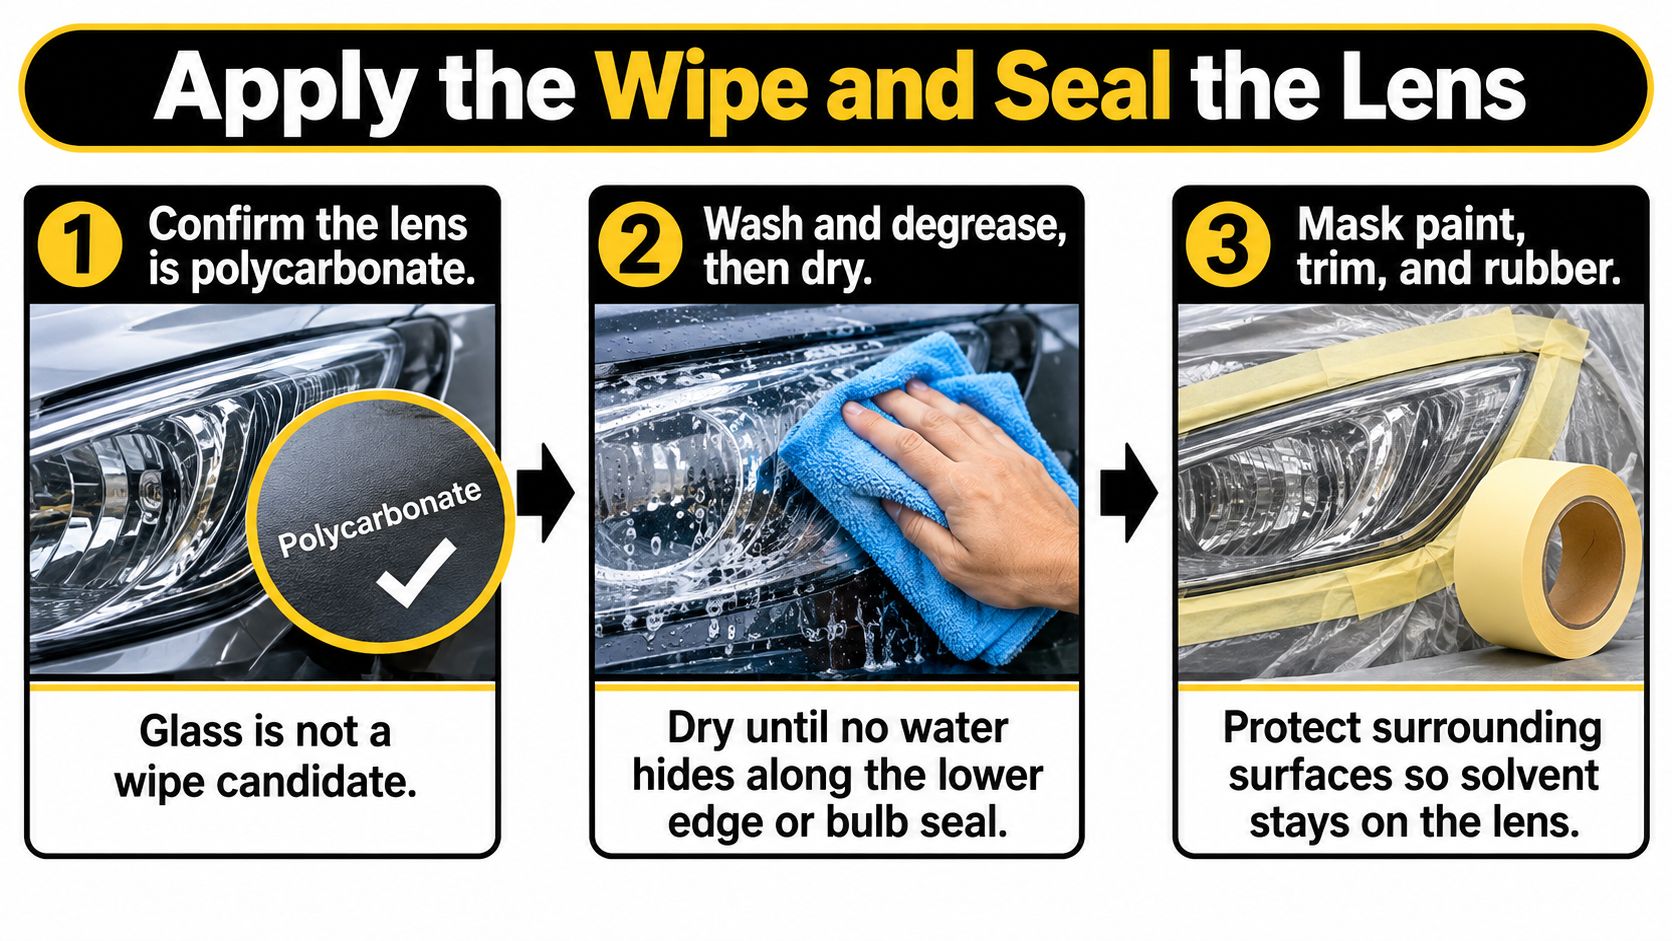
- Confirm the lens is polycarbonate. Glass lenses need a glass-safe approach, not this wipe method.
- Wash, degrease, and dry the lens. Check the lower edge and bulb seal for trapped water before applying anything.
- Mask the paint, trim, and rubber around the lamp. Keep the wipe and sealant on the lens.
- Work in shade at a moderate temperature. Try the oxidation pass on the lens and watch how the failed layer responds.
- Check the surface before sealing. If the yellow film lifts and the plastic looks clear, continue. If the face remains hazy, gritty, or crazed, stop and sand and polish first.
- Apply the sealant in one continuous, slightly overlapping pass from top to bottom. Keep the film even rather than dabbing or doubling back.
Leave the lens untouched while the film sets, and keep water off it during cure. A professional restoration sequence calls for at least 1 hour without touching and 4 to 6 hours for full cure. If rain or a sprinkler reaches the lamp before the film has set, it can leave spots or clouding.
Cure window: one hour hands off, four to six hours dry. Park away from sprinklers and leave the lens alone.
Why the second pass matters
The wipe removes the failed UV skin; the sealant protects the exposed plastic. A clean lens without a protective film is still vulnerable to renewed oxidation. The goal is a clear beam backed by a flexible film, not a glossy surface that hides missed haze.
Cold morning, hot afternoon, and what cracks
Headlights and their protective films face temperature changes as the car moves from cold conditions into heat. A rigid film may not move with the plastic, while a flexible film can accommodate that movement. Titan Coatings offers elastomer coatings for surrounding paint; ceramic coating for headlights is the relevant option to consider for the lens itself.
Protect the panels while the tape is still up
Keep the headlight sealant on the lamp. If you want to coat the surrounding paint, use a product intended for that surface and follow its application directions.
Aftercare: wash with a pH-neutral shampoo and avoid harsh chemicals and abrasive cleaning products.
The lens is ready for its final layer only when the plastic is clear and dry. Seal the surface evenly, then give the film its stated cure time before exposing it to water.
Mistakes and When to Sand
Say a driver reaches a wet road at dusk and the headlamps look bright in the driveway but scatter light through a milky veil. The wipe has to remove the failed UV skin, not just lay gloss over it. If oxidation stays underneath, the sealant may peel away with the chalky layer it was meant to cover.
- Sealing over oxidation. The film bonds to contamination instead of clean plastic, so it can fail early and the lens needs to be prepared again.
- Adding passes to chase a better look. Extra layers can leave ridges and lap marks, with uneven thickness across the lens.
- Skipping the tape. A solvent-loaded pad that slips onto paint or rubber can damage those surfaces.
- Working in direct sun or near freezing. The wipe may flash unevenly, and the cure time printed on the pack may no longer apply.
- Letting water hit the lamp during cure. Rain, sprinklers, or a hose can leave spots in the film.
What a wipe cannot promise
A wipe cannot be assumed to recreate the factory hardcoat. HELLA’s technical note on plastic lenses reports that tested repair kits and lacquer systems did not meet the relevant original-lens requirements. Repaired lenses may weather, abrade, and chemically degrade faster than untreated lenses unless the chemistry, film thickness, adhesion, UV resistance, abrasion resistance, and weathering performance are validated.
Sanding and polishing are common parts of lens restoration, often followed by a sealant or protectant after the degraded hardcoat is removed. The sanding clears the failed layer; the protective film helps shield the exposed plastic. Judge the result by recovered light and an even, flexible film, not driveway gloss.
When to stop wiping and start sanding
If a wipe leaves the lens rough, milky, or crazed, switch methods. A wipe can lift a yellowed surface layer and leave protection behind, but it cannot level deep pitting, heavy scratches, or substantial material loss. More passes will not fix those defects.
Keep the lens wet and progress from coarser to finer abrasives, so each stage removes the marks left by the last. Start near P500 or 600 grit to remove the failed UV layer, then work up to 1500 grit until the coarse marks are gone. Compound and polish until low-angle light shows an even surface.
Wet-sand and protect sequence for heavy haze
| Stage | Abrasive | Job it does |
|---|---|---|
| Strip the dead UV coat | About P500, or start at 600 grit | Remove oxidized hardcoat, not deep plastic |
| Clear the scratches | Progress up to 1500 grit | Replace coarse marks with fine ones |
| Optical polish | Compound, then finer polish | Even clarity under low-angle light |
| Lock the surface | Sealant wipe or protective clear | Slow the next round of UV damage |
AutoZone’s headlight lens restorer listing describes pre-moistened oxidation-removal wipes followed by a sealant wipe, with no tools required, for light haze and quick touch-ups. That format is suited to surface oxidation, not deep pitting, severe scratches, or extensive material loss.
Stop rule: if sanding reveals internal yellowing, cracking, moisture in the housing, or a beam that still scatters, stop and price a replacement assembly. Surface work cannot correct damage inside the lamp or restore a damaged optic.
If a new assembly is the sensible next step, some drivers also consider whether to upgrade your headlights to LED when replacing the unit.
If haze returns within a few weeks despite a clean, dry application and an intact seal, the protective film may not be holding. A scratch-resistant coating for polycarbonate is another option to help protect the lens from washing and grit, rather than repeating the same wipe-and-sand cycle.
Record and Accept the Result
Judge the job once, with a rule you set before you started: the lens has to be evenly clear across its whole face under low-angle light after cure. Not bright in the middle and foggy at the edges. Not glossy under the garage tube with a milky band along the bottom.
Then test it against the world. Water spotting, a chemical hit from a wash, and one normal pass with a pH-neutral shampoo tell you more about adhesion than any first impression. Low-angle light at dusk is the honest judge, because that’s the angle your eyes use on the road.
Build a record you can compare next season
Notes beat memory, especially when a customer asks why the lens looks duller in October than it did in April. Log these on the day:
- Before and after photos of both lamps, shot in the same shade at the same angle, so glare doesn’t flatter either one.
- Ambient temperature and cure time, including when the car went back out and whether it saw rain.
- Wipe lot and number of passes, because a changed batch or a heavier third coat changes how the film behaves.
- A haze or clarity rating you apply the same way every time, even a simple one to five, so the next inspection has something to compare against.
Compare the finished lamp with the untreated one under the same low-angle light before you peel the masking tape. That side-by-side is the clearest evidence you’ll get, and it removes any doubt about lighting or camera tricks because both lenses sit in the same frame.
There is no statistically representative success rate for wipes on the record, so don’t quote one. What you can say with confidence is that an even, clear film that survives washing and weather is the outcome you were buying, and a lens that’s still uniformly clear at the six-week mark is a lens that was prepped properly.
Titan’s own application videos are a useful check on dwell time and buffing technique, but follow the cure window printed on the bottle in your hand.
When the record shows haze creeping back within a month, escalate: refine the surface properly with abrasives, or replace the assembly. Repeat the same wipe over a failing film and you’ll just keep buying pads. Titan publishes the UV resistance rating behind its coatings, which is the figure to compare when you’re deciding whether a sealant is worth the second stage at all.
Keep the Rest of the Glass Clear
Say a driver gets the headlight haze under control, then meets a wet road with a film of grime on the windshield. Light scatters across dirty glass, and the wipers have to work harder to keep the view clear. The lens job only helps if the rest of the glass is clean, too.
For glass prep, use a pro glass cleaner to remove grime before applying a coating. APEX Glass Coating is a DIY option for vehicle owners and mobile detailers, priced at $39.97 for 50 ml. Choose it for a glass-coating job, and follow the product’s own directions for preparation and use. See APEX Glass Coating.
A clear windshield helps keep the road view sharp when rain catches the headlight beam. The aim is practical: cleaner glass and less scattered light, not a glossy driveway finish.
The quick topper for everything else
Paint, wraps, PPF, wheels, and plastic trim collect grime during wet weather. Titan Coatings’ DIY category is for clients who want to maintain their vehicles and keep them shining and in great shape. Some products are also sold to mobile detailers, while others are available only to professional detailers and shops.
Choose products according to the surface and the job. A glass coating belongs on glass; a product intended for another vehicle surface should not be treated as a substitute. Proper preparation and care help keep the finish in good condition.
Shop Titan Coatings on Amazon: Apex Glass Coating on Amazon | Alpha Quartz Ceramic Coating on Amazon.
0 Comments