
The black SUV looked finished at two in the afternoon. By five, with the sun lower, the hood had turned from glossy to speckled, with a brown dust of bonded iron across it and fine holograms running down the driver’s door. The rinse didn’t fail; the order did.
A finish like that gets blamed on the soap, the towel, or the water. It’s almost always sequencing. Every phase of a real detail exists to make the next phase safe, and every phase has a check that tells you when to stop rather than a clock that tells you when to move on.
The Detailing Order That Saves the Paint
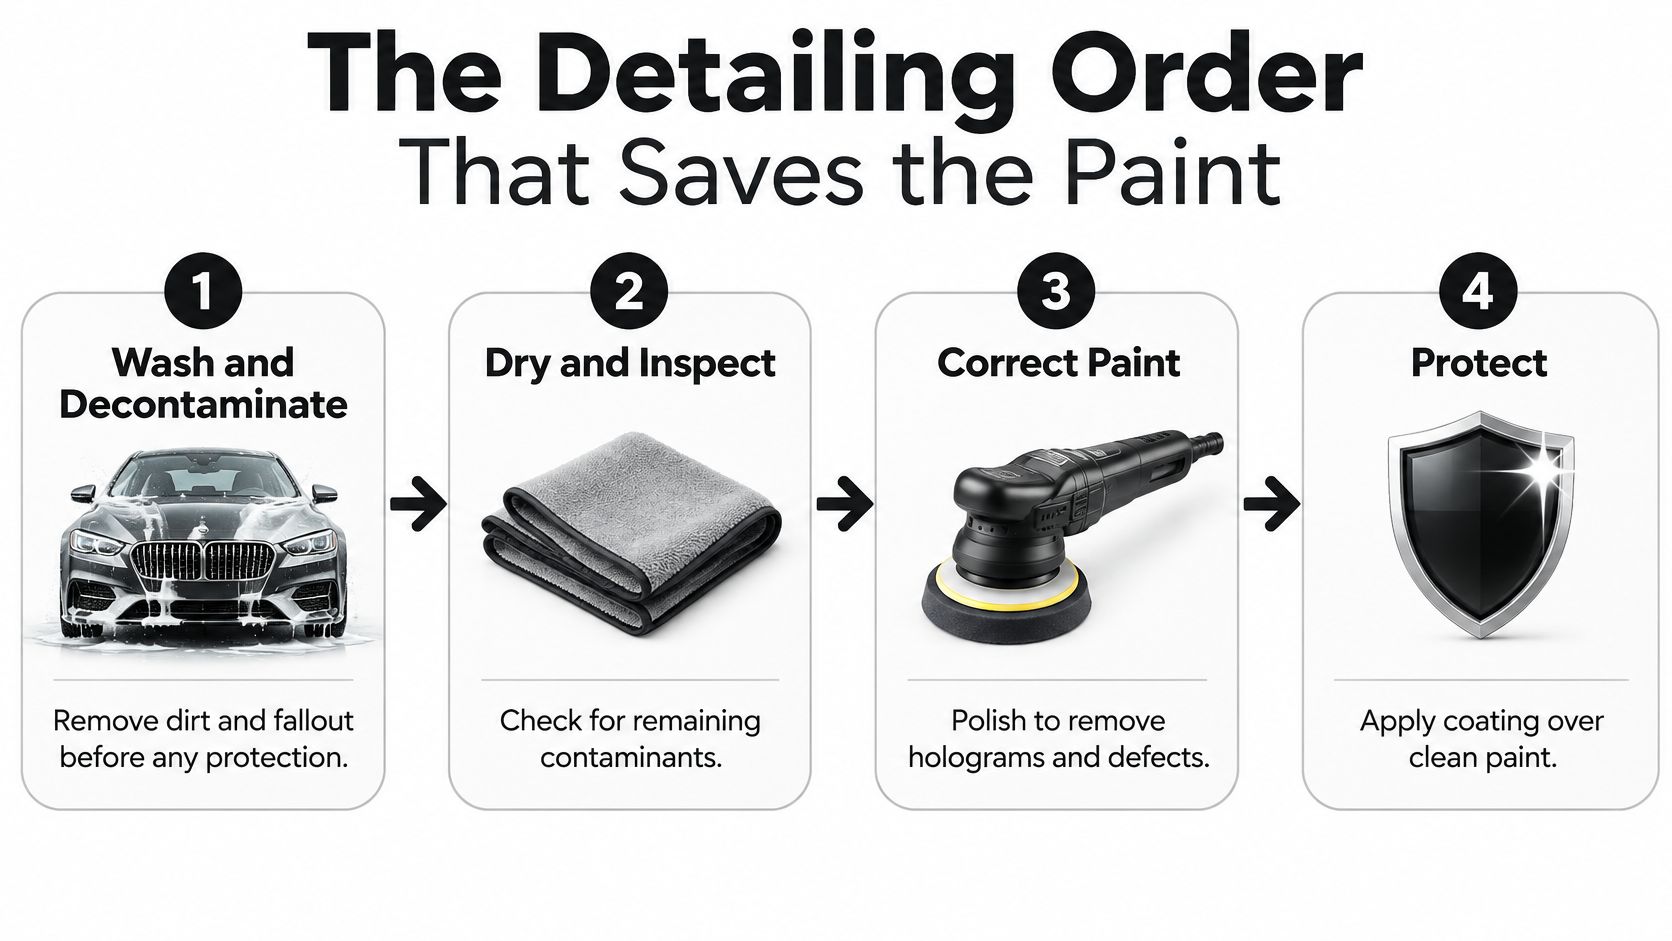
The order to follow before any bottle opens
- Stage the site and the tools. Wheel brushes, wheel bucket, and wheel towels live apart from anything that touches paint. Decide where the runoff goes before you make any: federal guidance notes that between 70% and 90% of surveyed residents said their wash water drained straight to the street, presumably into runoff-conveyance systems (EPA urban runoff chapter).
- Clean wheels and lower panels first. Brake dust, road film, and petroleum residue come off here, and they never get a chance to travel to a painted panel on a shared mitt.
- Wash top to bottom, panel by panel, and save a rinseless wash for a car carrying light dust.
- Remove iron chemically, then clay only where the paint still drags under a clean bagged hand.
- Dry and inspect under diffuse light, with the car dry enough that defects read as defects instead of as water.
- Correct from a test spot, using the mildest pad and compound that clears the defect you agreed on.
- Wipe until the panel is dry and residue-free. Oils and polish residue are adhesion risks, not cosmetics.
- Coat paint in small sections, then treat the glass when rain visibility is the main complaint.
How long each phase actually takes
| Phase | Pass check | Typical time |
|---|---|---|
| Stage tools and wash spot | Separate wheel and paint towels, runoff planned | 10–15 minutes |
| Wheels and lower panels | Brake dust and road film gone, tools set aside | 15–25 minutes |
| Contact wash | No grit under the wash mitt | 25–40 minutes |
| Iron removal and clay as needed | Panel feels smooth, no bonded specks | 20–40 minutes |
| Dry and inspect | No trapped water, defects mapped in diffuse light | 15–25 minutes |
| Paint correction | Test-spot finish reached with the mildest pad | 1–4 hours |
| Panel wipe | Dry, no oils or polish residue | 15–25 minutes |
| Paint and glass protection | Even film, no high spots, glass sheets water | 45–90 minutes plus cure |
Match the work to the car in front of you
A commuter with light wash marring usually stops after a one-step polish and a coating, and that’s the honest answer for a car that sleeps in a garage. A neglected clear coat earns the test spot first, because the cheapest correction is the one you didn’t overdo. A paint-corrected show car gets the full day, and a daily driver in a coastal climate gets the coating and a maintenance plan instead of a second polish.
Mobile detailers can buy suitable products straight from our range, and some professional-only formulas stay with shops and studios that have the booth, the lighting, and the training to use them well.
Wash Wheels and Body Without Scratching Paint
Say a car comes home from a salted winter with grit packed around the wheel arches. A quick rinseless wipe would drag that grit across the paint; a careful pre-rinse and contact wash gives it a safer route off. For a garage-kept car with a week of dust, a rinseless wash with separate towels may be enough. Match the method to the soil, the runoff you can control, and the car’s sensors.
Before washing, choose a spot where runoff can be managed. Detergent, oil residue, metals, and exhaust particles can wash off the vehicle with the water, so biodegradable shampoo alone does not settle the runoff question. If the car is too dirty for a rinseless wash and runoff cannot be contained, use a suitable wash bay.
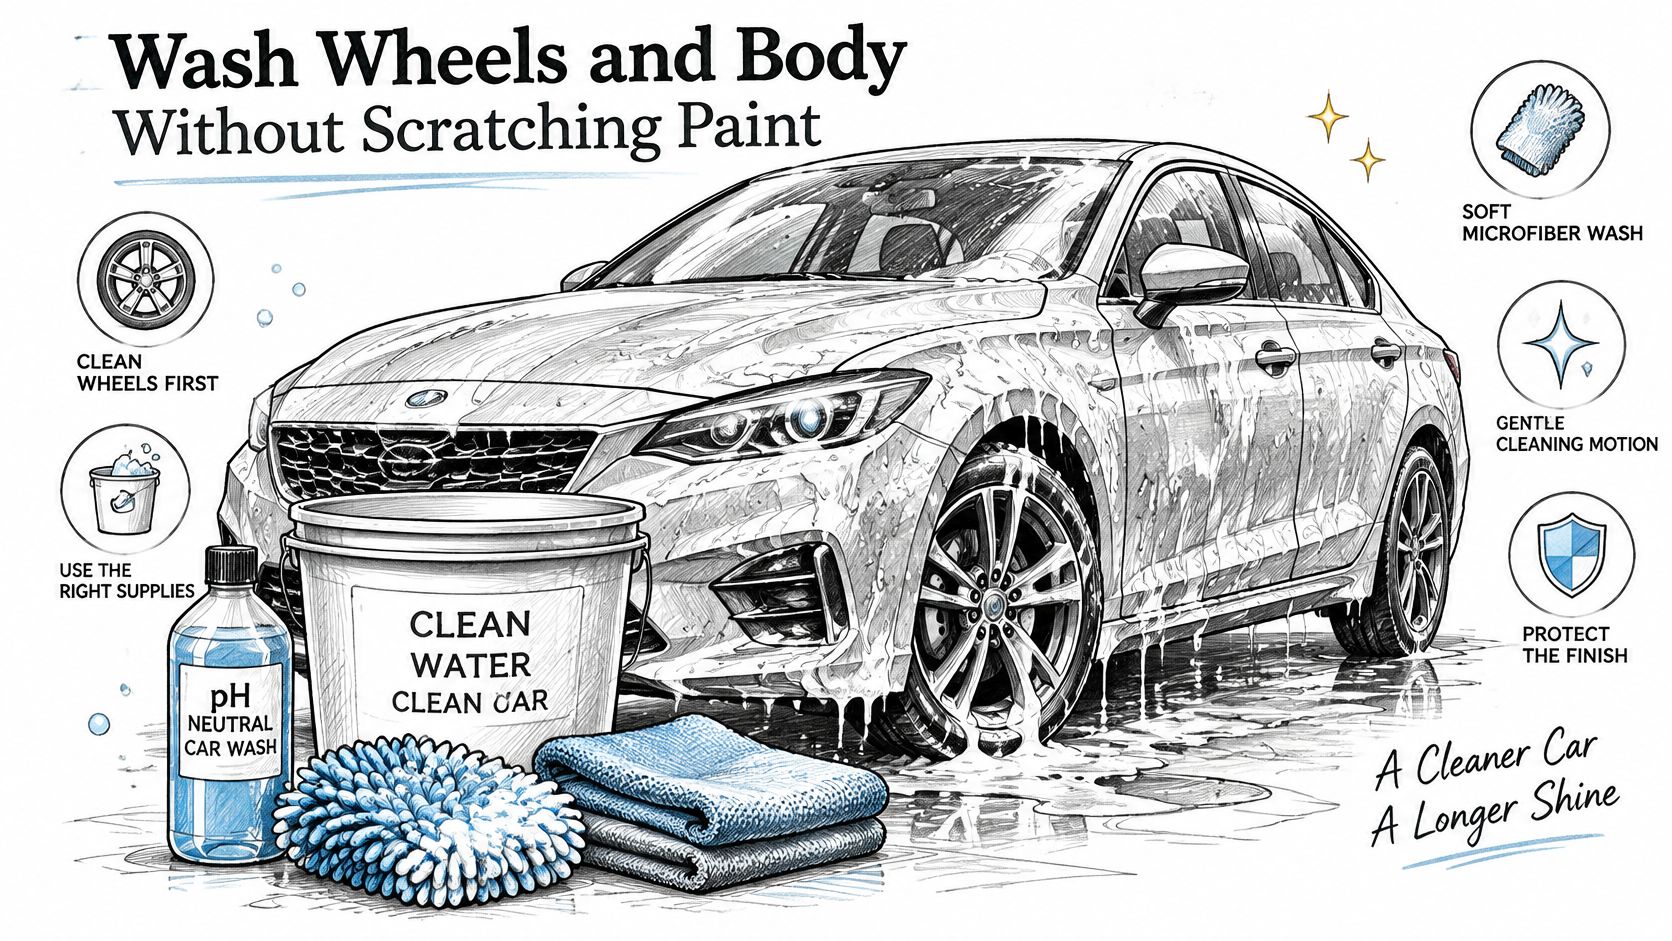
The wash, numbered
- Start with cool panels. Work out of direct sun so shampoo does not dry on the surface and leave marks.
- Clean tires and wheels with dedicated tools. Keep that bucket and those brushes away from the paint.
- Pre-rinse the body from the roof down. Let loose grit run off before a mitt touches the surface.
- Treat heavy grease before shampooing. For heavily soiled degreasing, use PURE, then rinse.
- Wash with a clean mitt, fresh rinse water, and a grit guard. Work one panel at a time, rinsing the mitt between sections. Follow the two-bucket car-wash method to keep wash water and rinse water separate.
- Rinse away suds and loosened dirt. Check lower panels and crevices rather than stopping when the water looks clear.
- Keep wheel towels separate from paint towels. A mitt or towel that has touched a wheel stays out of the paint-washing supplies.
Hand the car to drying cleanly
Blow or blot water from mirrors, badges, panel gaps, lug recesses, and light housings before minerals dry into spots. On a protected panel, let water sheet away, then use a plush towel with minimal pressure to catch the remaining drops.
Decontaminate and Correct Only the Defects You See
Say a café owner brings in a car with fine swirls across the hood and a few stubborn spots near the rocker panels. Under diffuse light, inspect the dry paint before choosing a correction. The goal is to remove bonded contamination and address visible defects, not to polish away clear coat in pursuit of gloss alone.
Titan Coatings recommends preparing the surface before installing a coating. BIOPREP is designed to remove polish residues and silicones without damaging paint or clear coat, and it helps prepare paint for coatings and waxes. For the best bond, Titan recommends surface preparation with BioPrep and 99.99% pure alcohol.
Prep for the defects you find
- Remove bonded contamination where it remains. Use a suitable chemical decontaminant, and clay only where the surface still feels rough.
- Stop if claying starts to mar the paint. Further passes can create defects that need correction.
- Inspect the finish under good light. Mark swirls, etching, and scratches, and leave deeper defects for discussion rather than chasing them blindly.
- Tape sensitive trim and edges, then test a small area. Choose the least aggressive pad and compound that addresses the agreed defect.
- Check the test spot from more than one angle. Continue across the car only when the result is acceptable.
- Use BIOPREP to remove polish residue and silicones before coating, following the product directions and preparing small areas at a time.
Keep the factory texture. Removing orange peel or chasing a deep scratch can take away clear coat that cannot be replaced. Correct only what the inspection shows and the paint can safely tolerate.
For a closer look at chemical and mechanical decontamination, follow this guide to decontaminating car paint. If the car is going to a dealer lot, clear listing photos can help show the corrected finish; the CarShots walkthrough for dealership merchandising teams explains how to photograph and edit vehicle images. Titan’s Ultra is a DIY product for maintaining and refreshing a coating at home.
Coat Paint and Glass So the Finish Lasts
Say a café owner has corrected the paint on a car that parks outside all day. The next choice should match the surface, the runoff setup, and the vehicle’s sensors, then protect the corrected finish with a coating suited to the job. Gloss alone is not the goal.
Small sections and the two defects they prevent
In a clean, low-dust space, apply the coating only to a fully dry surface. A published professional coating procedure recommends working in sections of roughly 60 by 90 cm, using overlapping north-south and east-west passes, applying for about 1 to 2 minutes per section, allowing 2 to 5 minutes of dwell, then leveling with a clean microfiber towel (ceramic coating application procedure). Smaller sections help prevent excess product from curing as a high spot and make missed patches easier to catch.
Work from the roof downward. Use one towel to remove residue and another to make the final pass, checking each section from several angles as you go. If the coating system allows a second layer, follow its technical data sheet for the recoat interval. The product’s instructions take precedence because the suitable timing varies by formulation and conditions.
Alpha Quartz on paint, Apex Glass on the windshield
Alpha Quartz is a DIY and mobile detailers coating for paint. Follow its product instructions for application and leveling rather than relying on unverified drop counts or timing. Titan describes the coating as hard and flexible. Choose a coating for the corrected paint and the car’s use, not gloss alone.
For the windshield, Apex Glass Coating for cars is a DIY and mobile detailers coating. Apply it according to the product instructions, taking care around sensors and other vehicle equipment. Keep the work area controlled so product and runoff stay where intended.
Cure timing depends on the coating. Other Titan Coatings take 12 to 24 hours for initial curing, and the vehicle should not be washed for 7 days to allow full chemical bonding. Some Titan Coatings are designed to be layered, with the installer recommending the process for each vehicle. For practical exterior cleaning and paint protection advice, keep the same care in mind after the coating is applied.
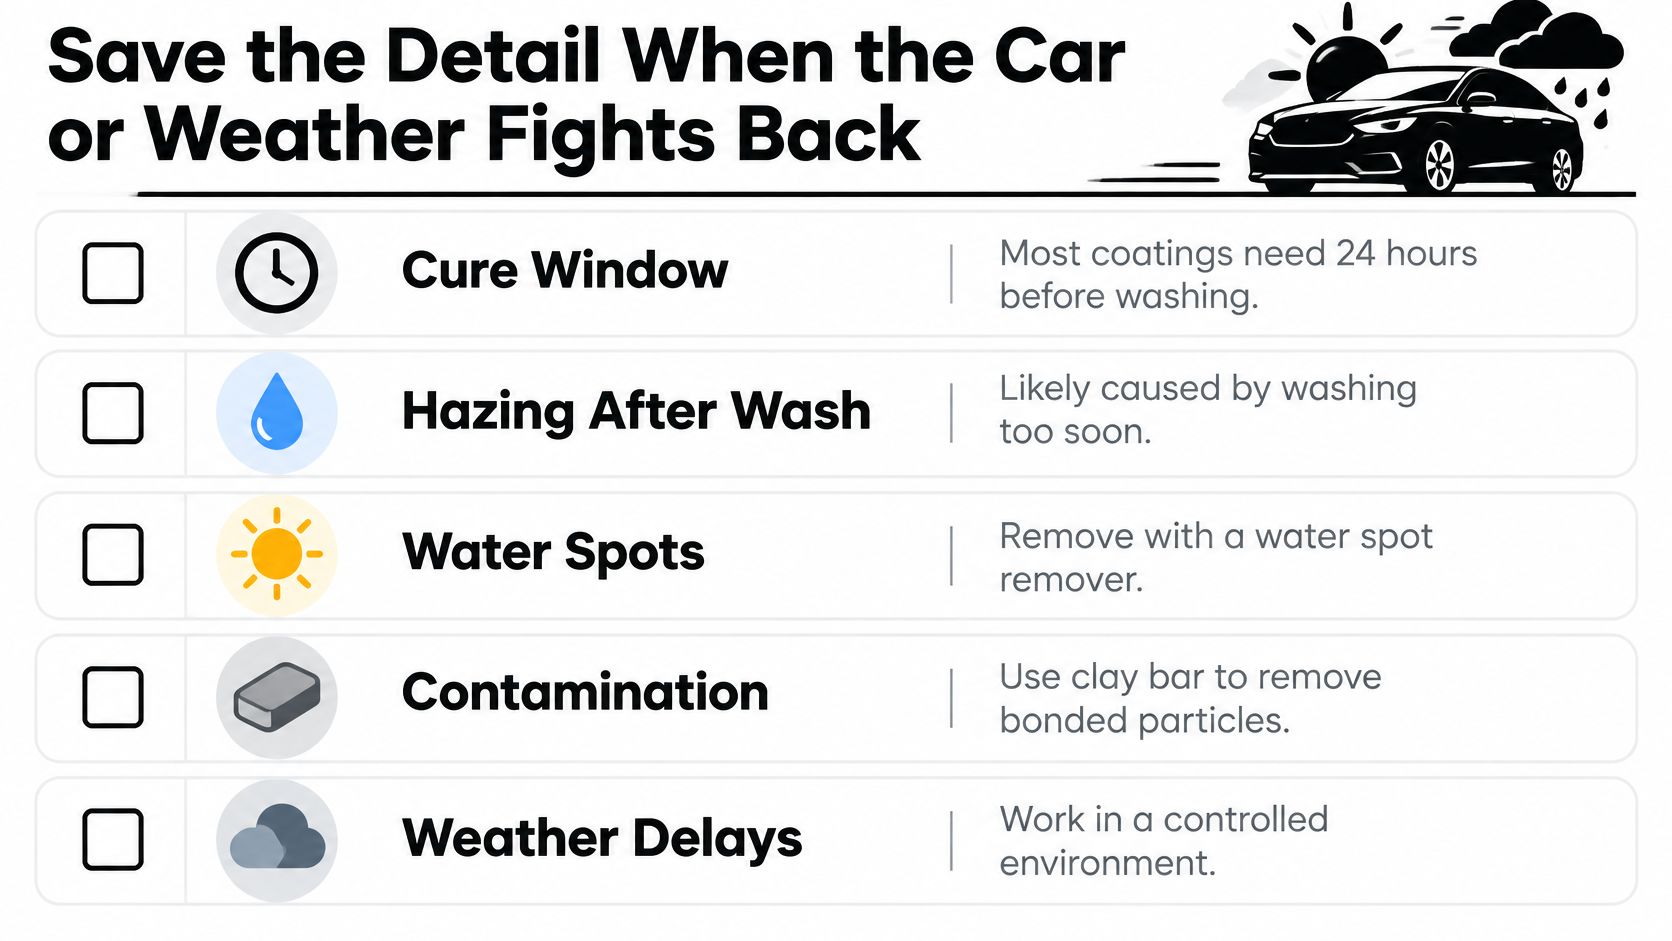
Save the Detail When the Car or Weather Fights Back
A coating that hazes the morning after an owner washes it is usually a timing problem, not a product problem. Water hitting the film before the cure window closes interrupts the chemistry, and the haze that follows won’t rinse away.
Modern cars add their own exceptions. Unplug an EV, close and cover the charge port, and keep concentrated pressure off ports, seals, camera housings, radar areas, and exposed cabling. Clean lenses with a light hand and a coating-safe towel, never a compound. After the wash, a short low-speed drive with gentle stops clears moisture off the rotors.
Temperature is the other pressure point. Research on polymer thin films explains that a mismatch in coefficient of thermal expansion with a stiff substrate creates tensile thermal stress during cooling, and that stress can contribute to tunneling cracks that compromise the film’s mechanical integrity (thermal stress and tunneling cracks). That’s the mechanism behind the elasticity argument, and it’s also why a flexible film should be judged on thermal-cycle data. Schedule around the weather when you can, and read coating application temperature before committing a panel to a cold snap.
| What you see | Likely cause | What to do |
|---|---|---|
| High spots or streaks | Section too large or dwell too long | Level at once if still open; polish only if the maker allows after cure |
| Coating hazed after an early wash | Cure window ignored | Leave it alone for the stated cure, then use a pH-neutral wash |
| Rigid coating looks cracked after weather | Film could not move with heat and cold | Recoat only after proper removal with a flexible system |
| Dirty water ran to the street | No mat, bay, or drain plan | Stop and switch to rinseless or a contained wash |
| Glass still smears in rain | Bare glass or one thin pass | Clean, apply glass coating, and treat the wiper blades |
| Cameras or charge port look spotted | Pressure or strong chemical | Gentle clean only, port covered, no abrasive polish |
Name the row that matches the car before you do anything else to it.
Pick the Coating and Keep It Working
Say your SUV is clean, the visible defects are corrected, and you’re choosing what goes on next. Walk around it once more: paint protection and glass treatment serve different jobs, and both need a maintenance routine you can follow. The winning sequence matches the soil, contains the runoff, protects the sensors, then preserves the corrected finish.
Choose by the job first.
| Product | Best fit | Main job |
|---|---|---|
| Alpha Quartz | DIYers and mobile detailers coating paint | Protect the prepared finish |
| Apex Glass | Windshield and glass | Coat the glass surface |
| Ultra Ceramic Spray | At-home coating maintenance | Refresh the coating, as covered earlier |
Alpha Quartz – 50ml is a DIY and mobile detailers coating currently priced at $67.97. Some Titan Coatings support layering; let the installer recommend the process for your vehicle rather than assuming every coating can be stacked.
Apex Glass – 50ml currently costs $39.97 and is also available to DIYers and mobile detailers. Keep the glass treatment separate from the paint decision so each surface gets the appropriate product.
Build maintenance into that purchase. Wash with a pH-neutral shampoo and avoid harsh chemicals and abrasive cleaning products. Ultra and Omniguard are DIY options for maintaining and refreshing a coating at home. The guide to how long a ceramic coating lasts explains the wear factors to consider when setting expectations.
If protection degrades, have a certified installer inspect the vehicle, provide feedback, and restore the coating as needed.
The all-products shop includes options for DIYers, mobile detailers and professionals, with some products restricted to professional detailers and shops. Check that the product fits both the surface and your application experience.
APEX NANO – Titan Coatings develops protective coatings for automotive and other industries. Choose a system suited to the panel’s exposure and movement, then maintain it properly. Gloss is the visible finish; preserving the corrected paint is the job.
0 Comments