
You know the moment. The film looks tired, a corner is lifting, maybe the edge near the wheel arch has gone yellow, and now every wash seems to pull more attention to it. That’s when car paint protection film removal stops being a cosmetic annoyance and turns into a real paint-care decision, because what happens before the first pull, during the peel, and after the residue comes off decides whether the finish looks sharper or ends up needing correction.
A common mistake is treating removal like ripping a sticker off glass. It isn’t. Film age, adhesive behavior, paint history, and post-removal protection all matter, especially on used cars where no one is fully sure what’s under the film. If you’ve ever stared at an old bumper wrap or a sun-baked hood and wondered whether to DIY it, hand it off, or just keep living with it, you’re in the right place.
A lot of the same thinking applies to bigger-body work too, including RV panels, where a trusted body-shop resource like pipe creek RV shop can be useful when the job shifts from simple deinstallation to broader finish repair. The same principle holds here, removal is only half the job, and the surface underneath tells you what comes next.
When the Film Has to Come Off
The first time a car owner seriously thinks about car paint protection film removal is when the film stops looking invisible. The edges lift. The gloss goes uneven. Yellowing shows up in the sun. Or the film has outlived its job and now feels more like a liability than protection. That’s the point where impatience kicks in, because it’s tempting to grab a corner and pull.
That temptation is where paint damage starts. On older cars, the issue isn’t just the film, it’s what the film has been sitting on for years. A clean removal on a healthy panel can look easy from ten feet away, but the job changes fast when the film is brittle, the adhesive has hardened, or the panel was repainted at some point and nobody documented it.
The decision starts before the peel
The smartest move is to treat removal as a surface assessment first and a removal job second. If the film is on original factory paint, removal is usually more predictable. If it’s on a resprayed hood, a repaired bumper, or an unknown used-car panel, the risk profile changes immediately.
That’s why the questions before the pull matter more than the pull itself. What looks like “bad film” can be a panel that already had issues under it. Once the film comes off, those issues don’t disappear, they show up in plain view.
For a deeper look at what PPF is and how it’s built, the basic material context is useful in this overview of paint protection film.
Practical rule: if the panel history is unclear, inspect first, remove second. That one habit prevents most unnecessary damage.
The best removals begin with the assumption that the surface underneath may be fragile, repainted, or hiding defects. That mindset changes how hard you pull, how much heat you use, and whether you should even start on that panel in the first place.
What Removal Costs and Why It Varies
Removal pricing looks straightforward until the vehicle comes into the bay and the film starts telling the truth. A typical mid-size sedan removal usually runs $500 to $1,500, while a 5-year-old mid-size SUV with moderate residue and light polishing often lands around $750 to $1,550 according to a 2026 industry cost guide. On the other end, an older, lower-quality film can push a full-size truck removal to $1,550 to $3,300 when adhesive cleanup and paint correction are needed, which is why this service is no longer just a “peel it off” line item. Flexi PPF removal cost guide
Cost bands by film age and vehicle size
| Vehicle Type | 2-Year Premium Film | 5-Year Mid-Tier Film | 8+ Year Budget Film |
|---|---|---|---|
| Mid-size sedan | $300 to $600 | Usually higher than fresh film because cleanup grows | Can climb sharply with residue and correction |
| Mid-size SUV | Lower end of the typical range when film is healthy | Commonly around the middle of the market range | Often needs more labor for brittle edges |
| Full-size truck | Higher than a sedan when panel count increases | Can move toward the upper end with residue | May reach $1,550 to $3,300 when correction is needed |
The spread comes from labor, not just the sticker on the job. Film age changes how the adhesive lets go, and that changes how long you spend with heat, patience, residue removal, and sometimes follow-up polishing. A vehicle with 2 years of premium film may only need $300 to $600 total, while an 8+ year budget-film job can require much more work because the film breaks down, the adhesive hardens, and the edges start fighting you. The material itself matters less than what time, heat, and weather have done to it. For a broader pricing frame, the cost data also lines up with PPF removal cost considerations, especially when residue and finish work enter the picture.
The market context explains why this service keeps showing up more often in shops. Industry data cited in 2026 reports put the global PPF market at about USD 548.5 million in 2023 with projected growth of 5.7% CAGR from 2024 to 2030, while North America accounts for about 25% of global revenue and Asia-Pacific holds 35%+ of the market. In the U.S., one market report estimated the PPF market at USD 105.04 million in 2023, rising to USD 158.21 million by 2030 at 6.2% CAGR. As more installs age out of their 5 to 10 year service cycle, removal, cleanup, and correction become recurring work, not edge cases. Ceramic Pro market context
Reading the Paint Before You Touch the Film
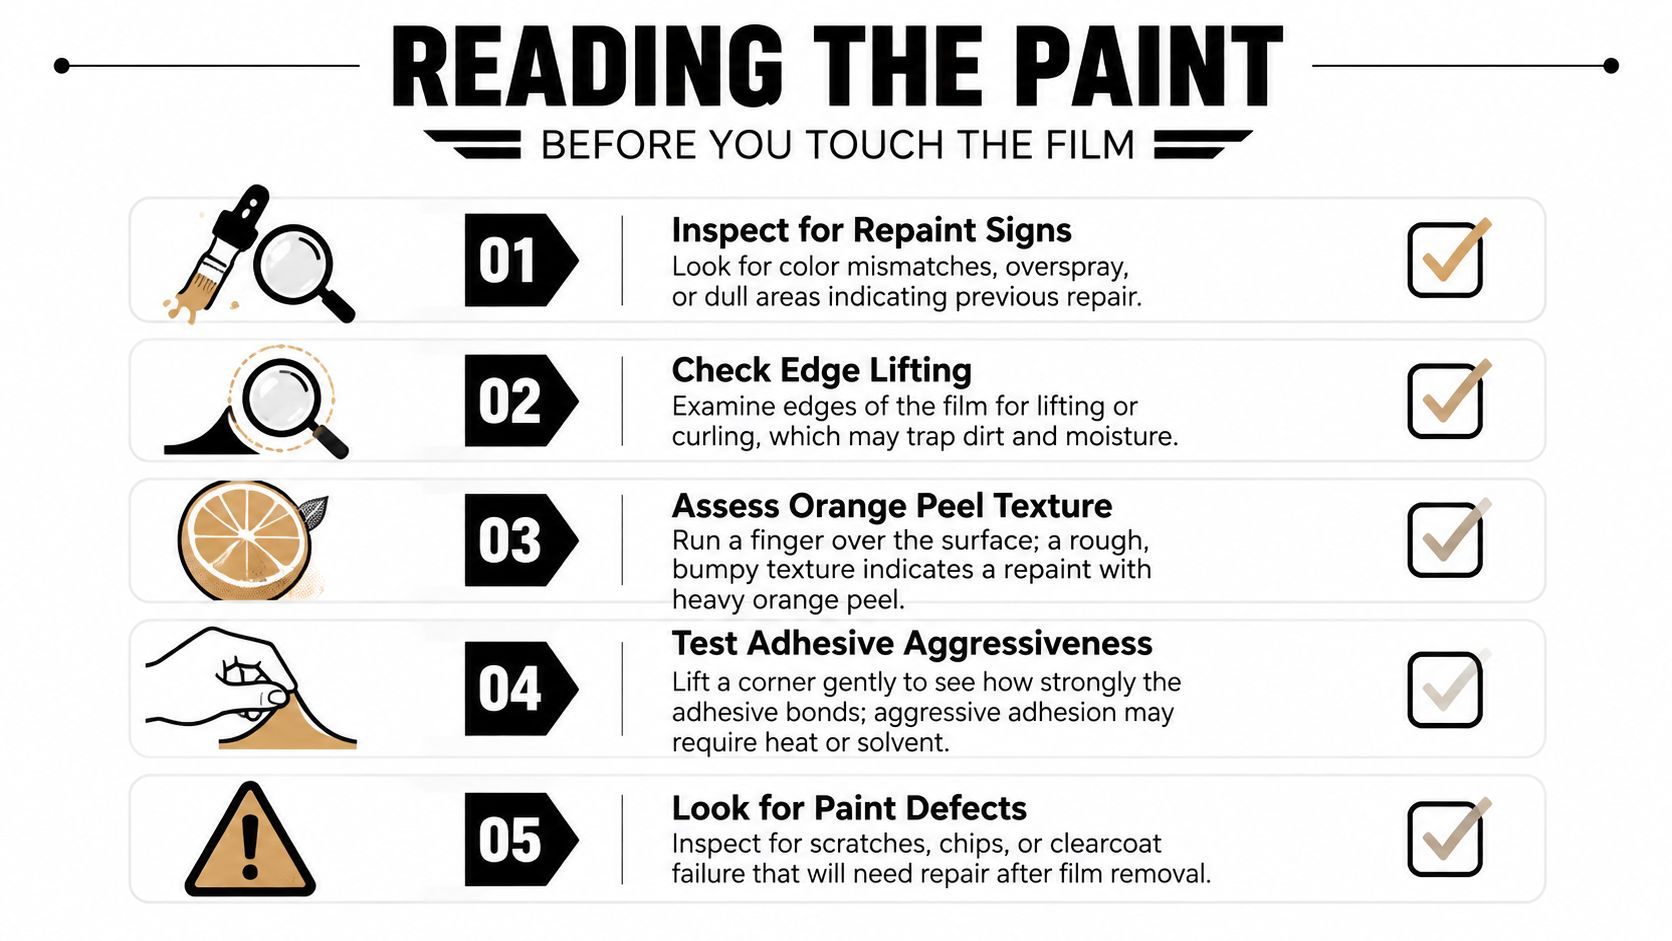
A good removal starts with light, not heat. Pull the car into diffused lighting, because harsh sun and garage shadows hide the things that matter most. Repaint signs, tape lines, edge lifting, and uneven texture tell you more about risk than the film brand ever will.
What to look for on the panel
A repainted panel often gives itself away in small ways. Overspray on trim, slight color mismatch, or a rougher orange peel texture can signal prior repair. If the surface sheen changes abruptly from one panel to the next, that’s another clue the paint history isn’t clean.
A thickness gauge helps here, but it doesn’t replace your eyes. A reading that feels out of pattern across adjacent panels can justify more caution, especially on used cars or collision-repaired sections. For measuring before you start, this paint thickness guide is worth keeping in the shop reference pile.
A plastic pick or fingernail can help test a corner, but only gently. If the edge lifts cleanly and the adhesive feels even, that’s one thing. If the film grabs hard, curls unpredictably, or shows signs of brittleness, the panel deserves slower work and possibly professional handling.
If the panel has unknown history, treat it like a repainted surface until you prove otherwise.
The most important judgment call is knowing when not to continue. Stop DIY removal if you see obvious repaint signs, if the film is bonded aggressively in patches, if the panel has clear-coat haze already, or if the surface feels thin and inconsistent under inspection. That’s especially true when a car’s paint history is uncertain, because the risk is often in the substrate, not the film itself.
The reason this matters is that some owners blame the film for damage that was already there. A worn clear coat can hide under PPF for years, then look suddenly “damaged” the moment the film comes off. That doesn’t make removal the cause, it makes removal the reveal.
The Removal Workflow Without the Drama
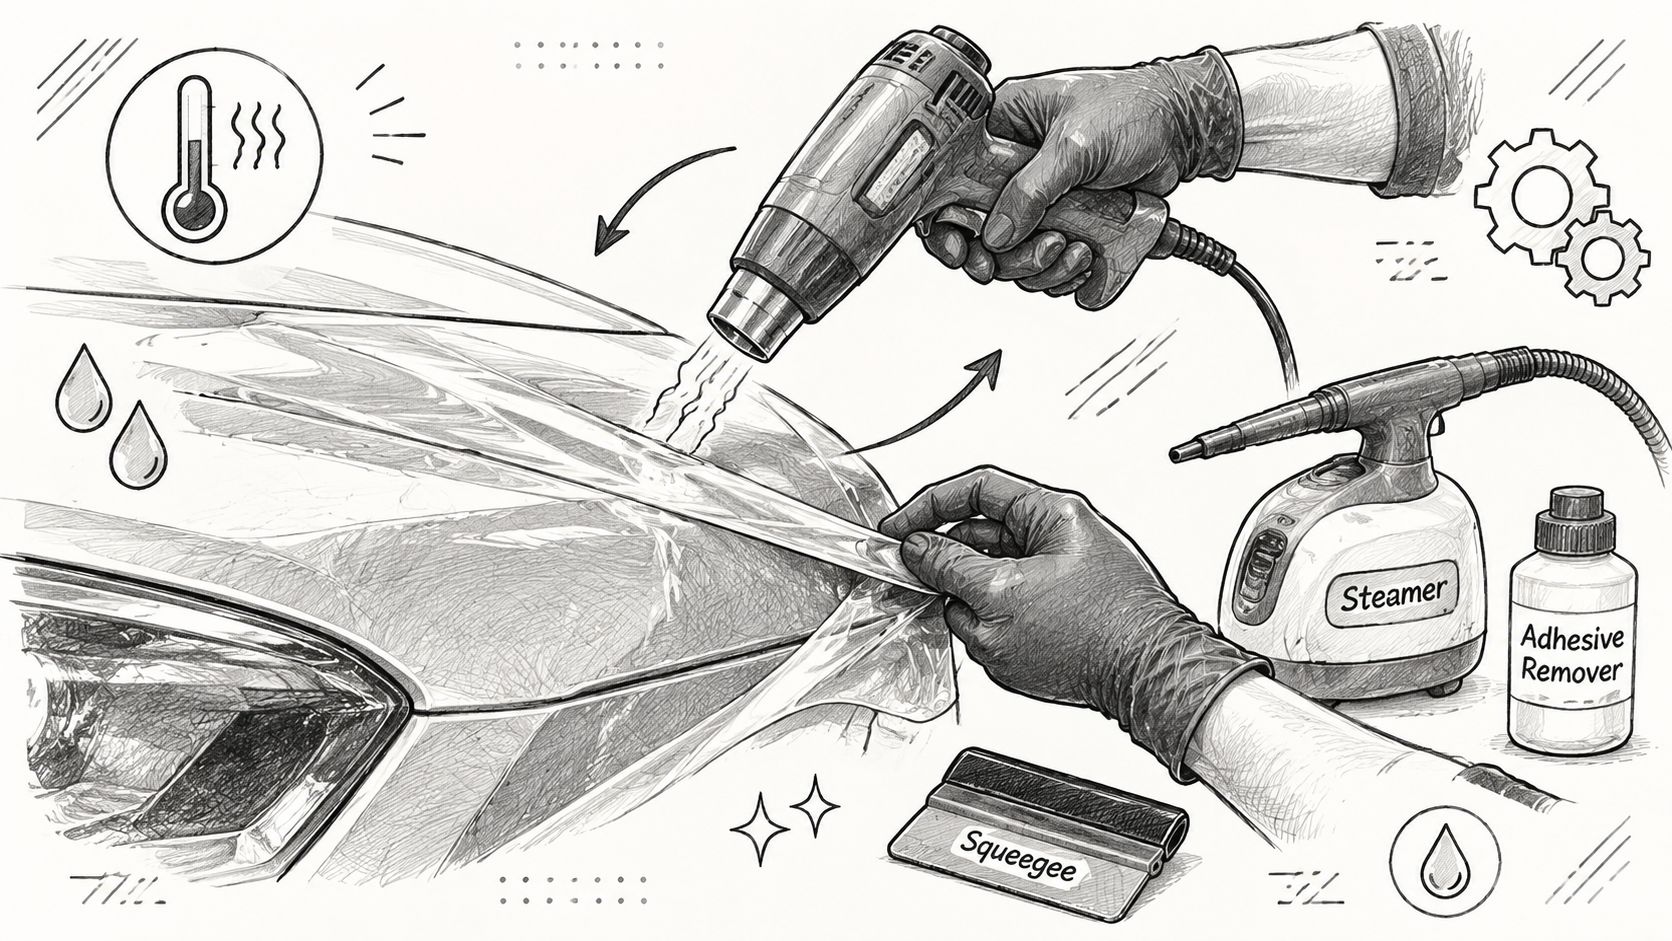
The cleanest removals happen when the panel is washed, decontaminated, and dry before any heat goes near it. Dirt under your fingers becomes friction, and friction turns a decent peel into a marring problem. A bright diffused inspection light should stay nearby, because residue changes shape once the film starts moving.
Heat, angle, and pace
Independent detailing guides converge on a working heat range of about 140°F to 160°F (60°C to 71°C), with the heat source held roughly 6 to 12 inches away and moved constantly. That range is the sweet spot for softening adhesive without cooking the paint or making the film brittle in your hands. When the adhesive is ready, the film should lift in a continuous sheet, not break apart into little strips. Olson’s Auto Detailing removal guide
The peel angle matters just as much. A 30 to 45 degree pull keeps the tension flatter and lowers the chance of adhesive transfer. Pulling straight up is the classic mistake, because it loads the bond too aggressively and invites tearing. Veteran Detail safe removal guide
The rule is simple. If the film resists, reheat it. Don’t increase pull force. If you hear stretching, see whitening in the adhesive, or watch the film fragment instead of rolling back smoothly, stop and reset the section. Those are the signs that the bond has outpaced your heat or that the film has aged into a more brittle state.
A whole-vehicle removal on a typical coupe can take up to a full working day when done correctly, and that’s not wasted time. That time pays for control, especially when you’re working on a car that may need correction once the film is gone. For riders and smaller-body protection jobs, the same patience applies, which is why a resource like best motorcycle protection for Europe is helpful when the discussion shifts to panel-specific protection rather than a rushed peel.
The best removals feel almost boring. Warm a small section. Peel slowly. Reheat when needed. Keep the sheet moving. If the film starts fighting back, the job is telling you to slow down.
Cleaning Adhesive Residue Without Damaging the Paint
Residue cleanup is where a lot of otherwise clean removals get spoiled. Light adhesive haze wipes differently from the gummy, stringy mess left by older or lower-quality film, and treating both the same usually creates trouble. The goal is to remove the adhesive without forcing it deeper into the clear coat or smearing it across trim.
Solvent choice and cloth control
Use a dedicated automotive adhesive remover first, then reach for isopropyl alcohol blends only when the panel and finish can tolerate it. The solvent should go onto the microfiber, not blasted everywhere at once. Work in small passes, let the cloth lift the residue, and keep turning the towel so you’re not rubbing softened adhesive back into the paint.
What you should avoid is just as important. Strong household solvents, aggressive scraping, and over-saturating satin black plastics can stain or soften trim fast. Badges, weather seals, and textured plastics are the first places to get damaged when someone gets impatient.
For tar-like contamination and stubborn remnants after film removal, this road tar removal guide is a useful companion reference because the same patience and solvent discipline apply.
Practical rule: if the residue is moving but the towel is dragging, stop and switch towels before the haze turns into micro-marring.
The finish check that saves the panel
Once the residue is gone, inspect the panel again under diffused light. Look for haze, rubbed edges, or the faint dulling that shows up when cleanup has been too aggressive. If the surface now needs machine polishing, that’s fine, but don’t keep scrubbing by hand hoping it’ll clear itself.
Plastic trim deserves its own caution. Solvent overspray on textured black trim is one of the fastest ways to turn a removable residue job into a permanent cosmetic problem. Keep the product controlled, wipe the area clean immediately, and don’t assume trim can be corrected as easily as paint.
The moment to stop and hand the car to a pro is the moment residue cleanup starts creating visible haze or crosshatch marks. At that point, the issue has moved from removal into correction, and forcing the process usually makes the repair larger.
Why the Next Coating Decision Matters More Than the Last One
Once the film is off, the surface needs a new plan. Some owners go straight back to new PPF. Others choose paint correction, then a traditional ceramic coating. Some want a quicker sacrificial layer that’s easier to apply and refresh. The right answer depends on how the car is used, not just how it looks in the bay.
Protection options after removal
New PPF makes sense when the car still takes regular impact and the owner wants the same kind of sacrificial barrier again. Traditional ceramic coatings can add gloss and easier maintenance, but the chemistry is rigid compared with elastic membrane systems. That rigidity matters when the car lives through frozen mornings, hot afternoons, repeated wash cycles, and bug strikes that stress the surface in different ways.
An elastomer-based approach is different because flexibility is the feature, not a side effect. A coating that’s hard like glass but flexible under temperature swings is better positioned to move with the surface instead of fracturing under stress. That’s the practical distinction that matters after a film comes off, especially on daily drivers that don’t live in a climate-controlled garage.
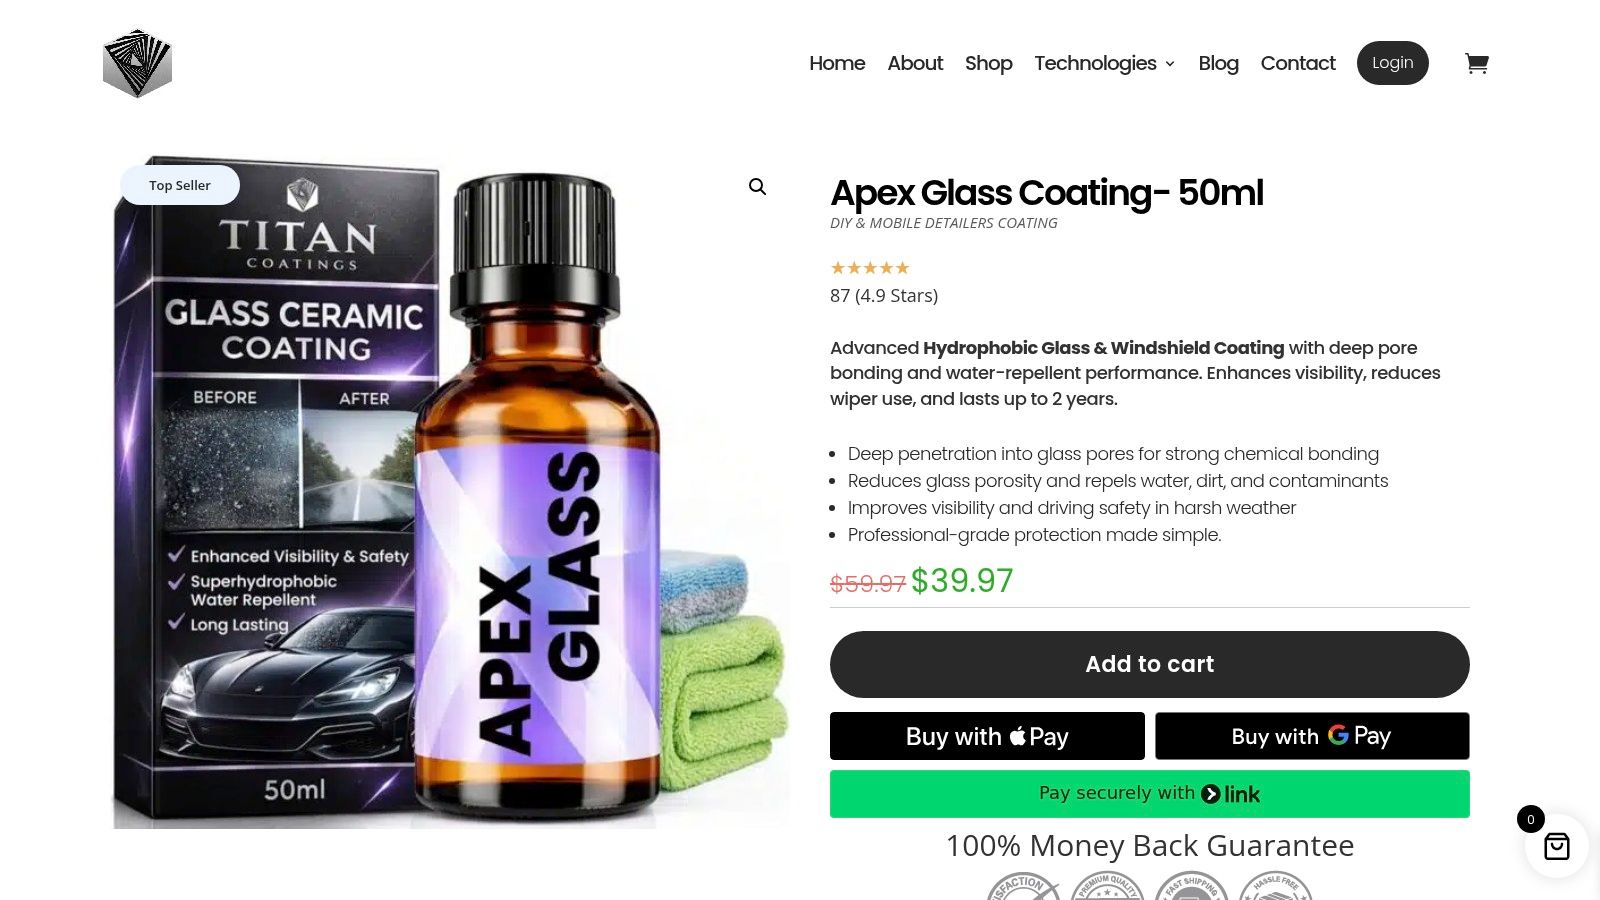
The same logic applies to glass. Visibility in rain changes the entire ownership experience, which is why a dedicated windshield coating can be a smart post-removal add-on when the car is being reset for long-term use. A flexible maintenance layer also makes sense on wraps, PPF, glass, wheels, and trim when the goal is a sacrificial topper rather than a permanent fix.
For a direct comparison of how these categories differ, the PPF versus ceramic coating breakdown helps frame the choice without pretending one product fits every car.
A fresh removal job should end with a protection choice that matches how the vehicle is driven. If the car sees a lot of weather variation and regular impact from debris or insects, flexibility becomes more important than raw gloss alone.
A Practical Checklist and the Road Ahead
The simplest way to keep a removal job under control is to think in sequence, even if the work itself isn’t linear.
- Inspect first, look for repaint signs, edge lift, and unknown panel history before you touch the film.
- Prep the surface, wash, decontaminate, and dry the panel so dirt doesn’t become friction.
- Heat in control, warm a small section, keep the source moving, and stay near the safe temperature window.
- Peel shallow, work at a low angle and let the film come away in continuous sheets.
- Clean residue carefully, use the right solvent on paint and keep it off trim.
- Protect next, choose the follow-up layer based on the way the vehicle lives now.
The common mistakes are easy to name and expensive to ignore. Skip the paint-history check, and you risk lifting on a repaired panel. Crank the heat to hurry the job, and you can blister or distort the finish. Leave residue for “later,” and later usually means more polishing, more time, and more risk.
Removal is not the finish line, it’s the handoff point between old protection and the next surface strategy.
That’s the road ahead. Once the film is gone, the next layer should account for the same stresses that aged the film in the first place, which means temperature resilience, flexibility, and impact absorption aren’t extras anymore, they’re the baseline.
If you’re planning the next step after car paint protection film removal, take a look at APEX NANO – Titan Coatings. Their elastomer-based products are built for the kind of post-removal protection decisions that matter, and they’re worth considering when you want the next layer to work with the car, not against it.
0 Comments