
You've finished polishing, the paint looks sharp, and the coating is ready. Then the bonnet feels warmer than expected, the air turns damp, and your applicator starts dragging before you've finished the panel. Do you keep going, shorten the working area, or stop?
That decision matters more than the label on the bottle. A reliable coating finishing process connects surface preparation, application, environmental control, curing, and inspection. Get those decisions right, and you give the formulation a fair chance to perform.
Why the Coating Finishing Process Matters More Than the Product
Consider a hypothetical detailer coating a freshly polished vehicle before an afternoon collection. The paint looks clean, so they skip the final residue check and apply a premium ceramic coating. At handover, the reflections are crisp and the finish looks convincing.
Later, uneven performance raises an uncomfortable question: did the coating bond to the paint, or to something left on it? Without preparation records, the detailer can't confidently separate product failure from application failure.
That's the weakness of judging a job only at delivery. Appearance is an acceptance criterion, not proof that every underlying step was correct.
Treat finishing as a connected system
The process map keeps attention on the controls surrounding the product.
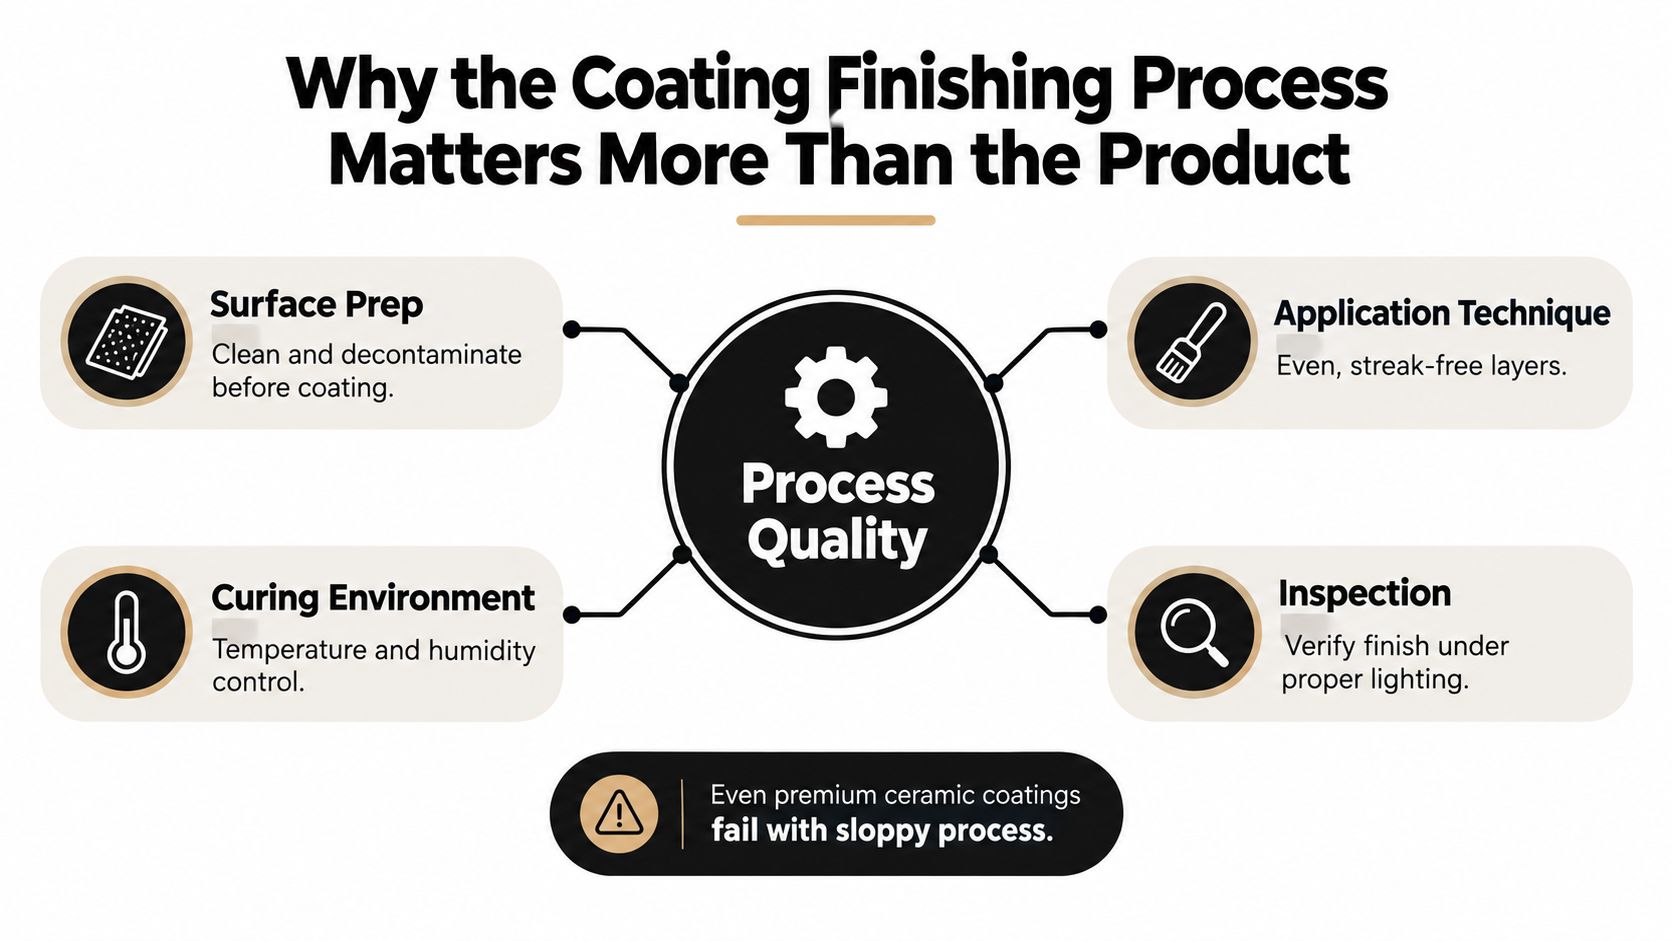
Industrial finishing makes the environmental stakes clear. The EPA reports that primer, guide-coat, and topcoat application and curing generate approximately 50–80% of total VOC emissions in automobile and light-duty truck assembly plants, with approximately 75–90% of those application-and-curing emissions coming from spray booths and flash-off areas and 10–25% from bake ovens (EPA automobile coating process assessment).
Those figures describe assembly plants, not a detailing studio's emissions. Their practical relevance is that material selection, application, and curing must be managed together rather than treated as unrelated tasks.
Practical rule: A premium coating can't compensate for a surface or working environment that its instructions don't permit.
Define success before opening the bottle
A useful job plan answers several questions:
- Substrate: What finish, repair, film, or previous protection are you coating?
- Application conditions: Can you maintain a suitable workspace until leveling is complete?
- Handover: Where will the vehicle remain while the film develops its required properties?
- Acceptance: What observations and records will support delivery?
Titan's guidance on coating adhesion belongs in that planning stage, before product consumption becomes the focus.
There's a useful cross-trade comparison in Savera Wood Floor Refinishing's complete polyurethane floor finishing process. The substrates and chemistry differ, so don't transfer application instructions between them. The transferable discipline is to evaluate the whole finishing sequence rather than only the final coat.
Preparing the Surface for a Flawless Finish
Preparation means removing what prevents bonding without damaging what you intend to protect. A vehicle can look washed and still need further assessment. Equally, aggressive treatment isn't automatically better preparation.
The EPA identifies vehicle preparation, primer application, topcoat application, and equipment cleanup as distinct automotive refinishing stages; solvent cleaning during preparation accounted for approximately 8% of total refinishing VOC emissions in its assessment (EPA automobile refinishing assessment). That's a useful reminder to make cleaning deliberate, not excessive.
Build preparation around the actual surface
Start with an inspection before choosing chemicals or abrasives. Note repaired panels, exposed edges, textured trim, paint protection film, and any finish whose compatibility is uncertain.
- Wash thoroughly: Remove loose dirt before contact-intensive work. Keep dirty wash equipment away from the clean preparation area.
- Decontaminate selectively: Use a compatible iron remover where appropriate, and clay only when bonded contamination warrants mechanical removal. Don't add an abrasive step because it appears on a standard package.
- Polish to a defined outcome: Decide which defects can be addressed safely and which should remain. The objective is a suitable substrate, not unlimited correction.
- Remove polishing residues: Use the coating manufacturer's approved panel cleaner. An isopropyl-alcohol solution is appropriate only where compatible with the coating system and underlying finish.
- Verify readiness: Check panel dryness, residue removal, and environmental suitability before opening the coating.
Change towels when they become loaded rather than spreading dissolved residue onto adjacent panels. Pay particular attention to seams and trim boundaries where cleaning liquid can remain.
Choose protection without compromising preparation
Titan's coating surface preparation guidance provides a relevant reference when building a product-specific workflow. Keep that workflow separate from habits inherited from another brand or substrate.
The same distinction applies outside automotive work. Tony Painting's resource on how to paint kitchen cabinets properly is a useful cross-trade comparison for preparation planning, but cabinet preparation is not a specification for automotive clearcoat.
For compatible protection work, ULTRA Ceramic Spray is described as a highly concentrated, water-based flexible membrane sealant for paint systems, wraps, PPF, glass, wheels, plastic trim, and household and personal items. Its broad intended use doesn't remove the need to assess each surface.
Don't apply a sealant as a preparation shortcut beneath another coating. Confirm the intended layer arrangement first. A clean, compatible substrate is more valuable than an extra product applied without a defined purpose.
Applying the Coating Like a Professional
A controlled application should look repeatable rather than hurried. Lay out the applicator, leveling towels, finishing towels, lighting, and waste container before starting. If you need to search for a clean towel while the coating is flashing, the workstation wasn't ready.
Alpha Quartz 50ml Ceramic coatig is Titan's elastomer ceramic coating, described as suitable for indoor and outdoor application and carrying a stated four-hour cure time. Treat that manufacturer-stated schedule as product-specific guidance, not permission to ignore environmental conditions or subsequent exposure restrictions.
Establish a workable test area
Use a manageable test section to confirm spreading, flash behavior, and towel response. Applicator loading, coverage area, and waiting time should come from the current product instructions, not a universal ceramic-coating recipe.
The visual sequence below is a workflow reminder. Confirm the actual dispensing method on the product you're using rather than treating the illustration as dosing guidance.
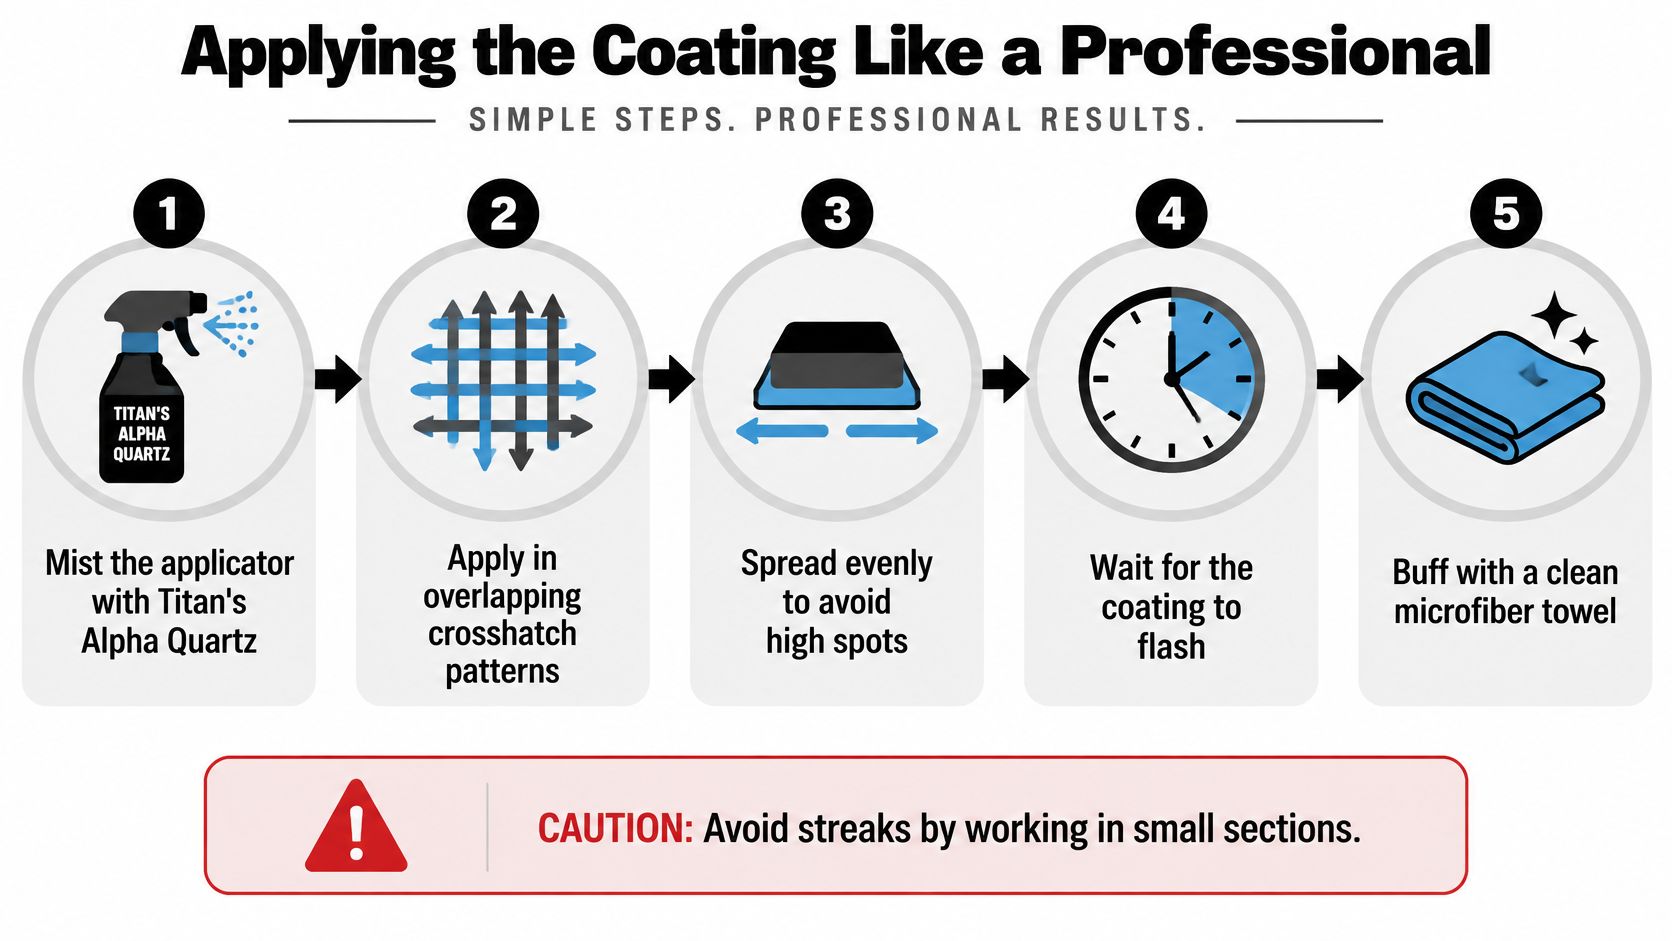
- Load consistently: Wet the applicator according to the product instructions. Don't compensate for poor spreading by flooding the panel.
- Spread methodically: Use overlapping cross-directional passes where specified. Finish a defined area rather than chasing coverage across an entire panel.
- Observe the flash: Watch the film's behavior under suitable lighting. A clock supports observation, but it doesn't replace it.
- Level with a dedicated towel: A clean short-pile microfiber can provide controlled removal where the manufacturer permits that method.
- Finish with a separate towel: Use a clean finishing microfiber to check for residual streaking without redistributing material from the leveling towel.
Axalta's spray-clearcoat procedure specifies a typical flash window of 30 seconds to 5 minutes, while requiring the product technical data sheet to govern the actual interval (Axalta clearcoat application procedure). That interval isn't an Alpha Quartz instruction. It demonstrates why borrowing flash times between coating systems is poor practice.
Adjust technique before expanding the area
If leveling becomes difficult, stop increasing the working area. Reassess material loading, panel conditions, and whether the film has moved beyond its permitted leveling window.
Don't finish the whole vehicle with a technique that hasn't worked on the test section.
Titan's ceramic coating application temperature guidance is relevant when deciding whether to proceed. Indoor and outdoor usability offers flexibility for DIYers and mobile detailers, but it doesn't make every outdoor condition acceptable.
For broader exterior-work planning, SuperiorPRO exterior painting services offers a useful comparison with another weather-exposed finishing trade. The common planning concern is exposure; the chemistry and application requirements remain different.
The professional advantage isn't applying faster at any cost. It's recognizing a changing working window before the finish needs corrective polishing.
Curing Without Cracking or Compromise
Dry to the touch isn't the same as ready for service. Curing involves chemical development, and a film can require continued protection after it no longer feels wet.
The important trade-off is between hardness and the ability to accommodate stress. A coating needs sufficient resistance for its intended exposure, but hardness alone doesn't explain how it responds to shrinkage or substrate movement.
Understand what curing research actually proves
Research from the Technical University of Denmark found that crosslinking in epoxy coatings increased elastic modulus, volumetric shrinkage, and internal stress after vitrification. Curing at 35–45 °C, compared with 23 °C, produced a slight stress increase of approximately 0.2 MPa; increasing relative humidity from 35% to 60% reduced stress through swelling, while 90% increased it again through greater final chemical conversion (DTU research on coating stress and cracking).
These are findings for the studied epoxy system. They aren't a cure recipe or performance test for an automotive elastomer coating.
They do establish why curing deserves more attention than a countdown. Temperature and moisture can influence the final film, and their effects aren't necessarily linear.
Put elasticity and nanotubes in context
Titan positions its proprietary coating technology around elastomers, nanotubes, and Dark Matter Technology. Its description of elastic coatings as hard like glass yet flexible addresses a legitimate design objective: combine surface resistance with an ability to accommodate movement.
That rationale shouldn't become an unlimited promise. Resistance to cracking between freezing and hot conditions, or under insect impact, needs product-specific evidence defining the substrate, exposure, and test conditions. Flexibility can support durability, but it doesn't establish immunity to every thermal or mechanical load.
Research on nanotube-polymer composites likewise shows why processing matters: reinforcement depends on dispersion and the interface between the nanotubes and polymer, not merely the presence of a nanomaterial (research on carbon-nanotube reinforcement).
Cure-management principle: Evaluate the finished coating system, not a single ingredient or hardness description.
For handover planning, use Titan's guidance on how long ceramic coating takes to cure alongside the exact product instructions. Separate permission to handle the vehicle from permission to wash it, expose it to water, or place it into normal service.
If heating is authorized, follow the prescribed method. More heat isn't automatically better curing, particularly when the substrate includes repairs, plastics, adhesives, or films with their own limitations.
Inspecting the Finish and Fixing Flaws
A glossy vehicle can still have a finishing problem. Inspection needs to distinguish appearance defects, application inconsistencies, and questions that can't be answered without longer-term observation.
Start before moving the vehicle out of the application space. That gives you a chance to identify defects while the job conditions and application sequence are still clear.
Inspect with repeatable conditions
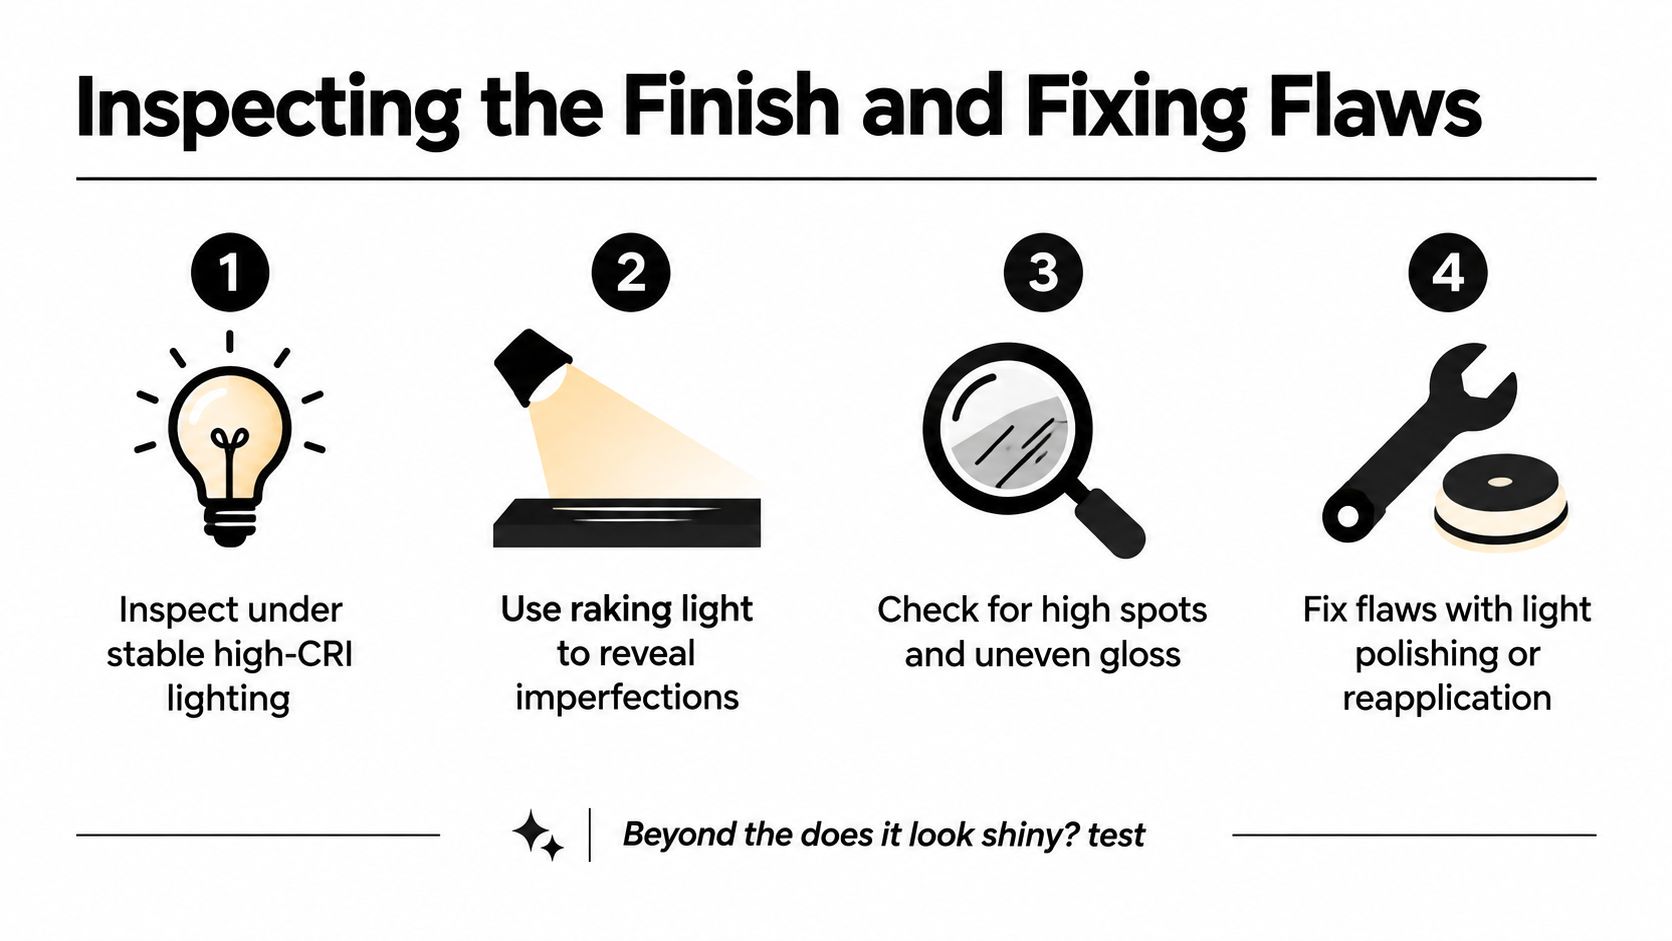
Use stable high-CRI lighting, then change the viewing angle. Raking light helps reveal texture and contamination; reflected light makes uneven gloss easier to compare.
- Inspect boundaries: Check panel edges, handles, mirror bases, and trim transitions rather than only broad, flat areas.
- Record the application: Note product batch and lot, applicator, panel temperature, ambient conditions, and cure arrangements.
- Photograph consistently: Use comparable lighting and viewpoints so later observations have a meaningful baseline.
- Separate observation from proof: Gloss, water behavior, and photographs can document condition, but they don't independently establish adhesion.
Neutral finishing guidance discusses contamination, thickness distribution, visible defects, and adhesion checks as separate quality considerations (automotive finishing inspection checks). On a customer vehicle, destructive adhesion tests are generally inappropriate without explicit authorization and a repair plan.
Match the correction to the defect
| Finding | Practical response |
|---|---|
| Fresh streaking within the permitted working window | Recheck the manufacturer's leveling procedure and use a clean towel |
| Persistent high spot after the film has set | Follow the approved correction method rather than scrubbing harder |
| Localized defect requiring polishing | Confirm whether the affected area needs preparation and recoating |
| Suspected widespread bonding problem | Stop adding layers and investigate the substrate and process |
Titan's coating failure analysis can support that investigation. Preserve the job record before changing the surface, or you may remove evidence needed to identify the cause.
Formal wear testing belongs on suitable test panels. ASTM distinguishes coating abrasion testing with a Taber Abraser from dry sand/rubber-wheel wear testing, underscoring that different mechanisms require different methods (ASTM corrosion and wear standards).
For controlled development work, standardized wet- and dry-rub mar assessment and gloss comparison offer a stronger basis than casual rubbing or scratch demonstrations (automotive basecoat and clearcoat durability discussion). Don't turn a customer's bonnet into an improvised laboratory.
Pro Tips for a Durable Factory-Quality Finish
A mobile detailer's strongest tool is often the decision to reschedule. A temporary enclosure can improve a workspace, but it can't make unsuitable weather disappear.
A peer-reviewed review identifies approximately 15–27 °C as a commonly recommended application range and emphasizes control of temperature, humidity, and air quality (review of automotive protective coating application). That's a general reference range, not authorization to override an individual product's instructions.
Make the working plan climate-specific
Use measurements to decide what you can responsibly complete.
| Working condition | Decision to make before application |
|---|---|
| Humid conditions | Check dew point and whether the panel is at risk of condensation |
| Cold garage | Confirm that the substrate and planned cure conditions meet the instructions |
| Hot outdoor location | Establish shade and measure panel temperature rather than relying on air temperature |
| Dusty or windy setting | Assess whether an enclosure and controlled airflow are sufficient, or postpone |
| Uncertain overnight weather | Arrange protected storage before committing to the job |
A dew-point check, a panel-temperature measurement, and a credible storage plan are more useful than confidently repeating a universal waiting time.
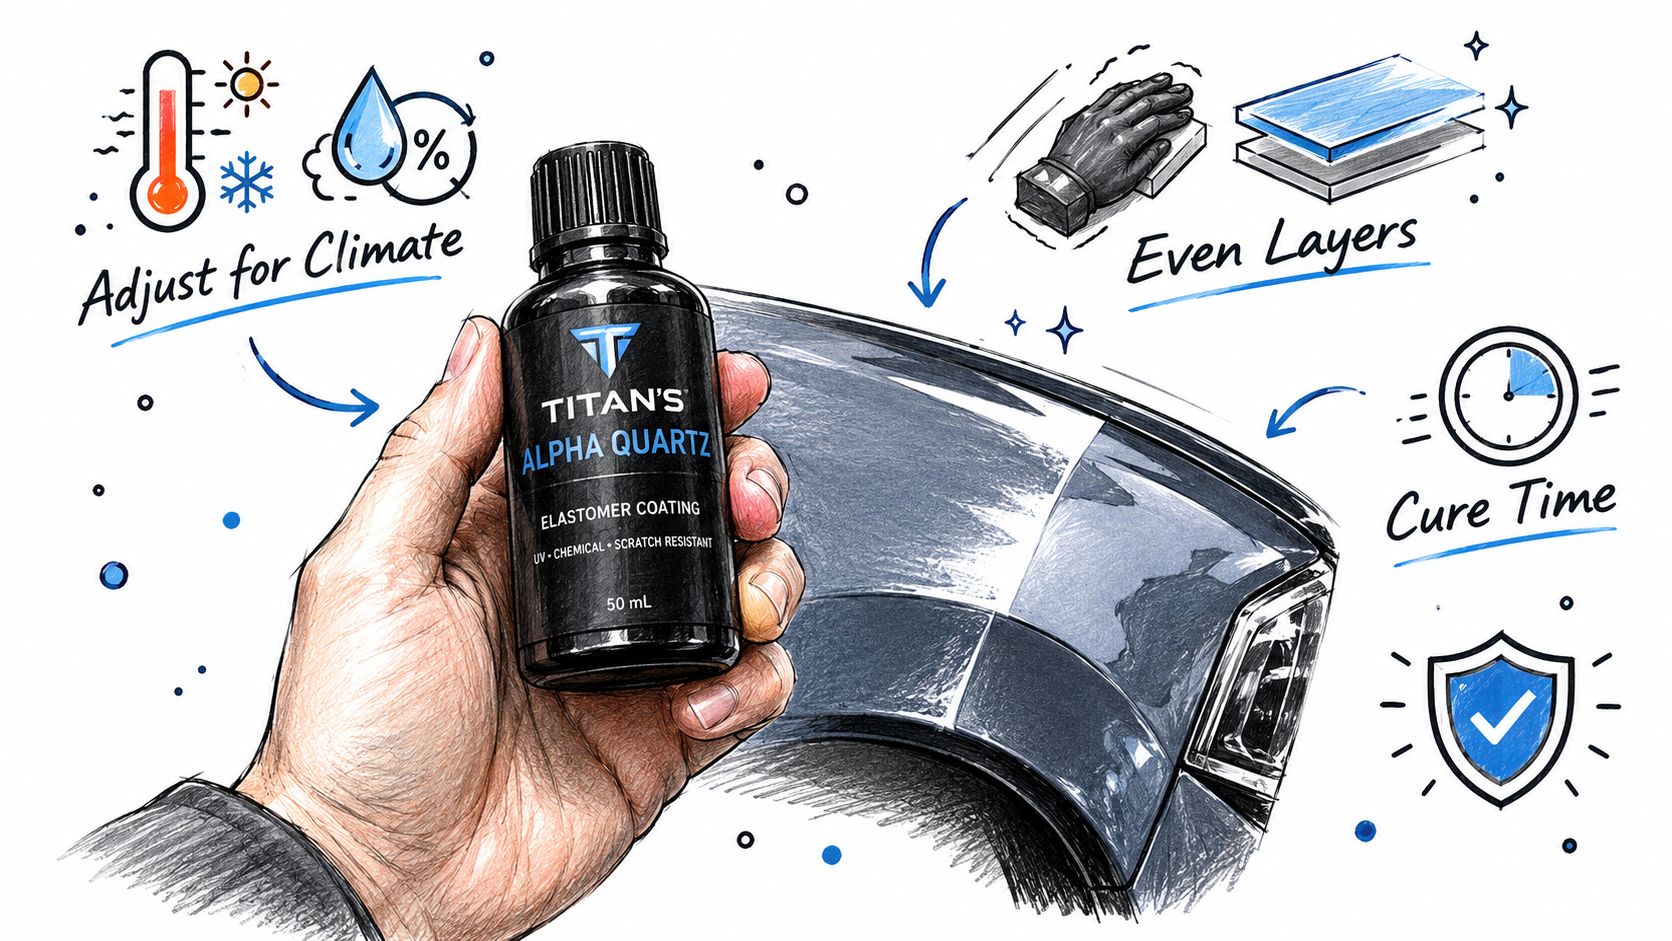
Keep the product-specific workflow visible at the workstation.
Give glass its own acceptance criteria
Windshield work deserves separate attention because the customer looks through the finish, not merely at it. Check clarity from the driver's position and evaluate the wiper sweep area before delivery.
Apex Glass Coating- 50ml is described as a hydrophobic glass and windshield coating with deep-pore bonding and water-repellent performance, intended to enhance visibility and reduce wiper use, with stated durability of up to two years. Better rain visibility can make driving less demanding, but no coating makes wet-weather driving risk-free.
For straightforward maintenance, choose a spray sealant only where its instructions confirm compatibility with the existing protection. Don't add a sacrificial layer merely because another application sounds beneficial.
Review the Titan Coatings shop by substrate and job requirement, then write the corresponding application and aftercare plan. The practical target is a finish you can apply consistently, inspect, and support after handover.
APEX NANO – Titan Coatings offers automotive protection options including elastomer coatings, glass coatings, and flexible membrane sealants. Visit APEX NANO – Titan Coatings to select a system for your paint or windshield, then confirm its preparation, application, and curing requirements before scheduling the job.
0 Comments