
You wash the car, dry the hood, and the same cloudy patch is still there. In the garage it looks tired; outside, it looks chalky. A stronger compound seems like the obvious next move, but that’s also how a recoverable finish becomes a repaint.
Auto oxidation removal starts with a decision, not a machine: is there a stable surface left to polish? The right approach restores as much clarity as the paint can safely give, then protects it. The wrong approach keeps cutting until the remaining clear coat runs out.
Diagnose the Oxidation Before You Polish
Is this surface oxidation or clear coat failure? Start with inspection and a small test spot, not a full-panel polishing session. Uniform haze may respond to correction; peeling, cracking, and exposed underlying paint need a different repair.
Oxidation symptoms and whether polishing is safe
| Symptom | What It Means | Safe to Polish? |
|---|---|---|
| Uniform chalky haze across the whole panel | Oxidized clear coat surface | Yes, after a test spot |
| Dull, rough feel with no defined edges | Oxidized surface layer | Yes, with a finishing polish |
| Sharp edges and body lines already looking thin | Reduced film at edges | Only with low pressure and a test spot |
| Lifting, flaking or peeling edges | Clear coat delamination | No, polishing makes it worse |
| Cracks or spider lines in the finish | Clear coat failure | No, refinish the panel |
| Base coat or primer visible through the finish | Clear coat fully lost | No, repaint or refinish |
These are screening signs, not permission to compound every dull panel. The distinction between recoverable oxidation and structural coating failure is central to Fuller Auto Detailing’s restore-or-repaint guidance: abrasives can improve an intact surface, but they can’t rebuild missing clear coat.
Inspect the whole panel before choosing a spot
Use strong, diffuse light from several angles to find peeling boundaries, then a directional inspection light to reveal haze and scratches. Start with the hood, roof, and other horizontal surfaces, but inspect their edges as closely as their centers. A panel that looks acceptable in shade can reveal distinct failure patches in sunlight.
Say a faded hood looks uniformly cloudy until you inspect the washer nozzle and rear edge. There’s a lifting border beside the nozzle, even though the center responds to a light polish. That glossy center doesn’t make the unstable border safe to correct.
Gloss improvement proves that you’ve smoothed the surface, not that you’ve restored its structure. On an unfamiliar older finish, establish whether it has separate clear coat or single-stage paint before interpreting pigment transfer onto a pad.
Stop rule: If light test work reveals lifting, unstable borders, or visibly thinning edges, stop and plan a refinishing assessment.
Polish when the damage is chalky, uniform, and stable. Refinish when it’s peeling or the underlying color coat is exposed.
Gather the Compounds, Pads and Tools
Buy by job and cutting strength, not by the promise of maximum gloss. The cut ladder runs from heavy-cut compound through medium compound to finishing polish, but your test starts at the finishing end.
Compounds, pads and tools by job
| Item | Role | Use When | Pairs With |
|---|---|---|---|
| Heavy-cut compound | Levels deep, severe oxidation | Finishing and medium cut fail the test spot | Cutting foam pad |
| Medium-cut compound | Removes moderate oxidation and light scratches | Finishing polish leaves visible haze | Medium foam pad |
| Finishing polish | Restores gloss and removes light haze | Mild oxidation, the starting point | Finishing foam pad |
| Dual-action (DA) polisher | Controlled orbital polishing | Most DIY and mobile work | Matching pads for each cut |
| Clay bar or clay mitt | Removes bonded contaminants | Before any polishing | Clay lubricant |
| Strong directional inspection light | Reveals haze and swirls | Before and after every section | Clean, dry panel |
This table is the shopping list and working reference. Compound can’t repair delamination, clay can’t correct oxidation, and an inspection light can’t establish coating thickness.
Match the supporting kit to the task
A DA polisher is the sensible starting machine for most DIY and mobile work. A rotary suits experienced operators who can manage concentrated heat and pressure; neither machine makes failing paint safe.
Use dedicated pads for each abrasive, and clean loaded pads between work cycles. Our polishing and buffing pad guide helps distinguish cutting, polishing, and finishing roles. A finishing pad won’t turn a heavy compound into a gentle polish.
- Short-pile microfiber: Wipe polishing residue without repeatedly dragging a saturated towel across the panel. It won’t replace a proper residue-removing panel wipe.
- Long-pile microfiber: Give clean paint a light final buff. It can’t remove remaining abrasive haze.
- Masking tape: Protect trim and mark vulnerable edges. It doesn’t make those edges safe to lean on.
- Paint thickness gauge: Identify unusual readings and repair-history clues. A standard gauge usually won’t isolate the clear coat.
Keep refinishing equipment separate from gloss-correction tools. T1A Auto’s disc holders for auto body prep are a useful reference when planning body-preparation work, not a substitute for foam polishing pads on intact paint.
Prep the Paint So Defects Show Clearly
A pad can drag dirt across paint and leave new scratches, so clean the panel before assessing oxidation. Wax, silicone and polishing oils can also hide haze. Follow a deliberate car paint preparation process and separate cleaning from correction.
- Wash and dry. Use pH-neutral automotive shampoo, rinse thoroughly and dry with clean microfiber. This removes loose dirt before you use clay or a polishing pad.
- Apply an automotive iron-removal product where fallout is present. Follow its dwell instructions and do not let it dry. Rinse thoroughly to remove loosened contamination.
- Clay with generous lubricant. Glide a clay bar or mitt lightly until contamination-related drag disappears. Don’t scrub stubborn spots with heavy pressure.
- Remove wax and oily residue with a dedicated automotive panel wipe. For heavily soiled degreasing, use PURE.
- Mask vulnerable areas. Cover plastic trim, rubber seals, badges and sharp edges with automotive masking tape. This keeps compound from becoming trapped against textured trim.
- Inspect the dry surface under directional light and mark suspect areas with tape nearby. Avoid putting tape on loose clear coat, where removing it could lift paint.
Choose a representative test area
Choose a lower door or rear fender only if it has damage similar to the area you intend to correct. A sheltered door does not show how a sun-damaged roof will respond. Test the actual affected panel, then compare the result with the untouched paint beside it.
Treat the windshield as a separate surface from paint correction. Keep the wipers in good condition and drive with care in rain.
Compare clean, dry paint with the adjacent untouched area under identical lighting. This makes it easier to see whether the haze has changed or remains in the finish.
Clear Coat Budget and When to Stop
A flat panel may tolerate a conservative polish while a sharp ridge or sun-exposed roof does not. Polishing removes material, and the paint cannot replace it. Set a clear stop condition before correction: if the finish is unstable, or the test area does not improve without aggressive cutting, leave it for refinishing advice.
The available figures vary by source and describe different measurements. Car Care Truth’s oxidation-removal guide reports roughly 50 to 120 micrometres for modern clear coat and approximately 2 to 5 micrometres removed during a correction cycle. The factory-clear-coat range cited in the following polishing discussion is 30 to 50 micrometres. Treat these as decision-support ranges, not guaranteed cutting allowances.
Clear coat budget by panel condition
| Panel Condition | Clear Coat Budget | Correction Risk | Approach |
|---|---|---|---|
| Original factory paint, no prior repair | Published ranges vary: 30 to 50 micrometres for factory clear coat; 50 to 120 micrometres for modern clear coat | Lower, not risk-free | Test a small area, then reassess before further correction |
| Previously polished or refinished panel | Unknown without measurements and coating-history information | Higher | Measure first; consider finishing polish only |
| Sharp edges, body lines and top panels in full sun | Treat edges as potentially thin and sun-exposed surfaces as potentially degraded | Highest concern | Use minimal pressure and short passes, or leave alone |
| Lifting, cracked or color-exposed clear coat | No safe correction budget in the failed area | Polishing makes it worse | Stop and refinish the panel |
Read the gauge without overreading it
A conventional gauge generally measures the whole paint stack, not clear coat alone. Manufacturer information, repair records and suitable measuring equipment help put the reading in context. The car paint thickness gauge guide explains what a gauge can and cannot establish.
For an auction vehicle, gather purchase and repair documents before assessing the paint. DreamBid’s guide to what follows a US auction purchase covers the purchase process, not the vehicle’s coating condition.
A sharp ridge can lose clear coat faster than the flat area beside it. Coating history matters too: removal technique depends on the coating used. PX10 requires machine and polishing compounding, and a professional is best for removal.
If you cannot establish the remaining film thickness, make one conservative correction attempt and reassess. Stop if the finish remains compromised or improvement would require more aggressive cutting.
How to Polish Oxidation Out Step by Step
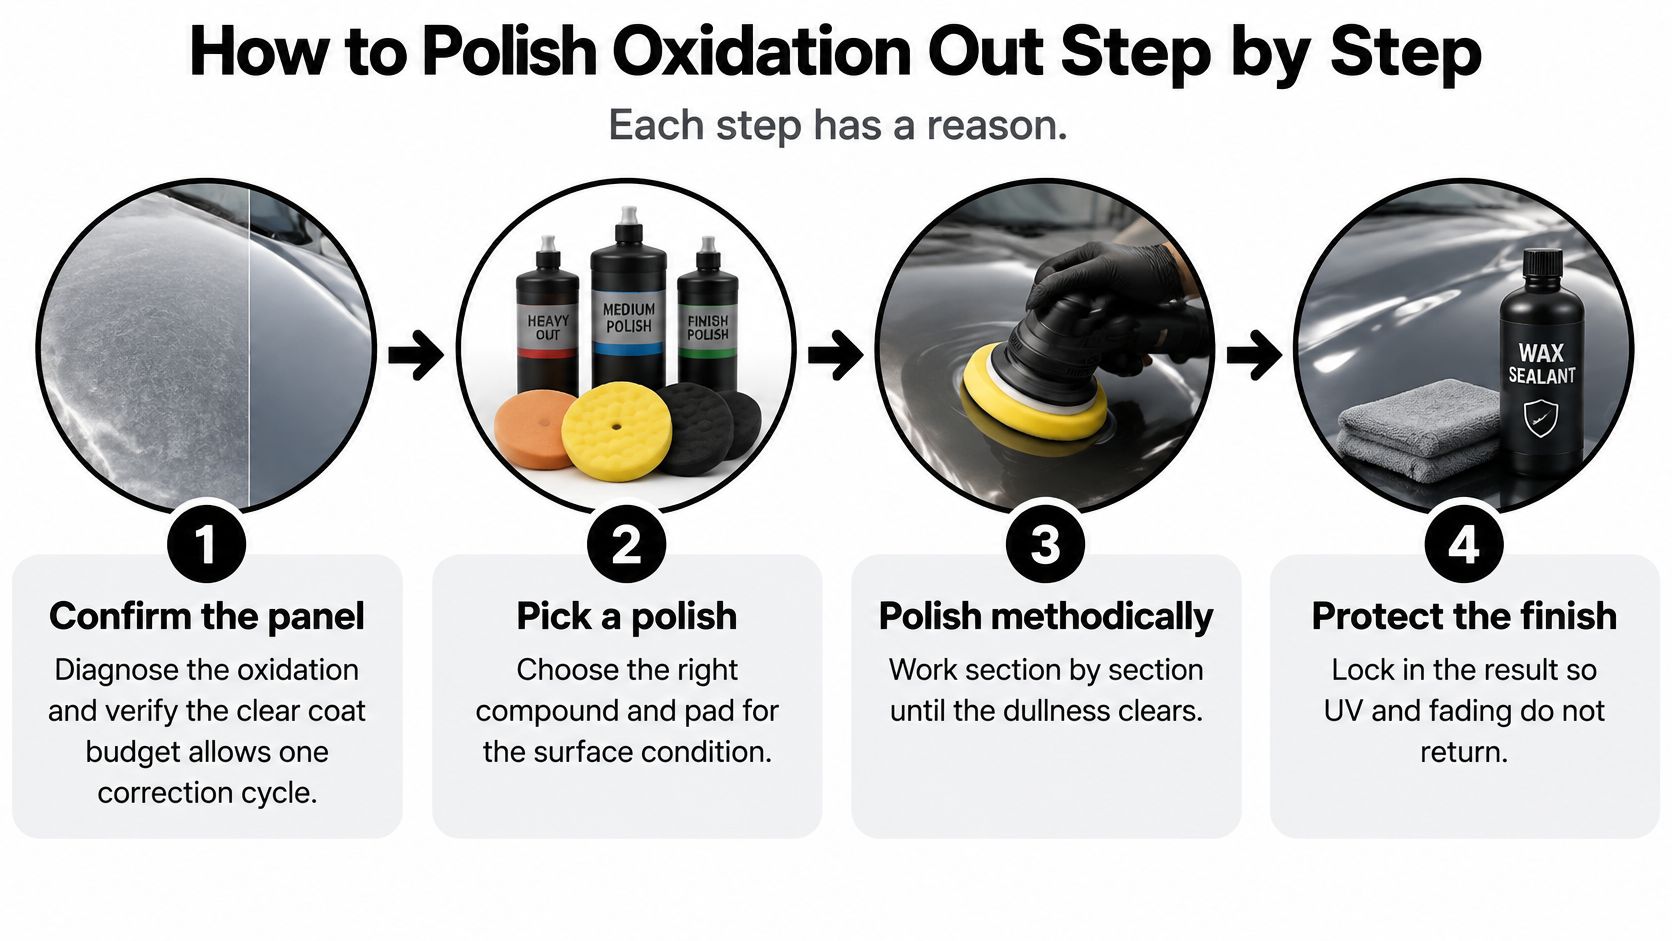
A crossover’s hood might respond to finishing polish while its roof needs a medium cut and refinement. Set the least aggressive combination that restores acceptable clarity, then assess each panel separately. The technical discussion of oxidation removal describes controlled test polishing, overlapping DA passes, frequent inspection, and care around edges.
Establish the combination before expanding
- Confirm the panel is a candidate. Work only on stable paint, with no lifting, exposed substrate, or cracking in the correction area. Review measurements and correction history before selecting an abrasive.
- Start with finishing polish and a clean finishing foam pad. Mark out a test area about 50 by 50 centimetres and choose a low-to-moderate DA setting suited to the machine and polish.
- Keep the pad flat and pressure light. Use overlapping passes and short work cycles. On a free-spinning DA, check that the backing plate keeps rotating rather than stalling under pressure.
- Wipe away residue with short-pile microfiber, then use a suitable panel wipe to remove masking oils. Inspect under directional light from several angles before judging the finish.
Escalate only when the surface justifies it
- Keep the combination that works. If clarity returns, use it across the remaining stable area. If haze remains, test medium compound on a fresh, appropriate pad. Use heavy cut only if the paint condition supports it.
- Clean the pad frequently with a suitable brush or pad-cleaning system. Replace it if it becomes saturated or excessively warm; a loaded pad can spread residue across the next section.
- Ease off near edges and ridges. Reduce pressure and shorten work cycles around body lines. If the panel is hot, stop and let it cool in shade before continuing.
- Finish with a clean long-pile towel and inspect for even gloss, angular haze, or newly visible thinning and disturbed borders.
Treat each panel according to its condition. Don’t compound the whole vehicle by default. If compounding leaves haze, refine it with finishing polish rather than adding another heavy cutting cycle.
Record the pad, abrasive, panel readings, and work completed. Use that record to guide the next maintenance decision instead of starting another polishing session automatically.
Lock In Results With UV Protection
A polished panel is exposed to the same sunlight that contributed to its oxidation. Protection helps slow future fading and weathering, so the correction lasts longer. UV exposure can contribute to clear-coat weathering through photo-oxidation and depletion of ultraviolet absorbers, as discussed in automotive coating weathering research.
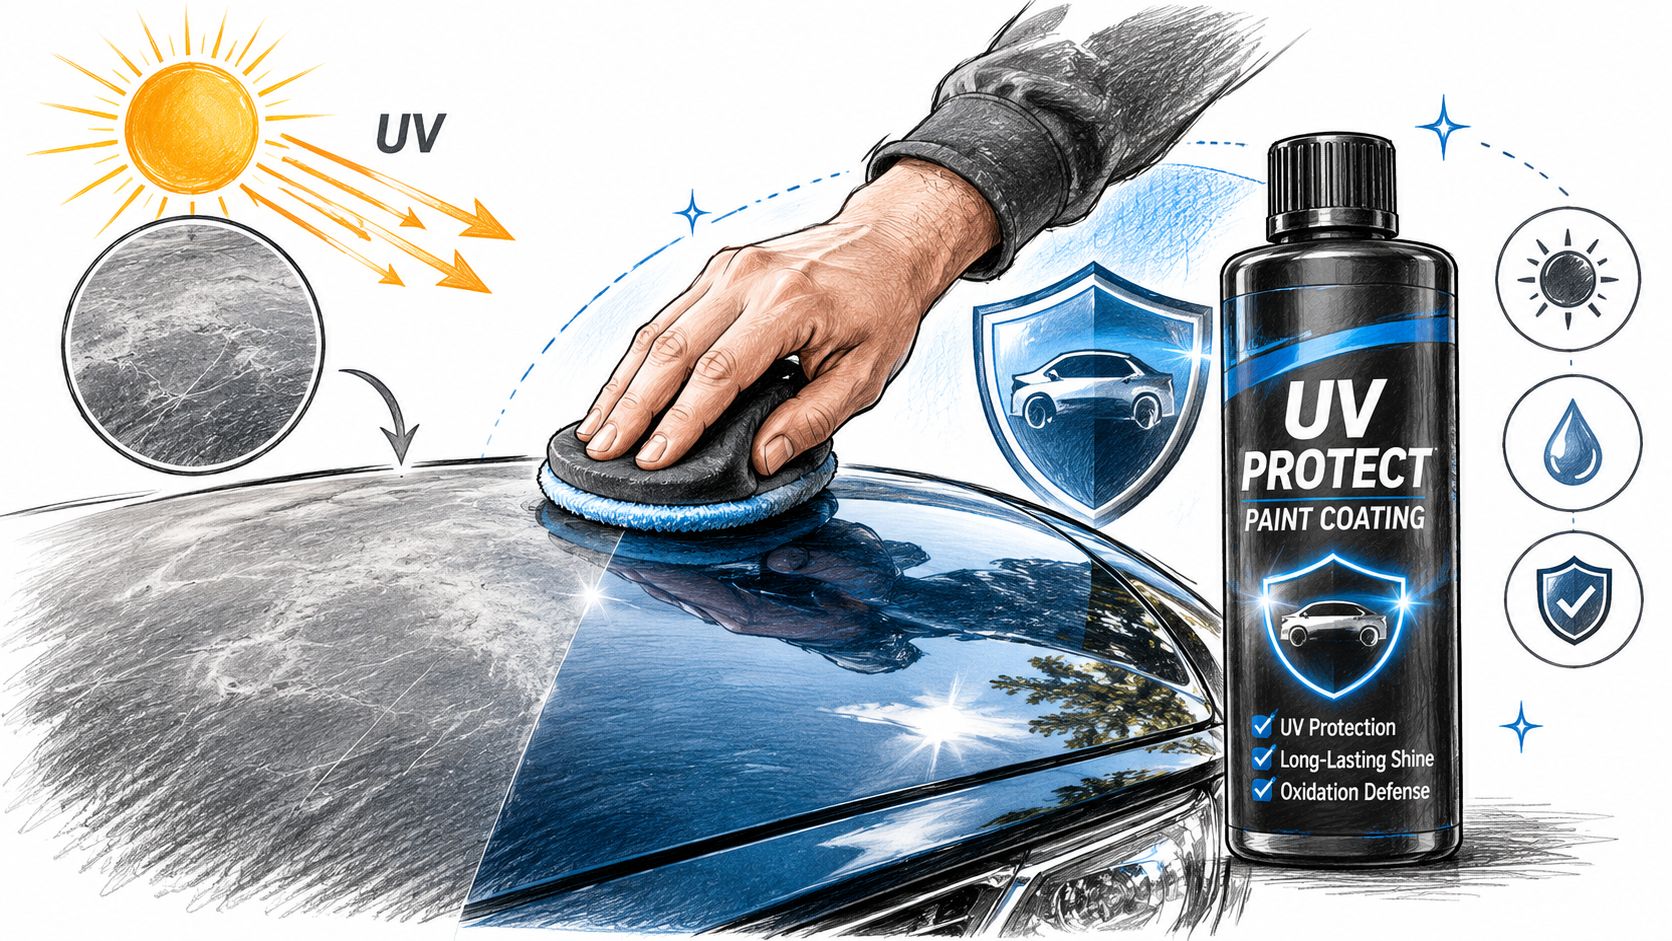
Protection options after oxidation removal
| Option | Best For | Application Notes |
|---|---|---|
| Alpha Quartz 50ml Ceramic coating | DIY and mobile detailers | A ceramic coating option for a prepared finish |
| ULTRA 4.0 ceramic spray | Maintaining or refreshing a coating at home | Apply as a maintenance treatment according to product directions |
| Carnauba wax | A show-car finish with frequent reapplication | Reapply as needed; formulation and exposure affect how long it lasts |
Titan Coatings offer excellent UV resistance to help prevent oxidation, fading and sun damage over time. Their hydrophobic properties also help reduce water spots and stains. Choose based on available shelter and how much maintenance you can commit to.
Flexibility needs evidence, not absolutes
Some Titan Coatings have self-healing properties that can activate when heat is applied to the surface. For the PX10 system, VULCAN TX155 is a reinforced top coat with omniphobic properties that can self-regenerate and heal from abrasions, swirls and light scratches. These product features do not make every type of coating damage reversible.
A coating’s flexibility alone does not establish how it will perform under every temperature or impact. BASF’s discussion of exterior coating mechanics explains how polymer glass-transition behavior relates to flexibility and cold-temperature brittleness. Product-specific performance depends on the coating and the conditions it faces.
Aftercare matters: Other Titan Coatings need 12–24 hours for initial curing, and the vehicle should not be washed for 7 days to allow full chemical bonding.
Maintain the coating with pH-neutral shampoo, and avoid harsh chemicals and abrasive cleaning products. For more on choosing UV protection for car paint, consider the vehicle’s exposure and the upkeep you can provide.
Decide Whether to Polish or Refinish This Panel
A uniform haze that clears in the test spot supports polishing the rest of the panel. Record the result and any paint-thickness readings, then decide whether the improvement justifies proceeding. Once corrected, protect the clean, dry finish with a maintenance layer or a longer-lasting coating suited to the upkeep you can provide.
For peeling or flaking clear coat, arrange a professional assessment and review this guide to clear coat peeling and repair. If an existing coating degrades, a certified installer must inspect the vehicle, provide feedback, and restore the coating as needed. Keep the assessment and repair details with the vehicle’s records.
If you plan to sell your car in Nairobi, document the finish accurately and disclose which panels have been polished or repaired.
APEX NANO – Titan Coatings offers paint-protection coatings, maintenance treatments, and glass coatings. Compare coating and aftercare options once the test spot confirms the paint is suitable for correction.
0 Comments