
Mark pulled in two black SUVs on the same afternoon. Same size, same wheel design, same layer of brake dust, but one set of wheels looked tired and chalky after cleaning, while the other came back dark, glossy, and easy to rinse. The difference wasn’t effort. It was chemistry, technique, and whether the surface had the right protection before the degreaser ever touched it.
The Hidden Risks of Using Degreaser on Wheels
Wheel cleaning is where a lot of good detail work goes sideways. People reach for the strongest product they own, spray heavily, let it sit too long, and assume more bite equals better results. On wheels, that thinking can strip grime fast, but it can also chew into finishes, stain sensitive metals, and shorten the life of the protection sitting on top.
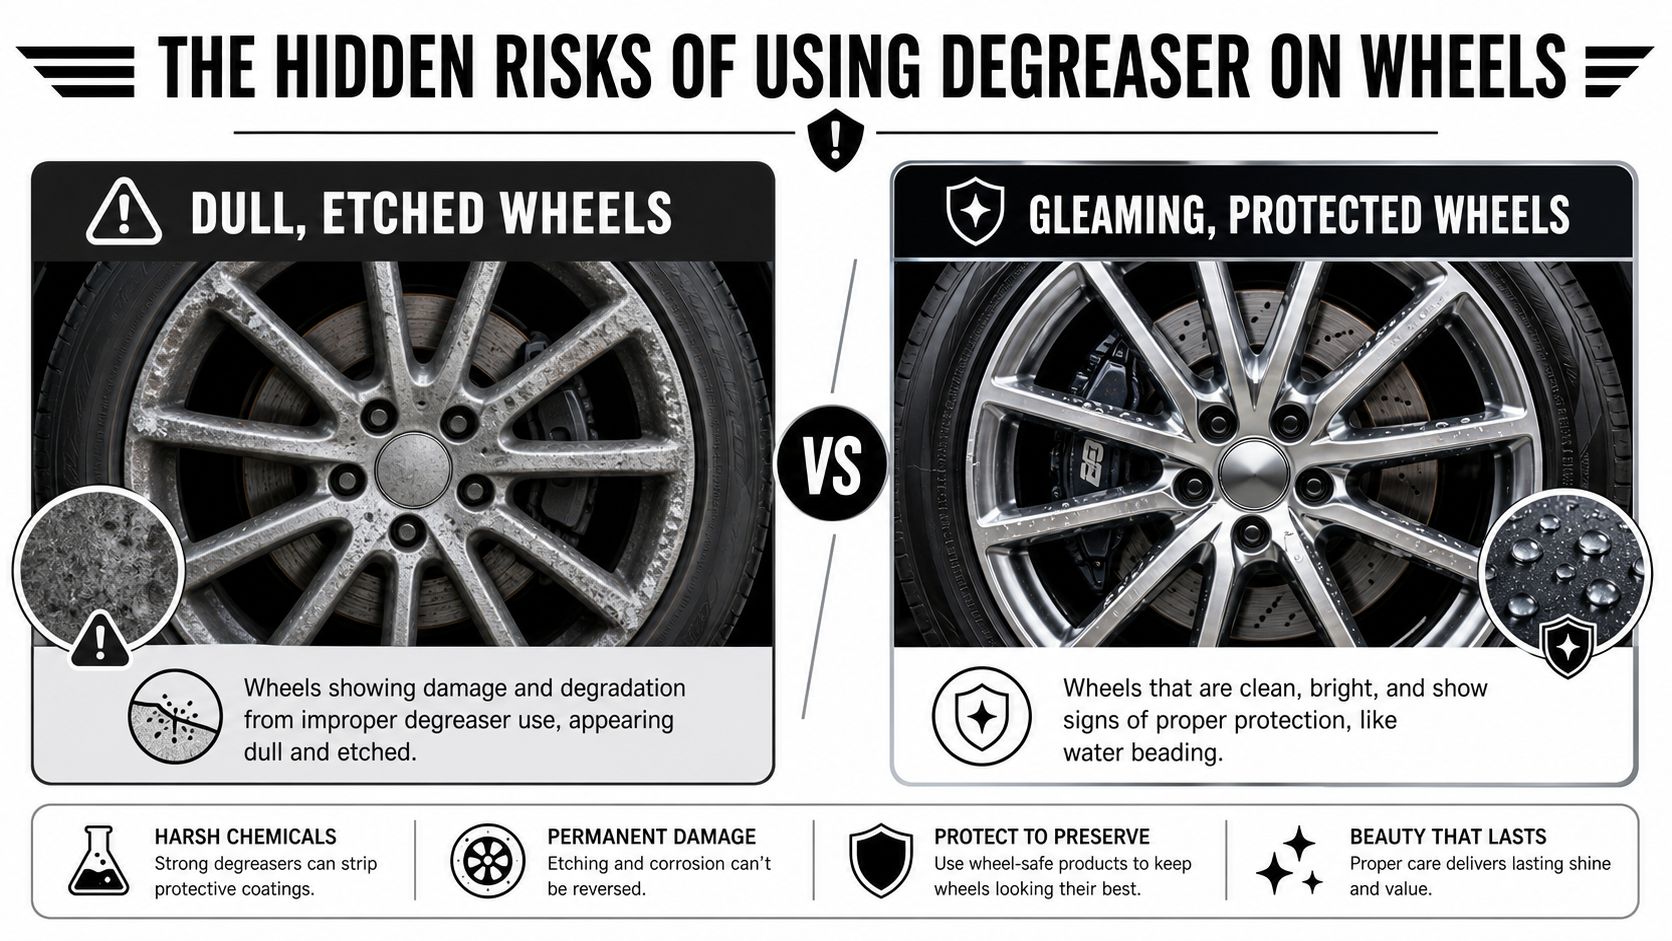
Mark’s side-by-side result is common in the shop. One wheel gets cleaned and still looks flat because the surface has already been compromised. The other still beads, sheds grime, and wipes cleaner because the finish underneath is intact and protected. That’s why degreaser on wheels isn’t just a cleaning topic. It’s a surface preservation topic.
Not all wheel chemistry plays nice
Acidic cleaners, neutral wheel cleaners, and alkaline degreasers all behave differently. The trouble starts when detailers treat them like interchangeable tools. Heavy brake dust often pushes people toward stronger alkaline products because they cut through oily road film and baked grime well. But strength without surface awareness is where damage starts.
A major blind spot in wheel care is coating compatibility. One of the clearest warnings in the detailing conversation is that high-alkaline degreasers, often used for brake dust removal, can degrade the siloxane bonds in traditional ceramic coatings over time, which can lead to premature coating failure (discussion on wheel cleaner safety for coated wheels). Too many guides still act like every wheel cleaner is safe on every coated wheel. It isn’t that simple.
Practical rule: If you don’t know the finish and you don’t know the coating, don’t start with the harshest product on the shelf.
Where damage shows up first
The earliest warning signs are usually visual and tactile:
- Dulling on the face means the finish has lost clarity.
- Uneven water behavior tells you protection may be weakened or gone.
- Streaking and runs often point to poor application technique or product drying on the surface.
- Etching on bare metal can happen fast when chemistry is too aggressive.
Raw aluminum is especially unforgiving. For anyone already dealing with damaged finishes, this guide on fixing clear coat peeling on rims is worth reading before you add stronger chemistry to an already stressed wheel.
The real trade-off
A degreaser can save time on filthy wheels. It can also create more work if it leaves the wheel stripped, streaked, or chemically stressed. That trade-off matters most on premium vehicles, coated rims, and wheels that see heat cycles every day. The cleaner that wins isn’t the one with the harshest hit. It’s the one that removes contamination without taking the finish with it.
How to Choose the Right Degreaser for Your Wheels
The right product starts with one question. What exactly are you cleaning? Not “a wheel.” A painted wheel, powder-coated wheel, chrome wheel, raw aluminum wheel, or a wheel wearing a coating all have different tolerances.
A one-bottle-for-everything approach sounds efficient, but it’s usually how detailers end up correcting avoidable damage. Before I choose a degreaser, I look at the wheel like a technician, not a shopper. Surface type first. Contamination level second. Existing protection third.
A simple decision framework
Use this as a quick field check before spraying anything:
| Wheel condition | Better approach | What to avoid |
|---|---|---|
| Light dust on protected wheels | Maintenance cleaner or coating-safe wash method | Jumping straight to heavy degreaser |
| Oily road film and packed barrel grime | Diluted degreaser with controlled dwell and brush work | Letting product dry on warm surfaces |
| Raw aluminum or unknown finish | Mildest test spot first | Aggressive alkaline attack |
| Neglected daily driver wheels | Staged cleaning, not one heavy soak | Repeated heavy applications |
That last point matters. If the wheel is heavily neglected, don’t try to force a miracle in one pass. Layered cleaning is safer than saturating the wheel and hoping chemistry alone does the work.
Match the product to the finish
A few habits separate pros from people who get mixed results:
- Identify the substrate: Painted and powder-coated wheels usually tolerate more than raw aluminum, but they still need sensible dwell times and proper rinsing.
- Respect coated wheels: If the wheel has a premium coating, the goal shifts from attack to maintenance.
- Test before committing: One spoke, one lug recess, one small inner area. If the surface reacts poorly, stop.
For readers who like to understand wheel materials beyond automotive use, this breakdown of best garden wagon wheels is a useful example of how wheel construction changes durability and maintenance expectations. Different wheel materials behave differently under load, weather, and abuse. Vehicle wheels are no different.
Sometimes the best degreaser isn’t a degreaser
On protected wheels, the smartest move is often preventing buildup so you never need a harsh reset. That’s where maintenance products earn their keep. A coated wheel that gets regular upkeep doesn’t usually need the kind of heavy chemical hit that strips weaker protection systems.
If brake dust is your ongoing battle, it helps to compare your options against a purpose-built brake dust cleaner instead of reaching for a generic degreaser every time. The best workflow is the one that lowers the need for aggressive chemistry, not the one that normalizes it.
The fastest wheel cleaning job is usually the one you made easier a week earlier with proper maintenance.
The Professional Prep and Application Method
I have seen more wheel damage happen during prep than during the actual cleaning. The pattern is predictable. A detailer grabs a strong degreaser, sprays a warm wheel, lets it sit a little too long, and the finish pays for it. On modern wheels with ceramic or elastomer protection, that mistake can shorten the life of the coating long before the owner notices the change in gloss or water behavior.
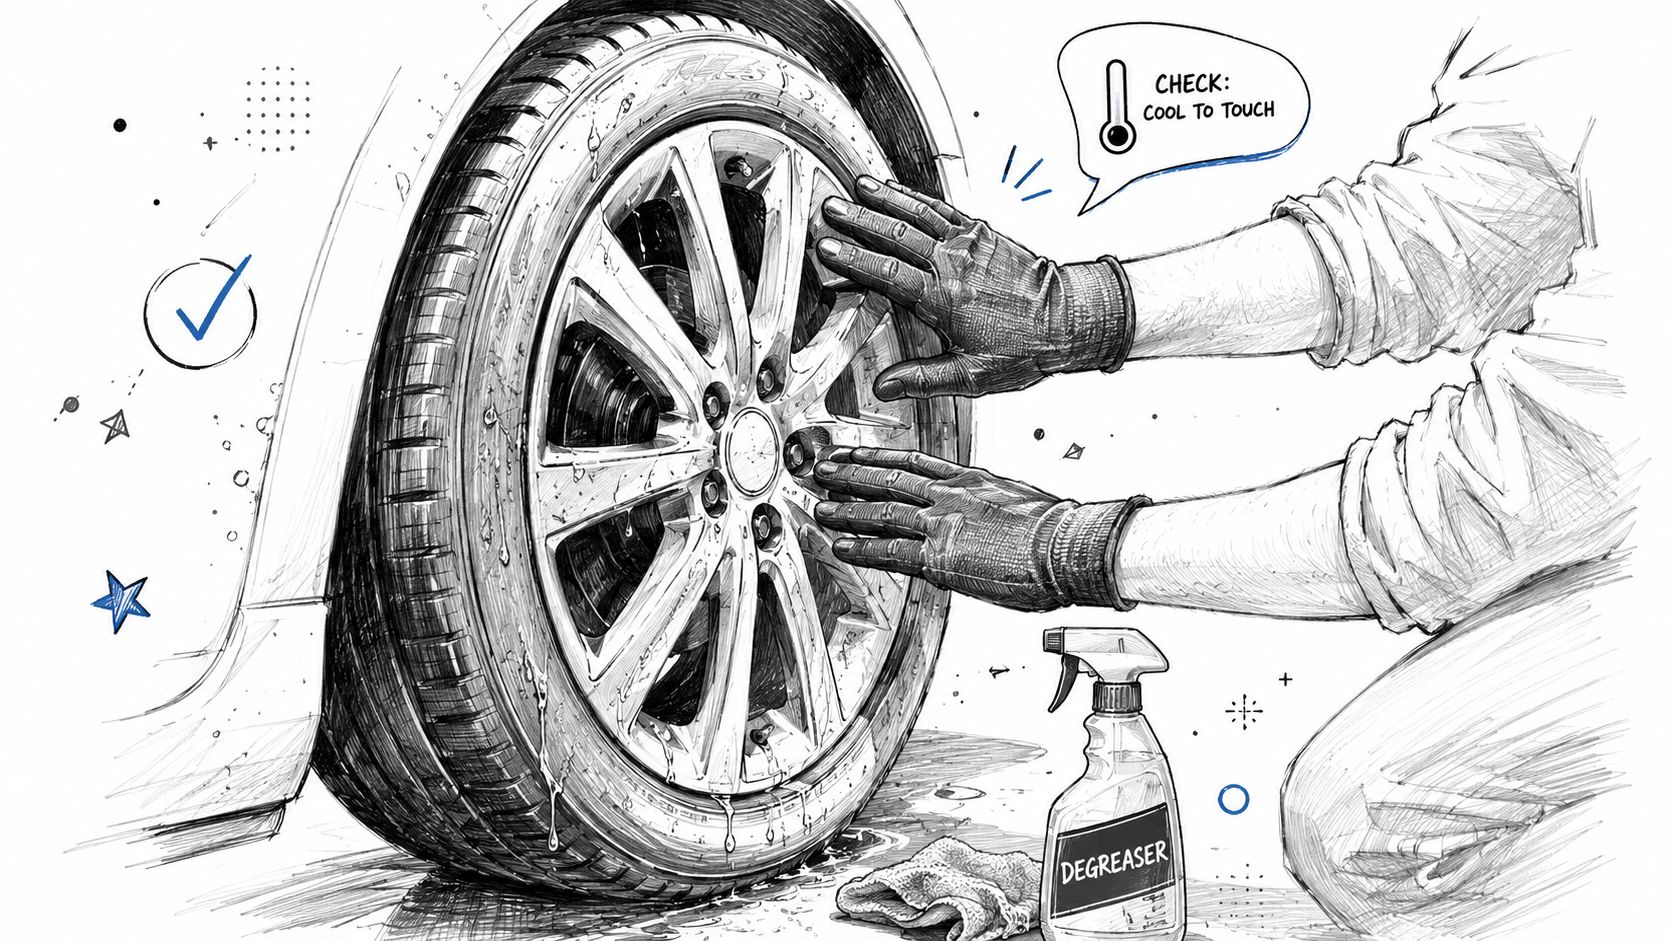
The goal here is controlled cleaning. Not maximum chemical bite.
Start with the conditions around the wheel. A cool surface buys you working time and lowers the chance of streaking, spotting, or drying chemical into the finish. A shaded bay is better than an open driveway. A lightly damp wheel can work, but I prefer it dry or close to dry so I can see how the product is sitting and where it is starting to break contamination loose.
Get the setup right before you spray anything. Wheels need their own bucket, towels, and brushes. Brake dust carries sharp metallic fallout, and once that crosses over into paint towels or wash media, you create scratches somewhere else on the vehicle.
Set the work area first
A clean process starts with a clean setup:
- Check wheel temperature: If it feels warm from driving or sun exposure, wait.
- Lay out wheel-only tools: Keep brushes, mitts, and drying towels dedicated to dirty areas.
- Choose your order before you begin: Face, recesses, inner barrel, tire shoulder.
- Wear gloves and eye protection: Degreasers can irritate skin, and rinse-back is common around spokes.
I also keep rinse access ready before the first spray. That matters on coated wheels. If a product starts drying or the surface reacts badly, fast rinsing limits the downside.
Mix for the soil level, not your mood
Strong chemistry does not fix poor technique. It just narrows your margin for error.
A neglected work truck wheel may justify a stronger mix than a coated performance wheel that only has a week or two of road film on it. On premium protection systems, including Titan-style ceramic and elastomer coatings, I stay conservative first and increase strength only if the contamination proves it is necessary. The safer habit is to clean in two lighter passes instead of one aggressive pass that risks dulling the surface or weakening the top layer of protection.
Dwell time follows the same logic. Give the product enough time to soften grease and traffic film, but only while it remains wet. If the cleaner starts to flash, run, or form dry edges, stop the dwell and move to agitation or rinse. Meguiar’s professional wheel and tire guidance also recommends working on cool surfaces and avoiding product drying on the wheel, which lines up with what experienced detailers see in the bay every day.
The application pattern that works
I apply product from the lower sections upward on vertical wheel faces. That keeps runoff from carving clean tracks through dry areas before the wheel is fully covered. It also makes it easier to judge how much chemical is staying on the surface instead of dropping to the floor.
Use this sequence:
- Start at the lower barrel openings and bottom spokes
- Mist the rest of the face evenly
- Hit the lug recesses and spoke backs with control
- Finish at the tire shoulder where grime gathers
A controlled spray pattern beats saturation every time. If cleaner is dripping off the wheel in sheets, too much product went on and too little of it is doing useful work.
Use tools that match the finish
Tool choice matters more on coated wheels than many people realize. A soft face brush handles broad painted or coated surfaces without forcing pressure into the finish. A narrow barrel brush reaches behind spokes where grime stays hidden. A small detail brush cleans lug pockets, valve stem areas, and tight edges where degreaser alone will not finish the job.
A good set of wheel cleaning brushes for faces, barrels, and lug recesses lets you keep pressure low and coverage precise. That is safer for delicate finishes and more efficient than trying to make one stiff brush do everything.
Rinse strategy needs the same discipline. Strong flow helps remove loosened grime and chemical residue, but pressure alone is not the point. Complete removal is. If your rinse setup is modest, work smaller sections and rinse sooner rather than compensating with hotter mix ratios. That approach protects the wheel, protects the coating, and usually produces a better finish.
Mastering Agitation and Rinsing Techniques
The spray step gets attention because it looks dramatic. The brush step is where the wheel gets clean.
A neglected wheel tells you a lot once the product starts working. The face loosens first. The barrel hangs onto the worst film. The lug recesses trap paste-like residue that won’t leave unless you physically break it loose. Good agitation feels methodical, not frantic.
What proper agitation looks like
I start at the face because that’s where I can read the reaction. If the brush glides and the contamination lifts cleanly, the dilution is in the right range. If it drags, chatters, or leaves muddy smears behind, I know I need a second pass or more dwell, not more aggression.
The sequence I trust is simple:
- Face first: Broad, gentle passes with a soft wheel-face brush.
- Lug pockets next: Short, deliberate motions where dust packs tightly.
- Barrel after that: Reach behind the spokes and work the full inner curve.
- Tire and edge last: Clean the boundary where grime collects and throws back onto the wheel.
That’s also where proper tools save time. The wrong brush leaves you skipping tight areas or pressing harder than you should. A dedicated set of car wheel cleaning brushes makes the work more precise and lowers the chance of scratching delicate finishes.
When a wheel still looks dirty after spraying, don’t assume the product failed. Most of the time, the brush work was incomplete.
Rinsing is a flushing step, not a courtesy step
A lot of wheels look clean and still carry residue in the spoke pockets, around the valve stem, behind the lug seats, and at the lip where the tire meets the rim. That leftover chemistry keeps working after the cleaning is “done,” and that’s where streaks, white residue, and finish stress creep in.
With a pressure washer, I flush from multiple angles until runoff turns clean and thin. With a hose, I move slower and use the nozzle to chase product out of seams and edges. The key isn’t force alone. It’s coverage.
Here’s what I’m checking during the rinse:
| Area | What to look for |
|---|---|
| Spoke backs | No foamy residue clinging in corners |
| Lug recesses | Clear runoff, no dark pooling |
| Barrel | Even water sheet or beading pattern |
| Tire shoulder | No cleaner trapped at the rim edge |
| Wheel well lip | No drips waiting to fall later |
When the rinse is right, the wheel changes character. The finish looks sharper. The runoff stops carrying brown or gray haze. The surface either sheets cleanly or shows the beading pattern of whatever protection is still alive underneath. That’s the signal the chemistry is off the wheel and the job is finished.
Beyond the Clean Protecting Your Investment with Elastomer Coatings
The easiest wheel to clean is the one that never lets contamination bite deep in the first place. That’s why serious detailers don’t stop at cleaning. They think in maintenance cycles and protection systems.
Traditional rigid coatings improved wheel protection, but wheels live a hard life. They see heat from braking, road salts, harsh cleaners, repeated wash cycles, and debris impact. A coating that looks strong on day one can struggle if it behaves like a brittle shell.
Why elastomer technology changes the conversation
Titan Coatings was the first company to introduce elastomer coatings to the market, using nano tube and Dark Matter tech to create a coating that is hard like glass yet flexible, reducing cracking risk from temperature changes and impacts according to Titan’s coating technology overview. That matters on wheels because wheels don’t live in a stable environment. They expand, contract, heat-soak, cool off, and get hit.
That hard-but-flexible combination is the part many detailers underestimate. A rigid coating can protect well until the surface movement and environmental stress expose its limits. An elastomer approach is built for that movement. On a wheel, that’s not a side benefit. It’s the whole game.
The product fit that makes sense
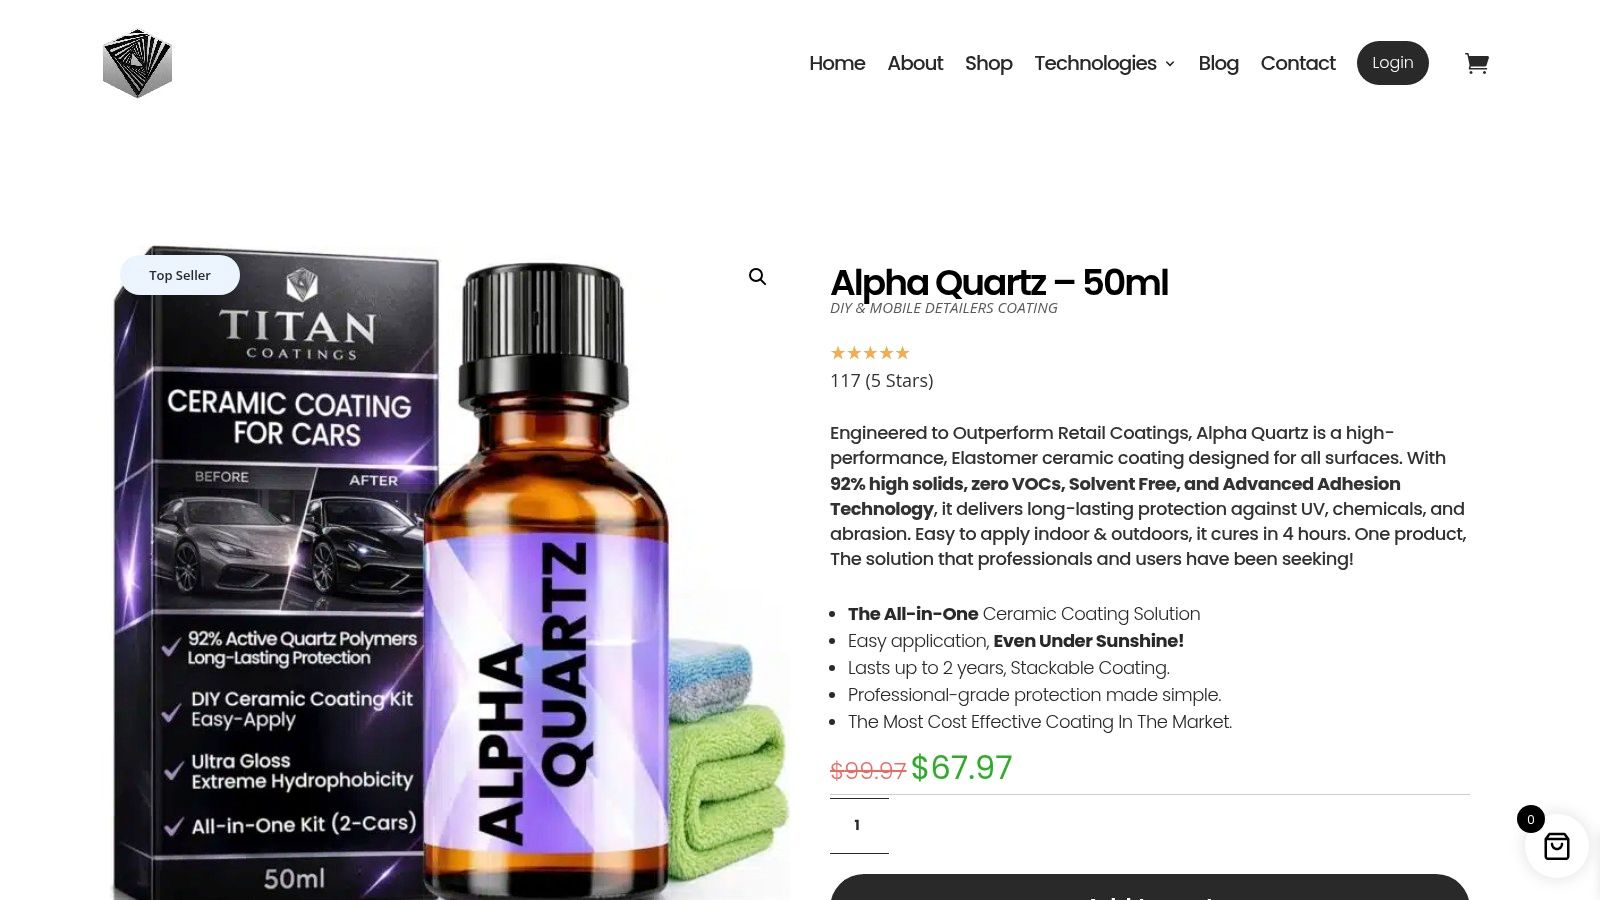
For wheel and exterior protection, Alpha Quartz stands out because it’s approachable for both DIY users and mobile detailers. Easy installation matters in practice. The best product on paper won’t help if the installer avoids using it because the process is fussy or unforgiving.
For ongoing upkeep, Ultra Ceramic Spray fits the maintenance side of the equation. It’s the kind of product that helps preserve slickness and make routine washes easier, which lowers the need for repeated heavy degreaser use. Readers who want to compare regional service expectations can look at how a shop explains professional ceramic coating for Seattle cars. Different climates push coatings in different ways, but the core principle stays the same. Better protection means less aggressive cleaning later.
If wheel-specific preservation is the target, a dedicated page on ceramic coating for rims gives useful context for that use case.
The best wheel cleaner is often the coating that stops brake dust and road film from locking on so tightly in the first place.
Don’t stop at the wheels
Protection works better as a system. That’s why glass care belongs in the same conversation. Apex Glass & Windshield Coating is worth attention because it improves water behavior on the windshield and side glass, which makes wet-weather driving less stressful and easier to manage. It’s also simple to apply, and that ease matters for owners who want protection they’ll maintain.
Good detailing isn’t only about shine. It’s about reducing friction in ownership. Cleaner wheels, easier wash days, and better visibility in rain all come from the same mindset. Protect the surface first, then your maintenance gets lighter, safer, and more consistent.
Safety Protocols and Troubleshooting Common Issues
I’ve seen more wheel damage from rushed chemical use than from road debris. The pattern is predictable. A strong degreaser goes onto a hot wheel, dries in the spokes, gets pushed into bare metal or a tired coating, and the owner blames the product when the failure was procedural.
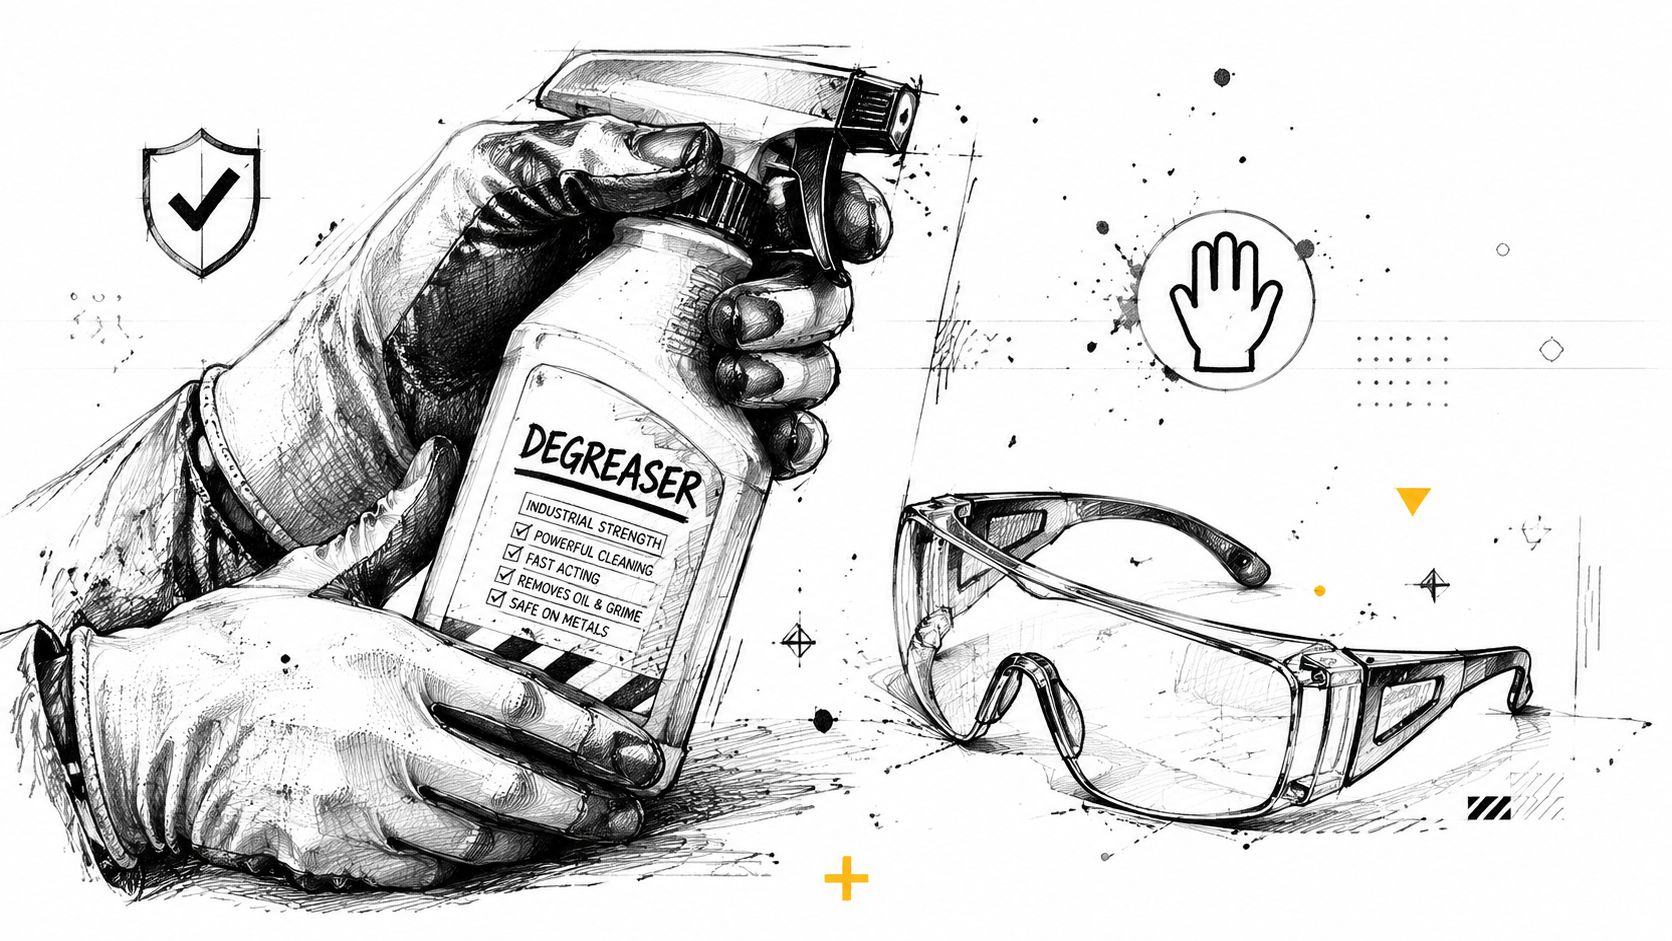
Modern wheels add another layer of risk. Many now carry ceramic or elastomer-based protection, and those surfaces do not benefit from unnecessary exposure to high-pH cleaners, long dwell times, or repeat applications done out of frustration. Titan-style coatings buy you easier maintenance, not permission to get careless. Gloves and eye protection are standard. So is keeping the wheel cool, controlling overspray, and rinsing before the chemistry starts to dry.
Problems you need to catch early
Raw aluminum deserves extra caution. Strong alkaline cleaners can attack aluminum surfaces, especially if the metal is uncoated or the product is left in place too long. OSHA’s guidance on corrosive materials makes the larger point clearly. High-pH products can burn tissue and damage reactive surfaces, so a spot test on a hidden area is the right move before full application. If you cannot confirm the finish, back down to milder chemistry.
A few problems show up fast if you know what to watch for:
- If the wheel streaks: The product likely dried unevenly or soil was only half lifted. Re-wet the panel, work it lightly with a soft brush or mitt, and rinse hard from multiple angles.
- If brake dust stays behind: Reach for better agitation, not a stronger mix right away. Packed barrels and tight spoke corners usually need different brush shapes, not more chemical.
- If the finish turns dull or patchy: Stop. That can mean etching, staining, or a compromised coating layer. More degreaser will not fix that.
- If greasy residue spreads beyond the wheel: Clean that area with the right product and tool set. For underhood grime or runoff around hinges and liners, a dedicated engine bay cleaner for heavy grease and sensitive components is a better choice than forcing one wheel product to do every job.
Small mistakes stack up. A missed rinse leaves residue. Residue grabs heat and grime. Then the next cleaning requires more effort and more chemistry, which is exactly the cycle you want to avoid on coated wheels.
Safety is part of the finish
A wheel is only clean if the finish still looks right after it dries. That standard matters even more on coated setups, where the goal is controlled cleaning that preserves hydrophobic behavior and surface slickness. Fast work that leaves staining, residue in the lug pockets, or weakened protection is correction work waiting to happen.
Good habits prevent most of the trouble. Cool surface. Correct dilution. Short dwell. Deliberate agitation. Full rinse. That approach protects the wheel, protects the coating, and keeps a routine maintenance wash from turning into a refinishing bill.
APEX NANO – Titan Coatings brings that protection-first mindset to every surface that matters. If you want wheel, paint, and glass protection built around advanced coating technology, explore APEX NANO – Titan Coatings and see how their elastomer and ceramic solutions can make cleaning easier, maintenance safer, and long-term results stronger.
0 Comments