
You hear the scrape before you feel the steering wheel move. Then comes the glance downward, the quick calculation about the tire, the wheel, the insurance claim, and whether the damage is bad enough to justify replacing the rim. In most cases, the useful question isn’t can you fix rim scratches. It’s whether the damage is cosmetic, whether the finish can be restored without making the problem worse, and what should go over the repair so brake dust, moisture, and winter salt don’t undo the work.
Alloy wheel repair sits inside a substantial aftermarket category. One estimate values the global alloy wheel repair service market at USD 5.712 billion in 2024, with a projection of USD 8.701 billion by 2032 at a 7.1% CAGR (market estimate for alloy wheel repair services). A separate estimate puts the alloy wheel refurbishment market at USD 4.10 billion in 2024, projecting USD 6.22 billion by 2032 at a 7.0% CAGR (alloy wheel refurbishment market estimate). Curb rash is common, but the repair decision still needs to start with safety.
The Moment You Curb Your Rim and What Comes Next
The impact usually sounds worse than it is. You ease past a curb in a tight parking space, hear a sharp scrape, and stop with your foot still on the brake. Before reaching for a towel, look at the tire sidewall, the wheel lip, and the ground beneath the car.
Start with a calm walk around the wheel. Photograph the damage from straight on and from an angle, including the tire bead area and the full circumference of the rim. If the tire is losing air, the steering wheel vibrates, or the outer lip visibly looks pushed inward or outward, don’t treat it as a paint problem.
Practical rule: A scratch can wait. A leak, crack, bend, or damaged bead seat needs inspection before cosmetics.
Three outcomes are possible. A light scuff may sit in the clear coat and respond to careful polishing. A deeper scrape may remove paint and expose aluminum while leaving the wheel structurally sound. A hard impact may create a visible lip deformation, cracked spoke, slow leak, or hidden runout that requires a professional check.
Don’t wipe fresh damage with a dry rag. Loose grit can drag across the exposed finish and enlarge the mark. Rinse away loose contamination first, then use a clean microfiber and a wheel-safe cleaner. Brake dust, moisture, and road salt can work into exposed metal quickly, especially when the wheel has already lost its protective coating.
The history of the problem follows the history of the wheel. Alloy wheels appeared in racing cars during the 1920s and 1930s, spread widely through passenger vehicles in the 1970s and 1980s, and began benefiting from CNC machining in the 1990s, which improved precision in repair and refinishing (history of alloy wheel refurbishment). That precision matters because the visible mark isn’t always the whole problem.
If the wheel looks sound and the damage is limited to the outer face, clean documentation helps you avoid an unnecessary replacement. For a safer cleaning start, use a dedicated rim cleaner kit rather than attacking the mark with an abrasive household product.
Judging Scratch Severity Before You Touch Anything
Put the sandpaper down until you’ve classified the damage. A few quick checks tell you more than the appearance alone.
Start with the fingernail test
Run a clean fingernail gently across the scratch, not along it. If your nail glides over the mark, you’re probably dealing with a surface scuff or damaged clear coat. If it catches, the damage has reached paint, primer, or bare aluminum, and sanding alone may not leave a level surface.
The test doesn’t prove that the wheel is safe. It only tells you how deep the cosmetic defect feels. A wheel can have a shallow-looking mark near a vulnerable area, or a serious bend hidden behind a decorative face.
Identify the finish and location
Look closely at the wheel before choosing an abrasive:
- Painted or powder-coated: These finishes can often accept controlled sanding, filler, primer, and matching paint.
- Polished aluminum: Sanding changes the reflection and may require polishing or professional refinishing to blend the repair.
- Machined or diamond-cut face: The face profile is part of the appearance. Simple touch-up paint won’t reproduce the factory-cut surface.
- Anodized finish: The protection is integral to the finish, so the repair may require specialized machining or re-anodizing rather than a basic paint repair.
Location changes the decision too. The outer lip is highly visible and commonly suffers curb rash. A spoke face can reveal sanding flat spots. The inner barrel may be less noticeable, while a lug-seat or bead-seat area should never be treated as ordinary cosmetic damage.
You can use four practical grades:
- Level 1, surface scuff: No fingernail catch and no exposed metal.
- Level 2, paint-through: The nail catches, but the shape remains round and the damage is cosmetic.
- Level 3, metal gouge: Aluminum is removed or the edge is uneven.
- Level 4, structural damage: Crack, bend, leak, bead-seat damage, or deformation.
For painted surfaces, the repair boundary should also be measured rather than guessed. A paint-thickness measurement guide can help you understand how much finish remains before you start removing material. Stop and seek inspection for cracks, bends, corrosion that has spread beneath the coating, or any sign of air loss.
DIY Repair Workflow That Actually Holds Up
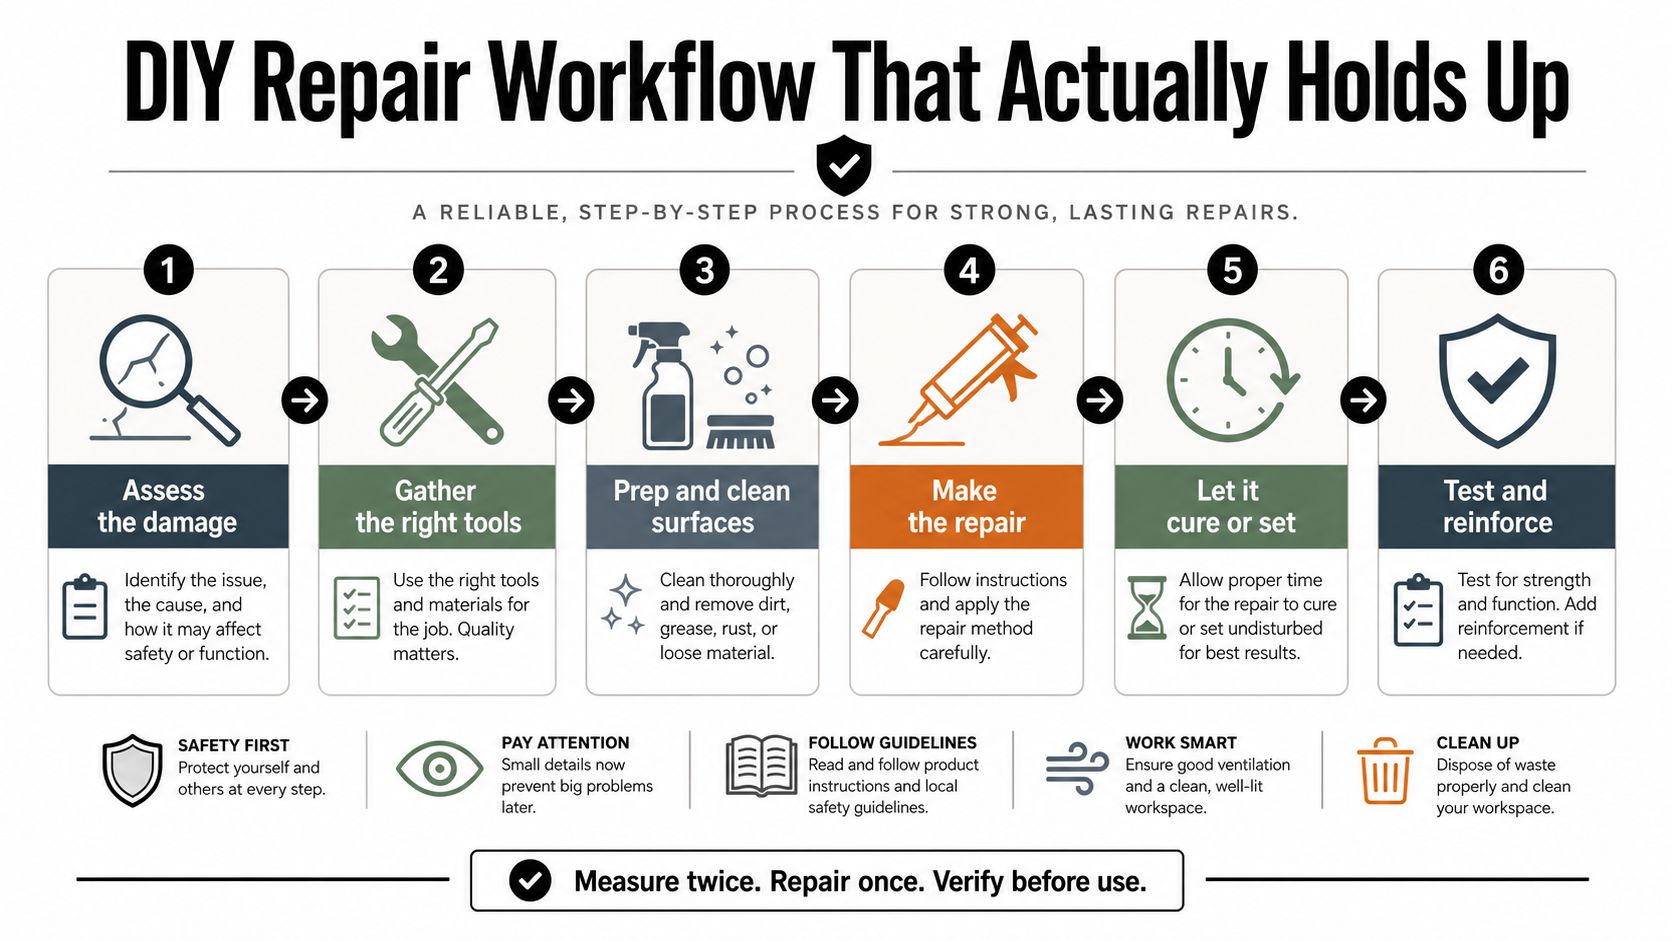
A careful DIY repair can work on Level 1 and selected Level 2 damage on a painted wheel. It won’t recreate a diamond-cut face, correct a bent rim, or make a cracked wheel safe. The goal is to create a clean, level repair that can accept paint and clear coat without leaving a raised edge.
Gather the right materials
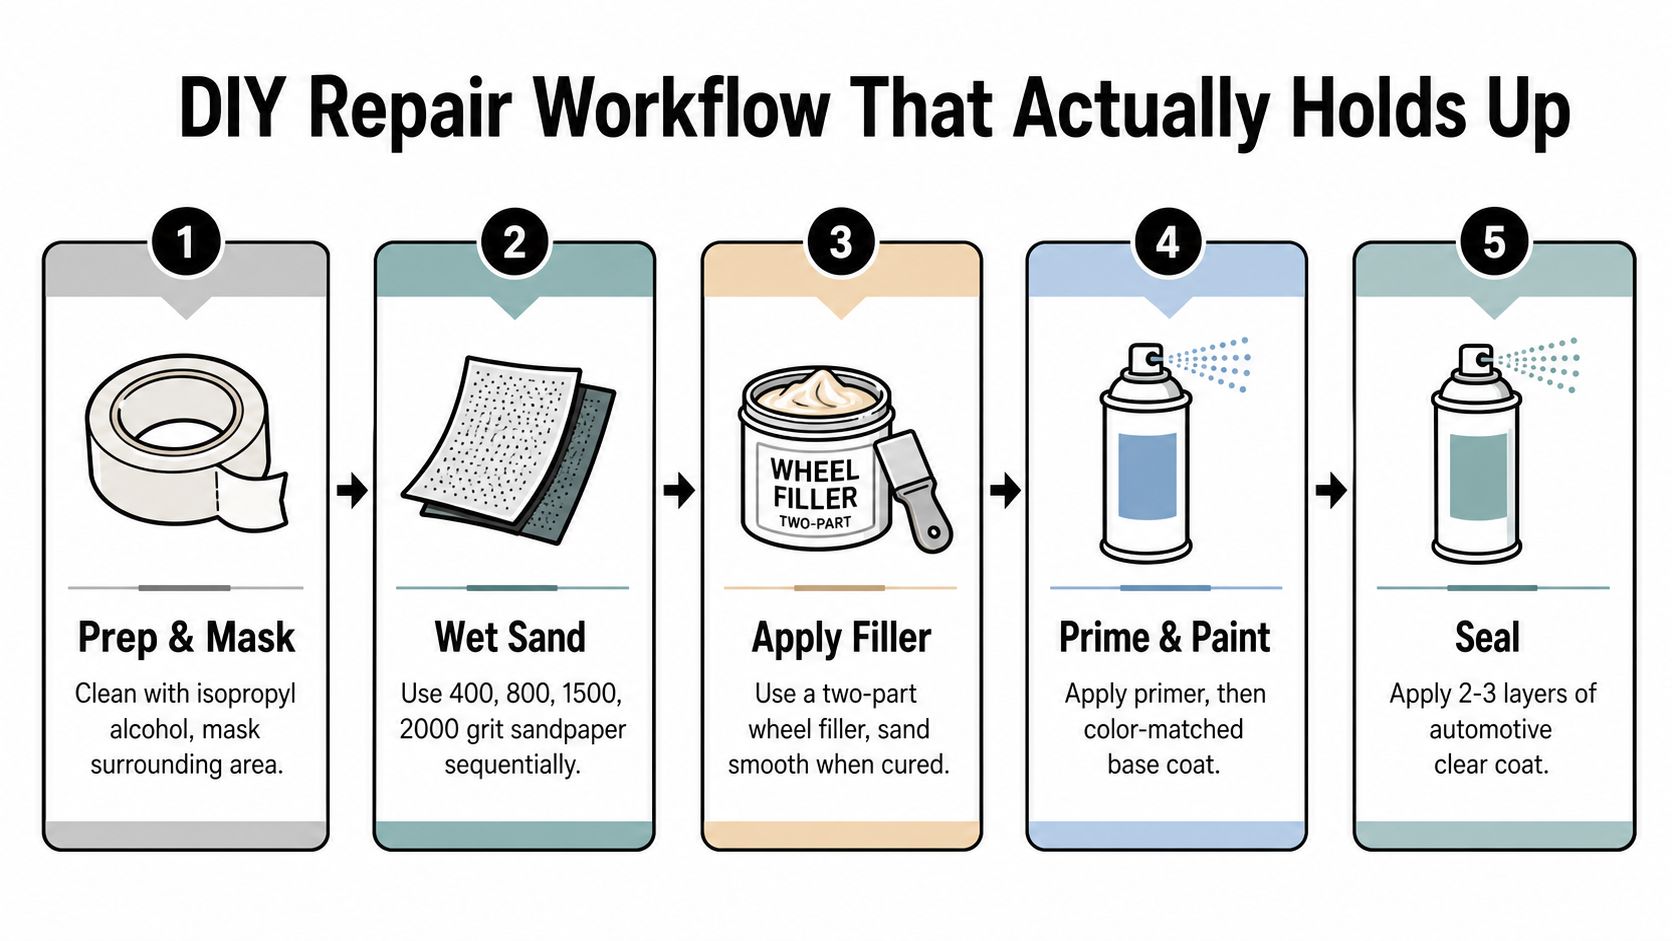
Use masking tape, isopropyl alcohol, microfiber cloths, wet sandpaper in 400, 800, 1500, and 2000 grit, color-matched touch-up paint or wheel-specific paint, primer, clear coat in a pen or rattle can, compatible filler if needed, and a suitable protective topcoat.
Remove the wheel when practical. If you work with it installed, mask the tire, valve stem, caliper, and surrounding bodywork thoroughly. The more exposed the repair area, the more important clean edges and dust control become.
Build the surface gradually
Wash and decontaminate first. Brake dust, wax, and corrosion products interfere with adhesion, so sanding over contamination can leave you with filler that lifts or paint that peels. Let the wheel dry completely, then wipe the repair zone with isopropyl alcohol.
Use 400 grit to knock down the sharp lip, keeping the sanding block or backing as flat as the wheel’s contour allows. Move to 800 grit to feather the edge into the surrounding finish, then use 1500 and 2000 grit to refine sanding marks. Don’t chase a deep hollow with aggressive pressure. Over-sanding can create a visible flat spot and enlarge the area that needs repainting.
Apply filler only if the fingernail still catches after the damaged edge has been leveled. A wheel-approved filler or spot putty belongs in the gouge, not across the entire spoke. Allow it to cure according to the product instructions, then sand it flush and clean away every trace of dust.
The mistake I see most often: People use one heavy coat to hide an uneven repair. That traps solvent, creates runs, and leaves a soft layer underneath the clear.
Prime, paint, and allow the repair to harden
Apply primer in a light, even pass. Follow with two to three light coats of color-matched paint, allowing the specified flash time between coats. Light passes blend better and reduce solvent retention. Spray beyond the repair edge with each pass, but don’t flood the untouched finish.
Mist clear coat in crossing passes rather than laying down one wet, heavy layer. The surface may look finished quickly, but it isn’t ready for normal abuse. Published wheel-repair guidance commonly calls for 20 to 30 minute intervals between light coats and at least 24 hours of cure time before heavy use (practical alloy wheel scratch repair guidance).
Use 24 hours before driving, a full week before aggressive washing, and 30 days before applying a ceramic or polymer topcoat over the repair. Those cure windows protect the finish from trapping solvent beneath a protective film. If the repair still feels soft or smells strongly of solvent, wait longer.
For the polishing stage, use a wheel-safe process and avoid pressing hard into the fresh clear. Guidance on polishing alloy wheels is useful when you’re trying to blend gloss without cutting through the repaired area.
DIY vs Professional Refinish vs Full Replacement
The right path depends on more than scratch depth. Finish type, damage location, wheel construction, and your tolerance for a visible blend all matter.
A basic gloss black or silver painted wheel is forgiving. A metallic, hyper-silver, polished, machined-face, or diamond-cut wheel is not. A professional shop can strip the finish, correct the substrate, match the color, machine the face where required, and apply a controlled refinish that a garage spray can can’t reliably duplicate.
| Factor | DIY Touch-Up | Pro Refinish | Full Replacement |
|---|---|---|---|
| Damage | Surface scuff or shallow cosmetic rash | Deeper gouge, widespread corrosion, difficult blend | Crack, leak, severe deformation, compromised bead seat |
| Finish | Solid painted finishes | Metallic, hyper-silver, polished, machined, or anodized finishes | Any finish when the wheel is structurally unsafe |
| Tools | Sandpaper, filler, primer, paint, clear coat | Precision machining, controlled refinishing, inspection equipment | Correct replacement wheel and fitment verification |
| Appearance | Good improvement, possible blend line | Closest route to a factory-style result | Fresh finish, but may require matching the remaining wheels |
| Trade-off | Lower cost, more personal labor, less predictable match | Higher cost and downtime, better consistency | Highest commitment, but safety takes priority |
DIY touch-up makes sense when the scratch is cosmetic, the wheel remains round, and the finish is simple enough to blend. Professional refinishing wins when the gouge is deep, the wheel has a complex finish, or the visible face needs machining. A manufacturer restoration document cited in wheel-repair guidance limits one repairable outer-flange zone to a 50 mm radial range, which shows why damage location matters as much as depth (technical alloy-wheel repair guidance).
Replacement is the safe route for cracks, persistent leaks, serious bends, damaged bead seating, or structural deformation. Don’t try to hide a safety problem under filler and paint. Have the wheel inspected, balanced, and leak-tested after any impact that could have affected its shape.
A useful rule is simple: if your fingernail catches the scratch and the wheel isn’t a straightforward painted black or silver finish, plan around professional refinishing. For adjacent household refinishing principles, ShamFix’s kitchen cabinet painting advice offers a useful reminder that preparation and compatible coatings determine whether a finish stays attached, even though wheel materials and heat exposure require wheel-specific products.
Locking In the Repair With the Right Topcoat
A repaired rim can look perfect on day one and still become difficult to clean within weeks. Filler and colour restore the appearance, but the topcoat takes the daily exposure to brake dust, detergents, grit, water, heat, and cold. Preparation determines whether the coating bonds, while the coating determines how well the finish handles that abuse.
Aerosol clear coat can give a clean finish, but repeated heat and harsh contamination can weaken its protection. Brake dust adheres more readily to an unprotected surface, and aggressive washing can wear lacquer coatings over time, as explained in this wheel-repair coating and maintenance guidance.
Match protection to the repaired wheel
A ceramic spray topper suits a commuter who wants easier cleaning and straightforward maintenance. A dedicated ceramic coating for rims requires more careful preparation and application, but it is designed for wheel surfaces and offers stronger resistance to contamination. Paint-protection film can help on high-impact spoke edges, provided the refinished area is smooth, fully cured, and installed without trapped dirt or air.
Thermal cycling creates a practical trade-off. Metal expands with heat and contracts in cold conditions, so the protective layer must follow that movement without cracking or losing adhesion. Guidance on coatings in extreme weather explains why flexibility matters alongside surface hardness. A coating that resists brake dust but cannot accommodate movement may fail sooner than a slightly less hard product with better flexibility.
Titan Coatings describes its technology as incorporating carbon nanotubes, or CNTs, into automotive coatings in 2021 (Titan Coatings technology overview). Its published elastomer coating information describes a glass-like surface with flexibility intended to accommodate movement and reduce cracking during sharp temperature changes. That type of protection suits a sound cosmetic repair. It cannot correct a bent wheel, crack, or damaged bead seat.
Allow the paint and clear coat repair to cure for the full 30 days before applying a ceramic or polymer topcoat. On a properly cured wheel, APEX NANO ONE is one option for wheel-surface protection. Follow the product instructions for cleaning, temperature, application, and curing. Applying over soft clear coat, polish residue, or moisture can compromise the result.
Application conditions also affect the finish. Guidance places the most consistent ceramic application window around 60°F to 80°F, or 15°C to 27°C. Below 55°F, curing and bonding can slow. At 85°F and above, the product can flash too quickly, increasing the chance of high spots (ceramic coating application temperature guidance).
Titan’s APEX Glass Ceramic Coating is intended for prepared glass, not repaired wheels, so choose a wheel-specific product for this job.
Habits and Coatings That Stop the Next Curb Rash
A repaired wheel stays presentable when parking technique and maintenance work together. Coating won’t stop a direct impact, and a careful driver can’t prevent every piece of road debris, but both reduce avoidable wear.
Use this routine:
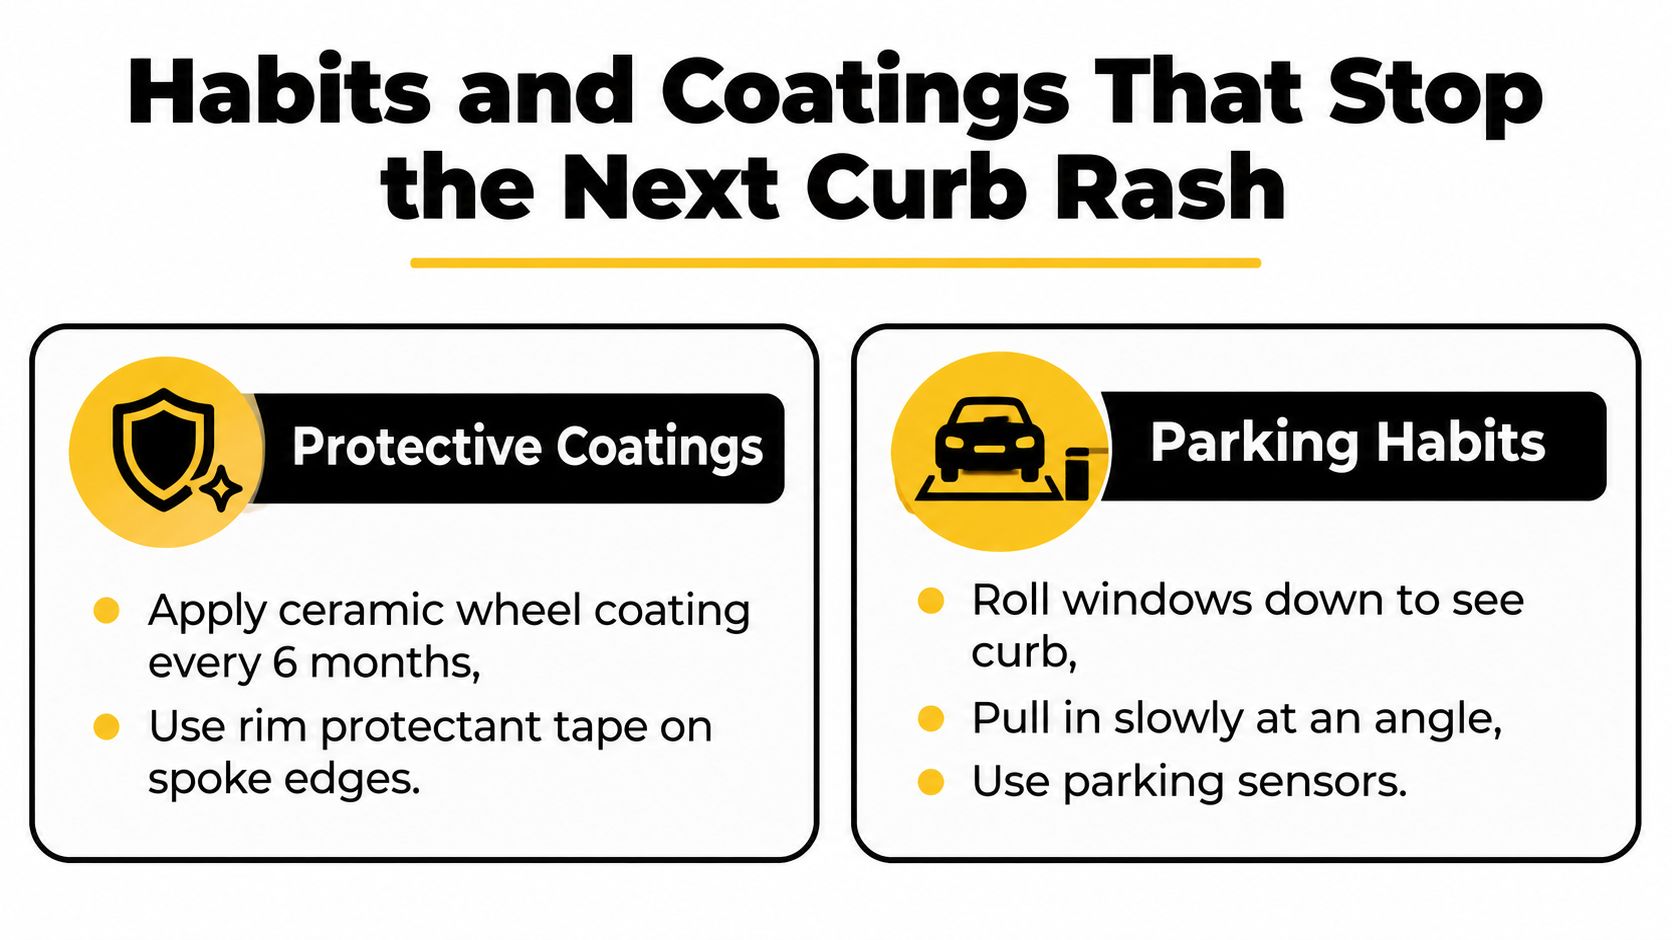
- Change the parking angle: In a tight parallel space, keep the curb-side wheel slightly away from the kerb and roll forward slowly rather than turning into it.
- Add a physical reference: A side-curb feeler or a tennis ball fixed to the garage wall gives you a repeatable stopping point when visibility is poor.
- Avoid blind reversing: Pull forward before reversing into a space if the turn would otherwise swing the wheel toward an unseen curb.
- Wash without grinding: Use a pH-neutral wheel cleaner and a soft brush, rinsing loose grit before contact washing.
- Inspect the coating: Look for a loss of water behavior, rough contamination, or exposed areas during regular cleaning.
- Refresh protection: Use a compatible ceramic booster or spray topper every few months when the existing protection calls for maintenance.
The product choice should follow the repaired finish. A dedicated wheel coating suits a fully cured refinish, while a ceramic spray system can suit a detailer or owner who prefers quick application. Titan’s Ultra Ceramic Spray is positioned as an easy-install spray option for people who want a straightforward application process, including DIY users and mobile detailers.
For broader paint care, this guide to protecting your car from scratches can help you build the same prevention mindset beyond the wheels. Titan also presents Alpha Quartz as an elastomer coating option that is easy to install, glass-like yet flexible, and intended to resist cracking during temperature changes and impacts such as bugs striking the vehicle surface. Those properties are relevant to coating selection, but they don’t change the first rule: confirm the wheel is structurally sound before applying protection.
A parked-and-curbed wheel isn’t a tragedy. It’s a maintenance event, provided you triage the damage before reaching for the tools.
If you’ve confirmed the wheel is structurally sound, explore the wheel-care and coating options from APEX NANO – Titan Coatings, including products for repaired wheel finishes, glass visibility, and easy spray application. Choose the coating that matches your finish, allow the repair to cure fully, and protect the work before winter salt and brake dust get another chance.
0 Comments