
You've just washed a car that looks clean, yet the paint still feels rough under your fingertips. The finish may be carrying industrial fallout, brake dust, overspray, or bonded road film that shampoo couldn't remove. Reaching for a clay bar immediately is tempting, but a professional clay car wash starts with a diagnosis, not a reflex.
That distinction matters even more before polishing or applying a coating. Mechanical decontamination can leave light marring when the tool, lubrication, or pressure is wrong. The right workflow removes only what needs removing, restores clarity afterward, and finishes with protection that can tolerate the temperature changes and daily impacts a vehicle experiences.
Diagnosing the Need for a Clay Car Wash
A freshly washed vehicle doesn't automatically need clay. Test the paint before you touch it with a mechanical decontamination tool.
Slip a thin plastic bag over your hand and lightly move your fingertips across clean paint, preferably on the horizontal panels first. The plastic amplifies texture. If the surface feels gritty, sandy, bumpy, or like fine stubble, bonded contamination remains. If it feels smooth through the bag, claying may add little value and may introduce avoidable marring.
This simple check is more useful than a calendar-based routine. A car parked near industrial activity, construction, heavy traffic, or trees may develop bonded contamination quickly, while a sheltered vehicle that already feels smooth may need only a careful wash and targeted chemical treatment. The explanation of what clay barring does is helpful for understanding the mechanism, but the paint's actual texture should determine the decision.
Separate contamination types before choosing a tool
Light seasonal residue doesn't always justify aggressive clay. If the baggie test reveals only mild roughness, a suitable chemical iron remover may address ferrous fallout without dragging a mechanical medium over the entire panel. Tree sap mist, overspray, and firmly bonded industrial debris are different problems, particularly when the surface remains rough after washing and chemical treatment.
Use the test on several areas rather than assuming every panel has the same condition:
- Roof and hood: These horizontal surfaces often collect airborne fallout and environmental residue.
- Lower doors and rocker panels: Road film and brake dust commonly make these areas rougher.
- Glass: Texture here can affect wiper performance and visibility, but use a product and method suitable for glass.
- Recently corrected paint: Don't mechanically decontaminate a smooth finish just because the vehicle has reached a certain age.
Practical rule: If you can't feel bonded contamination through the bag, don't clay that area just to follow a routine.
A coating needs a clean, residue-free surface, but “clean” doesn't mean mechanically scrubbed by default. Diagnose first, use chemical decontamination where it fits, and reserve clay for contamination that remains bonded. That approach saves labor and protects clear coat thickness, especially on vehicles that will receive polishing afterward.
Choosing Between Traditional Clay and Synthetic Mitts
Once the paint fails the baggie test, tool selection becomes a risk decision. Traditional clay bars and synthetic mitts can both remove bonded contamination, but they don't behave the same way in the hands of a technician.
Traditional resin clay gives you precise control over a small working face. It's useful when contamination is heavy, localized, or unusually stubborn, such as overspray on a few panels. You can change the exposed face by folding and kneading the material, but a dropped piece must be discarded. Any grit picked up from the ground can become an abrasive contaminant against the paint.
Synthetic clay mitts and pads are faster for broad maintenance work. They're reusable, easier to rinse, and practical when a detailer is covering multiple panels. Their convenience can also encourage excessive pressure or rushed passes. Some synthetic surfaces are more aggressive than a fine clay bar, so a mitt isn't automatically the safer choice for delicate or freshly corrected paint.
Match the medium to the contamination
Think in terms of contamination severity, control, and recovery:
| Situation | More suitable starting point | Main caution |
|---|---|---|
| Smooth paint with isolated rough spots | Small piece of fine traditional clay | Don't clay unaffected panels |
| Light, widespread roughness | Synthetic mitt or pad with abundant lubricant | Keep pressure minimal |
| Heavy overspray or stubborn bonded debris | Traditional clay on affected areas | Expect inspection and possible polishing |
| Paint being prepared for a coating | The least aggressive option that passes the test | Marring must be corrected before coating |
A synthetic mitt can be a strong maintenance tool, but it may not remove severe contamination as efficiently as traditional clay. A bar offers more localized control, while a mitt offers speed and cleanability. Neither tool should be used dry, hot, or with force.
For practical handling guidance, see Titan's car wash mitt resource. The choice becomes especially important before modern protection systems, because any haze or micro-marring left behind will sit beneath the coating and affect the final appearance.
The best tool is the least aggressive one that solves the diagnosed problem. Start conservatively on a test spot, inspect the result, and escalate only when the contamination demands it.
Executing the Decontamination Process Safely
Preparation determines whether claying leaves a smooth finish or a cloudy one. Wash and dry the vehicle completely before starting. Clay is for bonded contamination, not loose dirt, and loose dirt trapped between the tool and paint can create scratches.
Work in shade whenever possible, with the panels cool enough that your lubricant remains wet. Divide the paint into sections of roughly 2 ft × 2 ft, rather than trying to cover an entire door in one pass. Small zones help you control lubrication, pressure, inspection, and towel work.

Use the tool like a contamination collector
Flatten a manageable piece of traditional clay, or prepare the synthetic mitt according to its design. Flood the working area with lubricant. The surface should feel slippery, not merely damp.
Use light, straight back-and-forth passes with overlapping coverage. Don't scrub in circles and don't push down to force the tool through resistance. At first, the clay may feel or sound rough as it collects bonded particles. As the section becomes clean, the tool should move more freely.
Follow this sequence:
- Lubricate generously: Reapply before the surface begins to drag or the product starts drying.
- Make straight passes: Let the lubricant and the clay's contact face do the work.
- Refresh the working face: Fold and knead traditional clay frequently so contamination isn't dragged repeatedly across the paint.
- Rinse synthetic media: Clean a mitt or pad regularly, especially after dirtier lower panels.
- Wipe immediately: Use a clean microfiber towel to remove residue before it dries.
The paint decontamination guidance from Titan follows the same practical principle, controlled contact with enough lubrication to suspend risk. If the clay skips, feels sticky, or starts grabbing, stop and add lubricant rather than increasing pressure.
For a flexible protective step after proper prep, ULTRA Ceramic Spray is described as a highly concentrated, water-based flexible membrane sealant for paint systems, wraps, PPF, glass, wheels, plastic trim, and household or personal items. It belongs after the surface is clean and ready, not as a substitute for correcting poor claying technique.
Finish each section before moving on. Wipe it, feel it again through the plastic bag, and inspect the paint under suitable lighting. That deliberate rhythm is slower than sweeping a mitt across the whole car, but it prevents one contaminated tool face from spreading trouble across several panels.
Avoiding Common Mistakes and Clear Coat Marring
Claying is non-abrasive in its intended action, but the overall process can still create microscopic marring. The risk comes from friction, trapped debris, insufficient lubrication, excessive pressure, and a contaminated tool face.
The most common error is treating lubricant as a light misting step. Paint needs a wet, slippery working film throughout the pass. If the clay begins to drag, add more lubricant immediately. Working in direct sunlight or on a hot panel makes the film disappear faster and encourages rushed, dry contact.
The mistakes that change the result
- Using too little lubricant: The tool loses glide and begins to stick, increasing the chance of haze.
- Working oversized sections: Lubricant can dry before you finish, leaving parts of the panel exposed.
- Applying downward force: Pressure doesn't make bonded debris release cleanly. It increases contact stress.
- Keeping a dirty face in service: Fold traditional clay often. Rinse synthetic media as contamination builds.
- Continuing after a drop: Discard dropped clay. Picking visible grit out of it doesn't make it safe.
- Skipping the inspection: A smooth feel doesn't prove the finish stayed optically clear.
Use a bright, diffused light source after each representative area, especially on dark paint. Look for faint gray haze, fine lines, or a loss of crisp reflections. A small test spot tells you whether your chosen medium and lubrication are compatible with that paint system.
A clean-feeling panel can still need polishing if the surface no longer reflects light cleanly.
Plan the recovery before protection
Light marring may respond to a finishing polish. Heavier haze or visible scratches may need a more corrective compound, followed by refinement. The paint correction and polishing resource is relevant here because coating preparation isn't complete when the contaminants are gone. It's complete when the paint is clean, residue-free, and visually ready for the protection layer.
Don't apply a ceramic product over clay haze and hope the coating will hide it. Coatings preserve the surface beneath them. They can improve slickness and water behavior, but they won't replace correction performed to restore clarity.
After polishing, remove polishing oils and residue according to the coating manufacturer's preparation requirements. The final wipe should leave a bare, clean surface so the protective product can make direct contact with the paint.
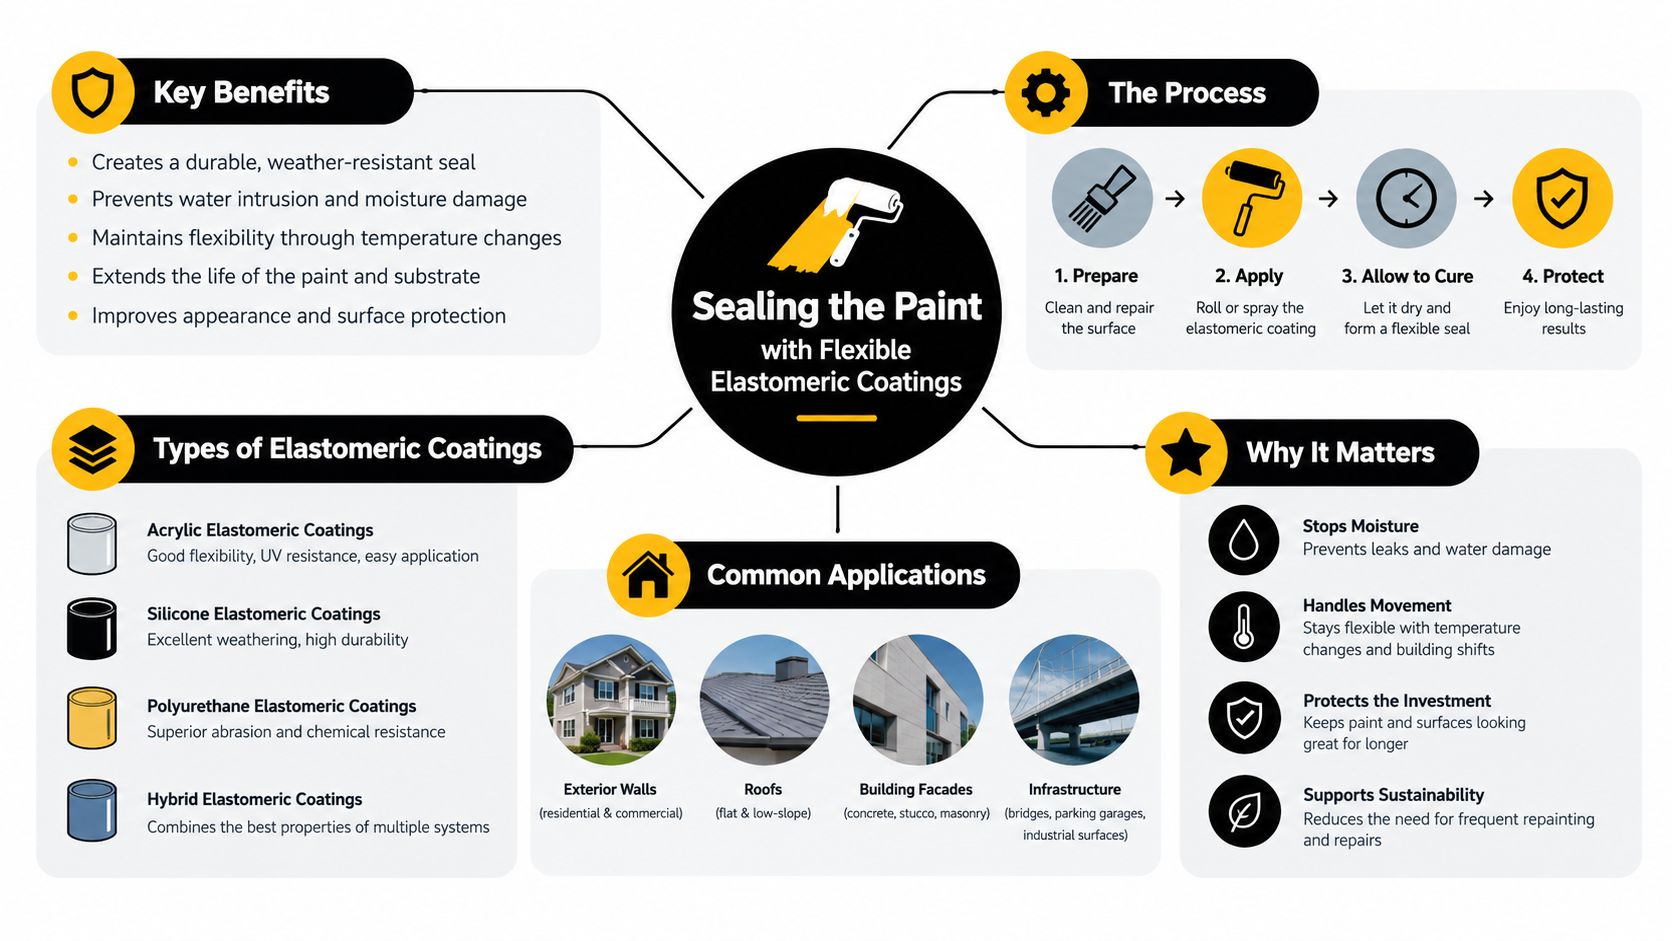
Sealing the Paint with Flexible Elastomeric Coatings
A decontaminated and polished finish is exposed. The next environmental deposit will bond more easily to unprotected paint, and the result of your prep work can fade quickly without a suitable protective layer.
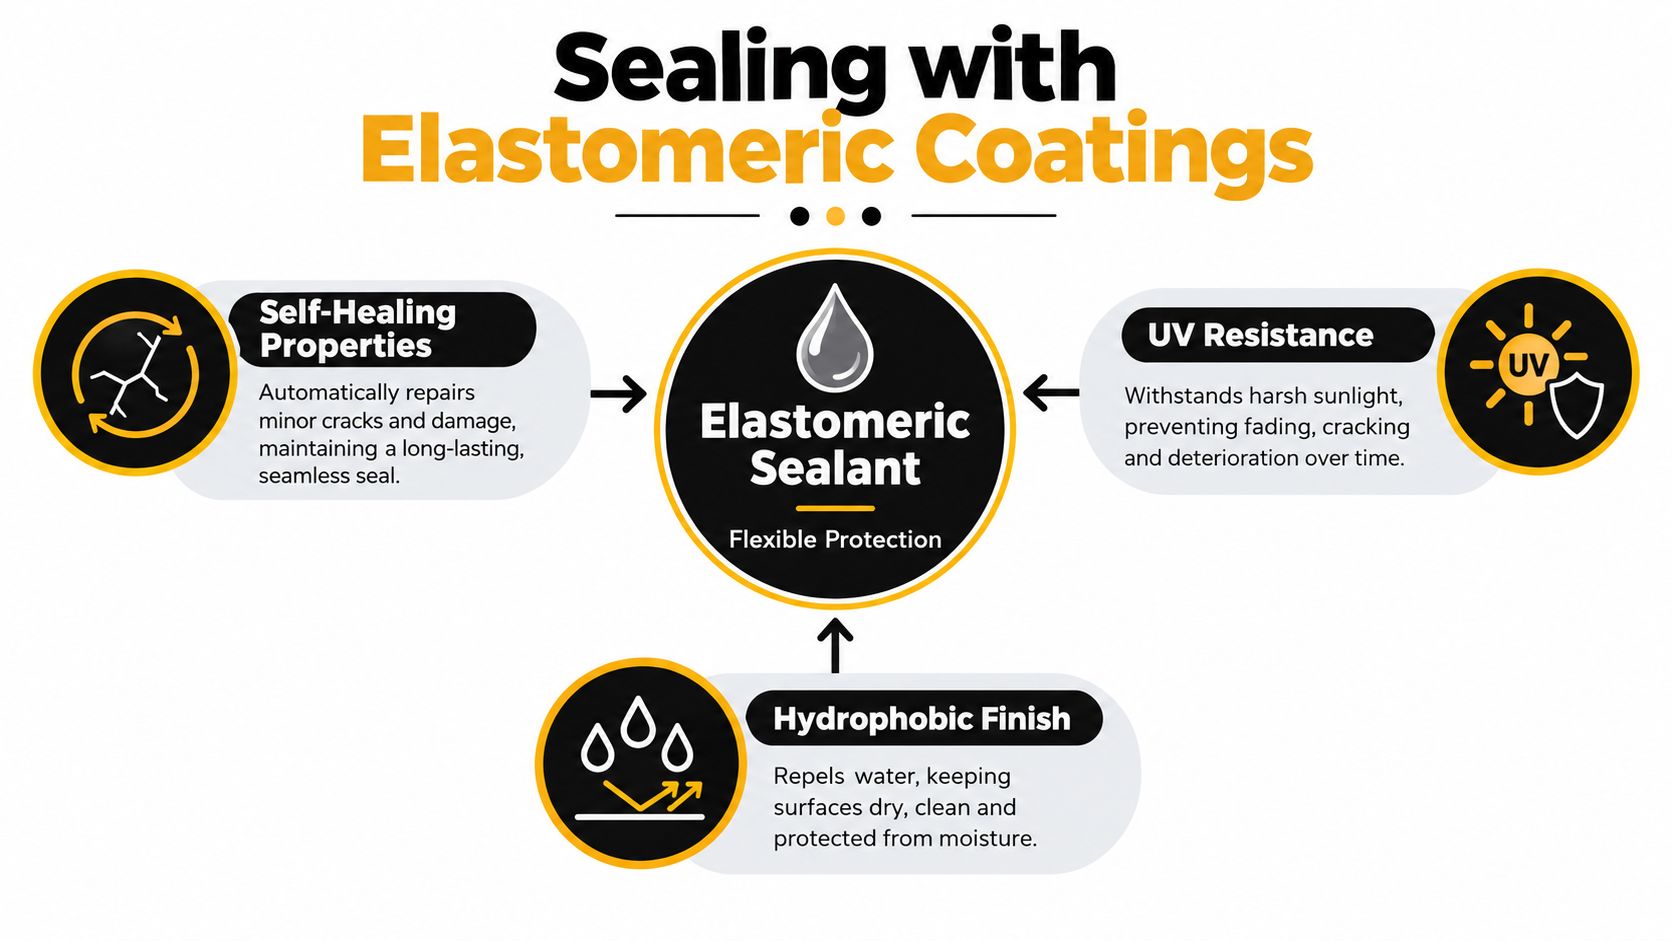
Titan Coatings has developed its own coating technology, including elastomer coatings introduced to the market with nano tubes technology and Dark Matter tech. The company's position is that these coatings combine glass-like hardness with flexibility, a useful combination for vehicle panels that expand and contract as temperatures change.
The technical reasoning is sound at the material level. Traditional architectural coatings can have glass-transition temperatures between 0°C and 25°C, while elastomeric wall coverings can range from -40°C to -10°C, according to IIBEC's discussion of elastomeric wall coverings. A lower transition range helps explain why an elastomeric film can remain more flexible in cold conditions.
Flexibility matters during thermal cycling
An acrylic elastomeric coating data sheet says the film remains flexible down to 0°F and can maintain a continuous membrane even when small cracks form in the substrate, as described in Benjamin Moore's technical data sheet. Automotive panels and architectural walls aren't identical substrates, so that information shouldn't be treated as a direct vehicle durability guarantee. It does demonstrate the crack-bridging mechanism associated with flexible coating films.
Thermal shock resistance also depends on matching the coating's coefficient of thermal expansion to the substrate. Rapid temperature swings can create mismatch stress that initiates and propagates cracks, as explained in this review of thermal shock behavior in coatings. Flexibility doesn't eliminate every failure mode, but it gives a coating a better way to accommodate movement than a purely rigid film.
For DIYers and mobile technicians, Alpha Quartz 50ml Ceramic coatig is described as a high-performance elastomer ceramic coating for all surfaces, with 92% high solids, zero VOCs, solvent-free formulation, and Advanced Adhesion Technology. The product snapshot also states that it's designed for protection against UV, chemicals, and abrasion, can be applied indoors and outdoors, and cures in 4 hours. Follow the manufacturer's application requirements rather than treating flexibility as permission to skip paint preparation.
Glass deserves its own protection strategy. Titan's Apex Glass Ceramic Coatings is presented as an easy-to-use glass and windshield coating intended to enhance visibility during rain, which can make wet-weather driving less stressful when the glass is properly cleaned and prepared.
Vehicle owners in hot, cold, and high-UV regions can also learn from practical guidance on window coating maintenance in the Southwest. The same maintenance principle applies, inspect the surface, use compatible cleaners, and don't confuse a durable coating with a finish that never needs care. More detail on Titan's approach is available in its overview of coating flexibility.
Maintaining the Finish with Proper Wash Techniques
A coating doesn't remove the need for careful washing. It changes the objective. Instead of repeatedly correcting contamination and restoring gloss, maintenance should remove loose soil while preserving the coating's surface behavior.
Start with a shaded wash and a pH-neutral shampoo. Use the two-bucket method, one bucket for the wash solution and one for rinsing the mitt, so the tool carries less loose dirt back to the vehicle. Begin at the cleanest upper panels and leave the dirtiest lower sections for last.
Avoid letting shampoo dry on the paint. Rinse thoroughly, then dry with clean microfiber towels or suitable air drying. Aggressive wiping on a dusty surface defeats the purpose of the coating and can create the very marring that careful preparation was meant to prevent.
Build maintenance around inspection
Hydrophobic behavior is useful, but it isn't a complete diagnostic. If water behavior changes, first check for mineral deposits, traffic film, or product residue. A coating may still be present beneath a contaminated surface, so don't reach for clay just because the beads look different.
Use a synthetic clay mitt only when the paint feels rough after washing and chemical decontamination is insufficient. Keep lubrication heavy, pressure light, and the working area controlled. A traditional bar may still be appropriate for isolated stubborn contamination, but routine mechanical contact should remain limited to areas that need it.
For quick wipe-downs and water mark removal, OMNIGUARD – Waterless Wash is described as a quick sealant with UV protection. Its HYPERBEAD™ particles are intended to provide self-cleaning and oxidation resistance on various surfaces, and the product snapshot states durability up to 6 weeks. Use a waterless product only when the surface is suitable for that method, with enough lubrication and clean towels to avoid grinding dust into the finish.
A practical maintenance rhythm looks like this:
- Inspect before washing: Identify dust, mud, water marks, and bonded roughness.
- Wash with controlled contact: Use clean media, neutral shampoo, and separate rinse water.
- Decontaminate selectively: Treat only areas that fail the texture test.
- Refresh protection appropriately: Use compatible maintenance products instead of repeated claying.
- Recheck the finish: Watch gloss, slickness, water behavior, and visible marring together.
The best clay car wash is not the one that uses the most clay. It's the one that diagnoses contamination accurately, removes it with the least aggressive method, corrects any marring, and preserves the result with a flexible coating and disciplined maintenance.
APEX NANO – Titan Coatings offers coating options for automotive, aviation, marine, and defense applications, including flexible protection designed for demanding environments. Visit APEX NANO – Titan Coatings to review coating solutions that can follow a properly diagnosed clay car wash and support long-term paint, glass, and trim care.
0 Comments